Every Greenlight CM™ user is assigned a role at both the company level and at the job level. These roles determines what tasks that user can perform. This allows System Administrators to set permission boundaries.
Email templates use contact roles to determine which contact to include in the email. When you add a contact to Greenlight CM™, you must assign a contact role.
Contact roles can be assigned to Company contacts, Job contracts and Vendor contacts.
To read more about email templates, click here.
1.From the ribbon toolbar, click Greenlight.
2.Click Manage Greenlight,  .
.
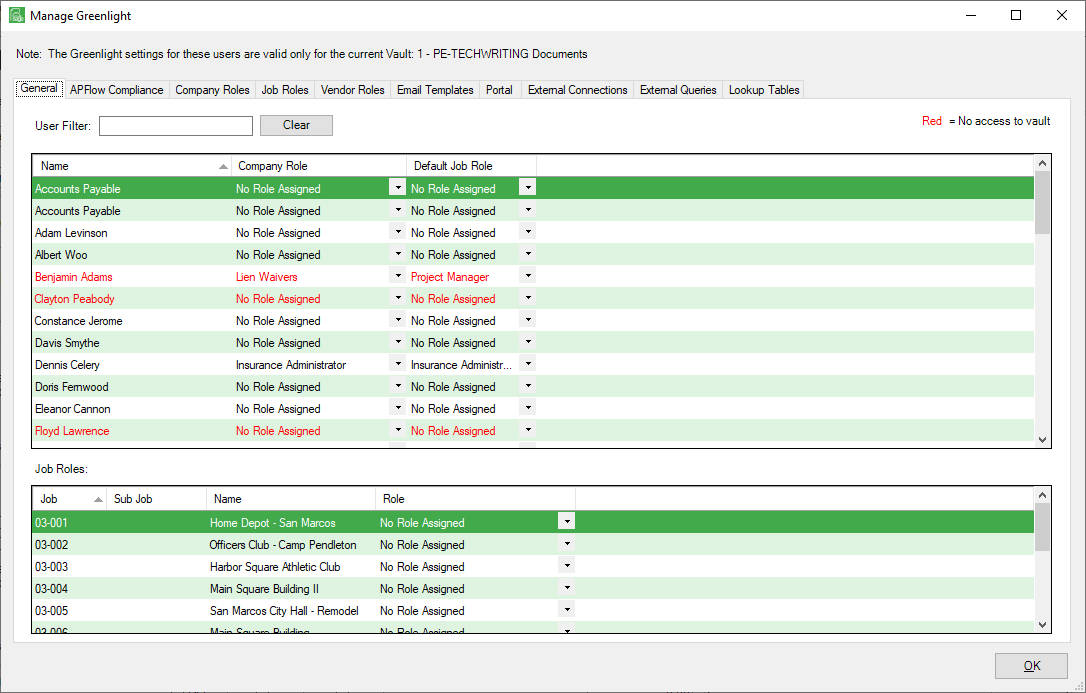
The main screen displays with the General tab active:
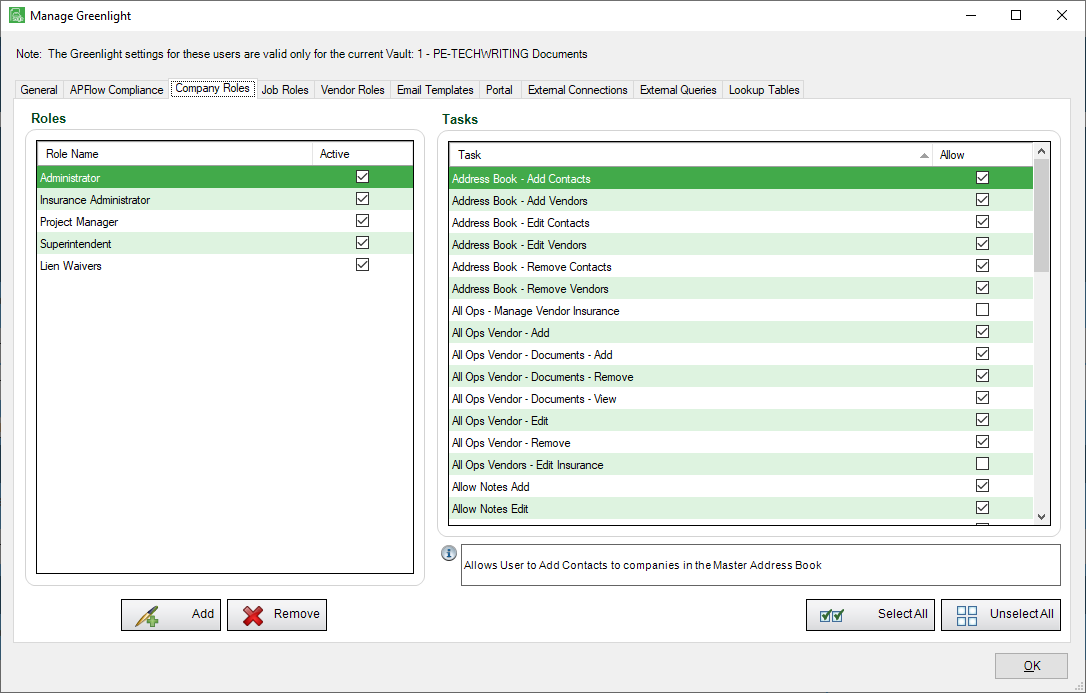
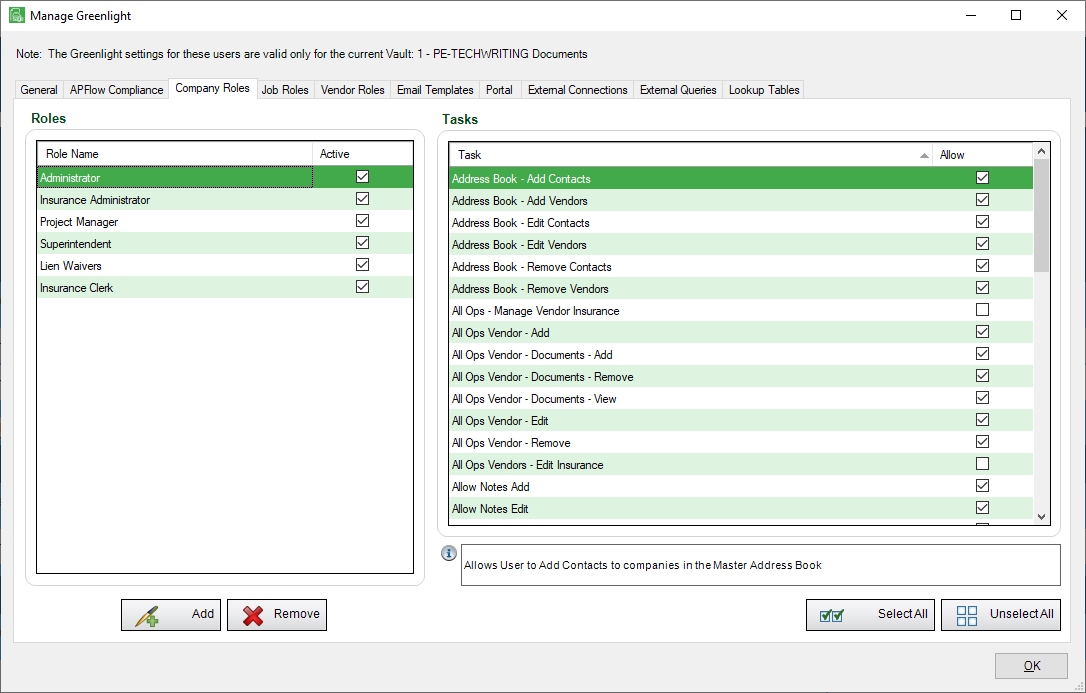
3.Click the Company Roles tab.
The following screen displays
4.Click Add,  .
.
The following Add New Company Role dialog box displays:
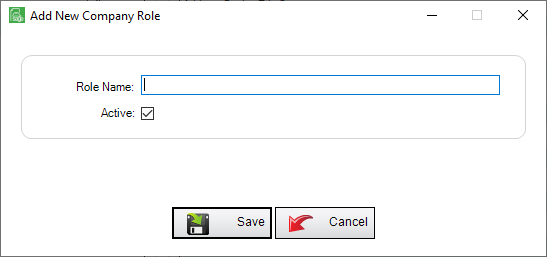
5.In the Role Name field, add a role based on your company needs.
6.Verify that the Active checkbox is checked (this is the default). If the role is not active, click to remove the checkbox.
7.Click Save,  .
.
The Company Roles window will redisplay with the newly entered company role listed in the Roles pane:
8.Continue to add company roles as necessary.
9.Click OK.
Assigning Tasks
Once a Company Role is created, Tasks must be assigned for the role. Tasks determine what a user in a specific role can access in the system and what tasks the user has permission to perform.
Note: When you click on any task in the Tasks grid, you can learn more about that task in the Information window located below the Tasks grid.
For example, click to select Address Book - Edit Contacts. The Information window displays the following:

1.Click on the Role Name.
2.Click on a task that displays in the Tasks grid.
3.Click in the associated Allow column to grant permissions to perform that task for the selected role.
4.Continue scrolling through the tasks and clicking to select those that are appropriate for the selected Company Role.
5.Click the Select All, , if the role should be granted permissions for all the tasks that display.
Note: If you want to remove all tasks for the selected role, click Unselect All,  .
.
6.Once you have selected the desired tasks for the company role, click OK.
A populated Company Roles tab will resemble the following:
