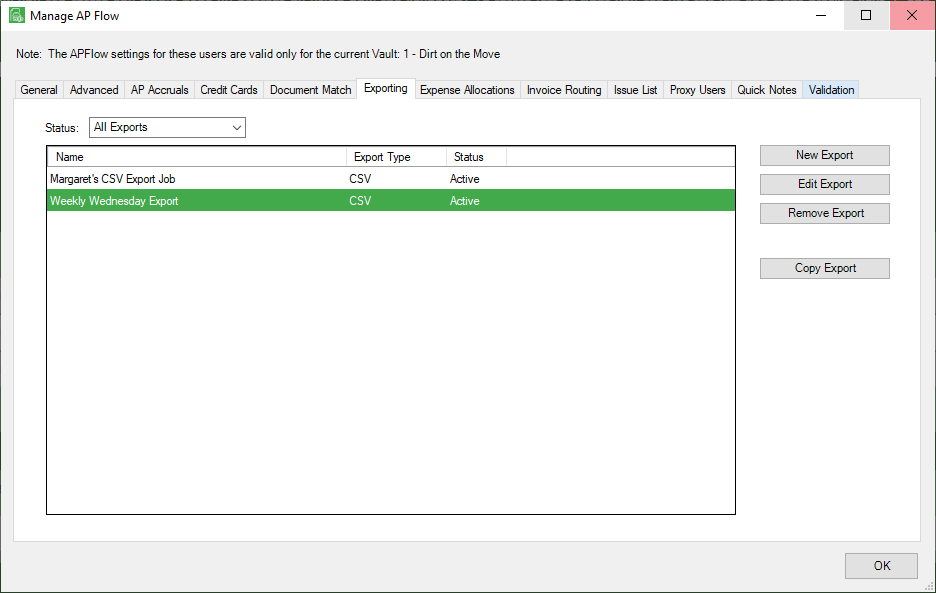
1.Click Copy Export.
The Copy Export Job dialog box displays:
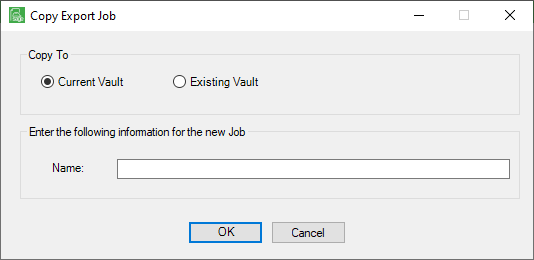
2.The Current Vault radio button is selected as the default. If you are copying the CSV export configuration to an existing vault, click to select Existing Vault.
Important: You can copy a CSV export configuration to any vault, current or existing, but both the vault you are copying from and the vault you are copying into must be bridged to the same accounting system.
If you click to select Existing Vault, the Copy Export Job dialog box enlarges to resemble the following:
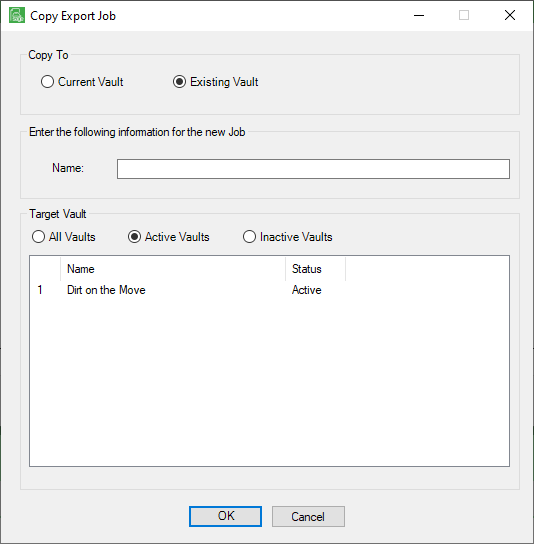
The Active Vaults radio button is selected as the default. The vaults listed in the grid are the vaults from which you can select. These vaults are all bridged to the same accounting system.
You can also click to select All Vaults to display all vaults including inactive vaults, or click Inactive Vaults to display only inactive vaults.
If no vaults meet the criteria, for instance if you have no inactive vaults, the grid will be blank.
3.Click to highlight the vault into which you want to copy the CSV export configuration.
4.In the Name field, enter an appropriate name.
5.Click to select the target vault that displays in the grid.

6.Click OK.
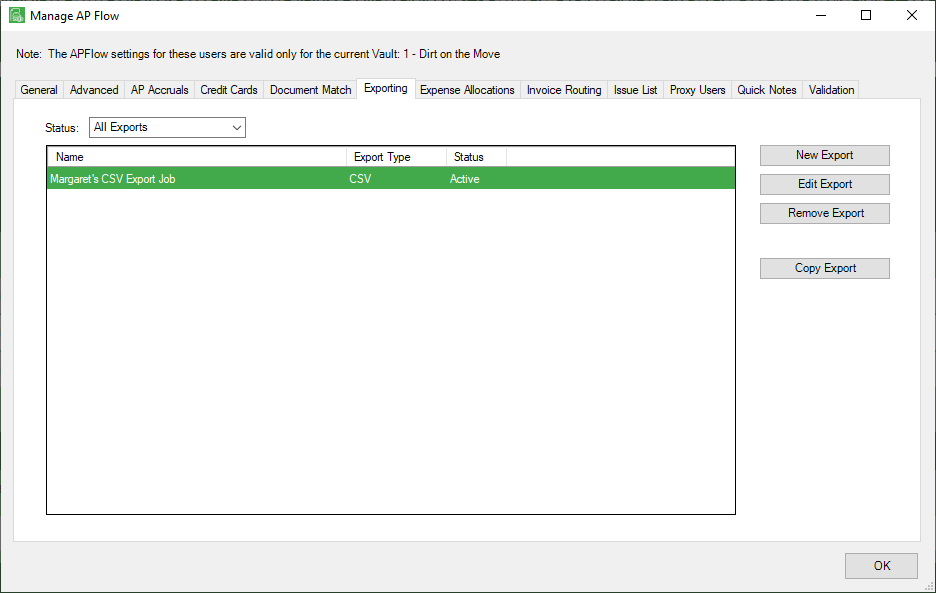
When you access the target vault, in this example Dirt on the Move, you will see the copied CSV export: