Click Edit Export to edit an existing export.
The Edit Job window displays with the General tab active:
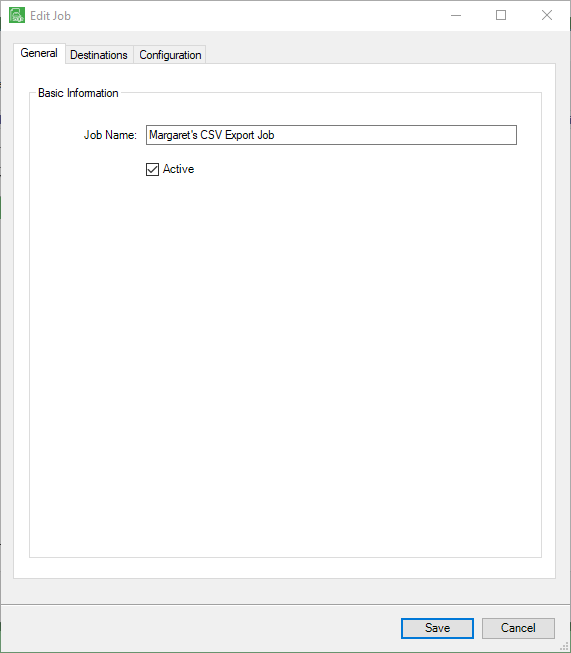
General tab
This is where the basic information about the export job is housed; specifically, the export job name and whether the job is active or inactive.
1.Unless there is a reason to change the name of an existing job, keep the default in the Job Name field.
When the file is exported, the file name will consist of the Job Name entered here, plus the date and time (system generated), plus .csv.
For example: Margaret's CSV Export Job_2_28_2020_4_53_17_PM.CSV
(where 2_2_2020 is the month, day, year; 4_53_17 is the hour, minutes, seconds)
2.Leave the Active check box checked. This is the default.
Note: To save a partially created export job, uncheck the Active check box. The only required field to save a partially created export job is the Job Name field.
The completed window should resemble the following:
3.Click Save if no edits are necessary or click the Destinations tab.
This identifies the folder location to where the file will be exported.
The Edit Job window with the Destinations tab active:
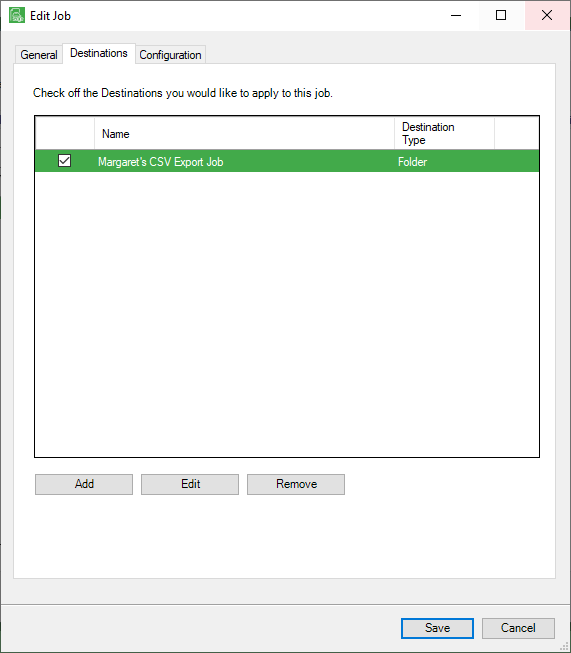
1.Click Edit.
A warning prompt may display listing jobs that would be impacted by editing this job.
If this prompt displays, click Yes to continue or click No to stop.
The Destination Properties dialog box similar to the following displays:
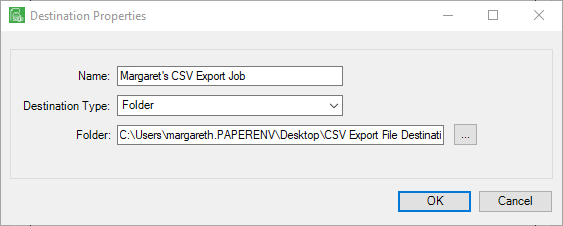
2.Keep the Name field default.
3.In the Destination Type, accept the default: Folder
4.If necessary, click the  to locate a different folder destination.
The Browse For Folder dialog box similar to the following displays:
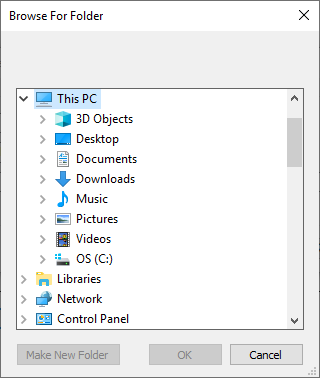
Note that if a new folder needs to be created, click Make New Folder.
5.Click OK.
The Destinations tab will resemble the following:
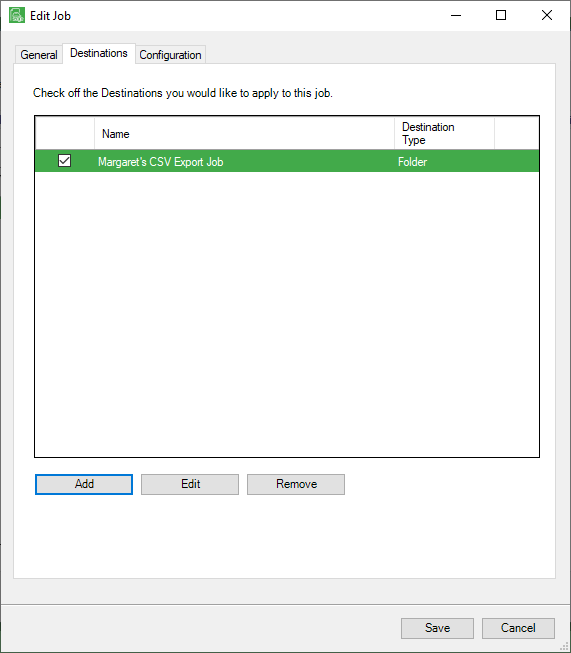
6.if not already selected, click the check box to select the destination.
7.Click Save if no additional edits are necessary or click the Configuration tab.
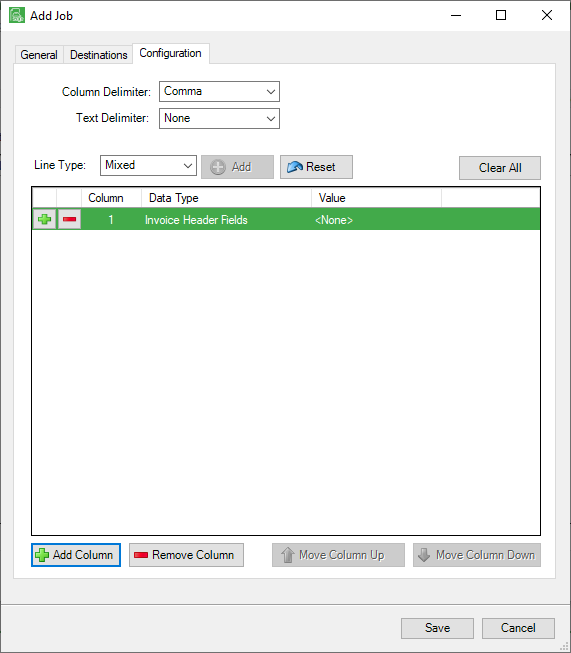
To export invoices, this is where the system is "told" how to read the export file. In Sage Paperless Construction, the Configuration tab is where to configure "columns" of data present in the CSV file; essentially, columns are mapped to invoice fields on the invoice.
1.If necessary, select a different Column Delimiter from the field dropdown.
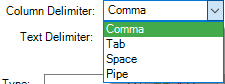
Comma is the field default.
2.If necessary, select a different Text Delimiter from the field dropdown.
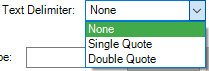
None is the field default.
Note: The Line Type field will be inactive. Continue with step 3.
3.If you want to export column headers to the exported CSV file, click the Export Column Names checkbox.
Note that an additional column associated with the Value column similar to the following displays:
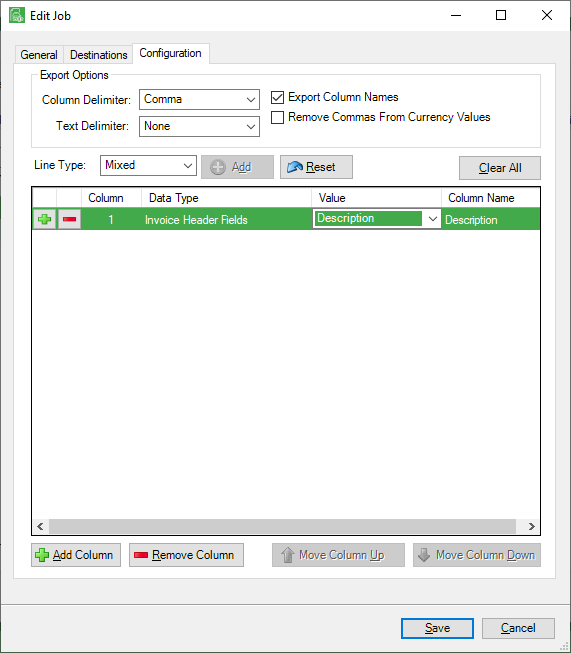
The Column Name entry will mirror the Value entry. You can change the Column Name entry to something more appropriate, if necessary.
4.Click the Remove Commas From Currency Values checkbox if the fields that are formatted as currency should not include commas in your export file.
For example, 1,500.00 will display as 1500.00.
Leave the Remove Commas From Currency Values checkbox blank if commas should display in the fields that are formatted as currency.
5.Click Add, 
The following Add Line Types dialog box displays:
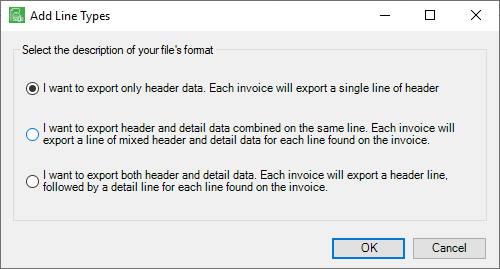
6.Based on the file's format (header only, header and detail on same line--the Line Type field will display Mixed, or header line and separate detail line), select the most appropriate option.
7.Click OK.
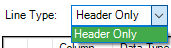
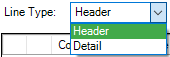
8.In the Line Type field, use the dropdown to select the line type.
The Line Type field dropdown option depends on the file format selection in the Add Line Types dialog box:
Select: I want to export only header data. Each invoice will export a single line of header. The Line Type field dropdown lists Header Only. |
|
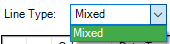
Select: I want to export header and detail data combined on the same line. Each invoice will export a line of mixed header and detail data for each line found on the invoice. The Line Type field dropdown lists Mixed. |
|
Select: I want to export both header and detail data. Each invoice will export a header line, followed by a detail line for each line found on the invoice. The Line Type field dropdown lists Header and Detail. |
|
9.Click Add Column,  .
.
The following Add Column Mappings dialog box displays:
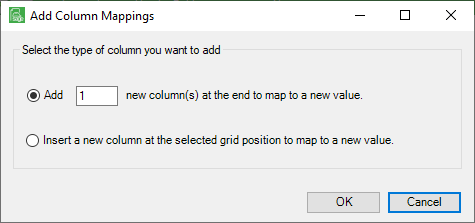
10.Unless initially certain of the column position at the time of insertion, start by using the default (Add 1 new column(s) at the end to map to a new value.). There is no recommended value. This number is based on the total number of columns (invoice fields) the user is going to want to export to the file. The number of columns can be changed later during configuration setup.
11.Click OK.
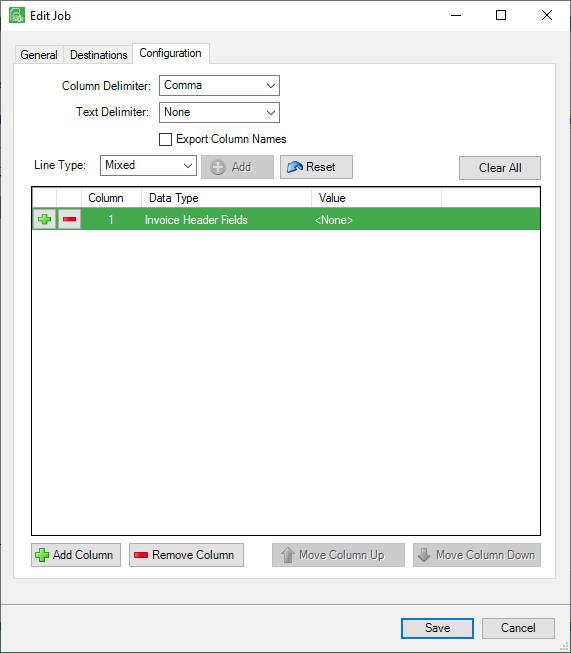
The Configuration tab will resemble the following:
Configuration Tab Navigation
|
Click this icon to add another row in the grid. |
|
Click this icon to remove an existing row in the grid. |
|
Click this icon to bring up the Add Line Types dialog box:
Once the selection is made and OK is clicked, the Line Type field populates (Header Only, Mixed, Header/Detail). |
|
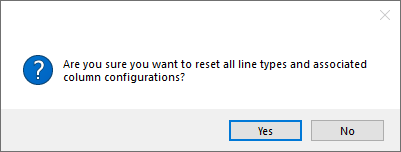
Click this icon to reset (remove) all existing lines in the grid. The following dialog box displays to confirm the removal:
Note: This includes removing the Line Type field selection text. |
|
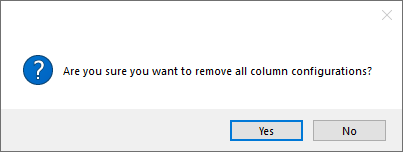
Click this icon to remove all existing lines in the grid. The following dialog box displays to confirm the removal:
Note: This does not include removing the Line Type field selection text. |
|
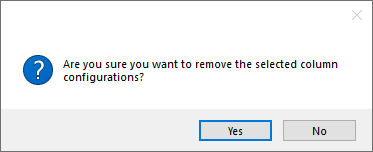
Click this to add a column entry to the grid. The following dialog box displays allowing the user to indicate where the new column entry is to be placed:
Select Add (#) new column(s) at the end to map to a new value and then click OK. A new column entry (or entries) will be added at the bottom of the existing column entries displaying in the grid. Highlight an existing column entry. Click Add Column. |
|
Click this icon to remove the last row in the grid.
|
|
Highlight an existing column entry in the grid. |
|
Highlight an existing column entry in the grid. |


12.In the Data Type column, click the selection field (in this example Invoice Header Fields) to display the dropdown arrow.
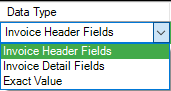
Choose a field here that matches a field in the header of the Invoice Entry screen. Do this by clicking Invoice Header Fields from the dropdown and selecting a value from the dropdown list in the Value column, such as Invoice Date or Invoice Amount.
To display specific data in the export file, enter that information in a column with an Exact Value Data Type. Note that any Exact Value entry will display in bold.
This Exact Value will be exported in the designated column position.

13.Use the column positioning buttons as necessary to add and remove columns and to move columns up or down.
14.Click Save.
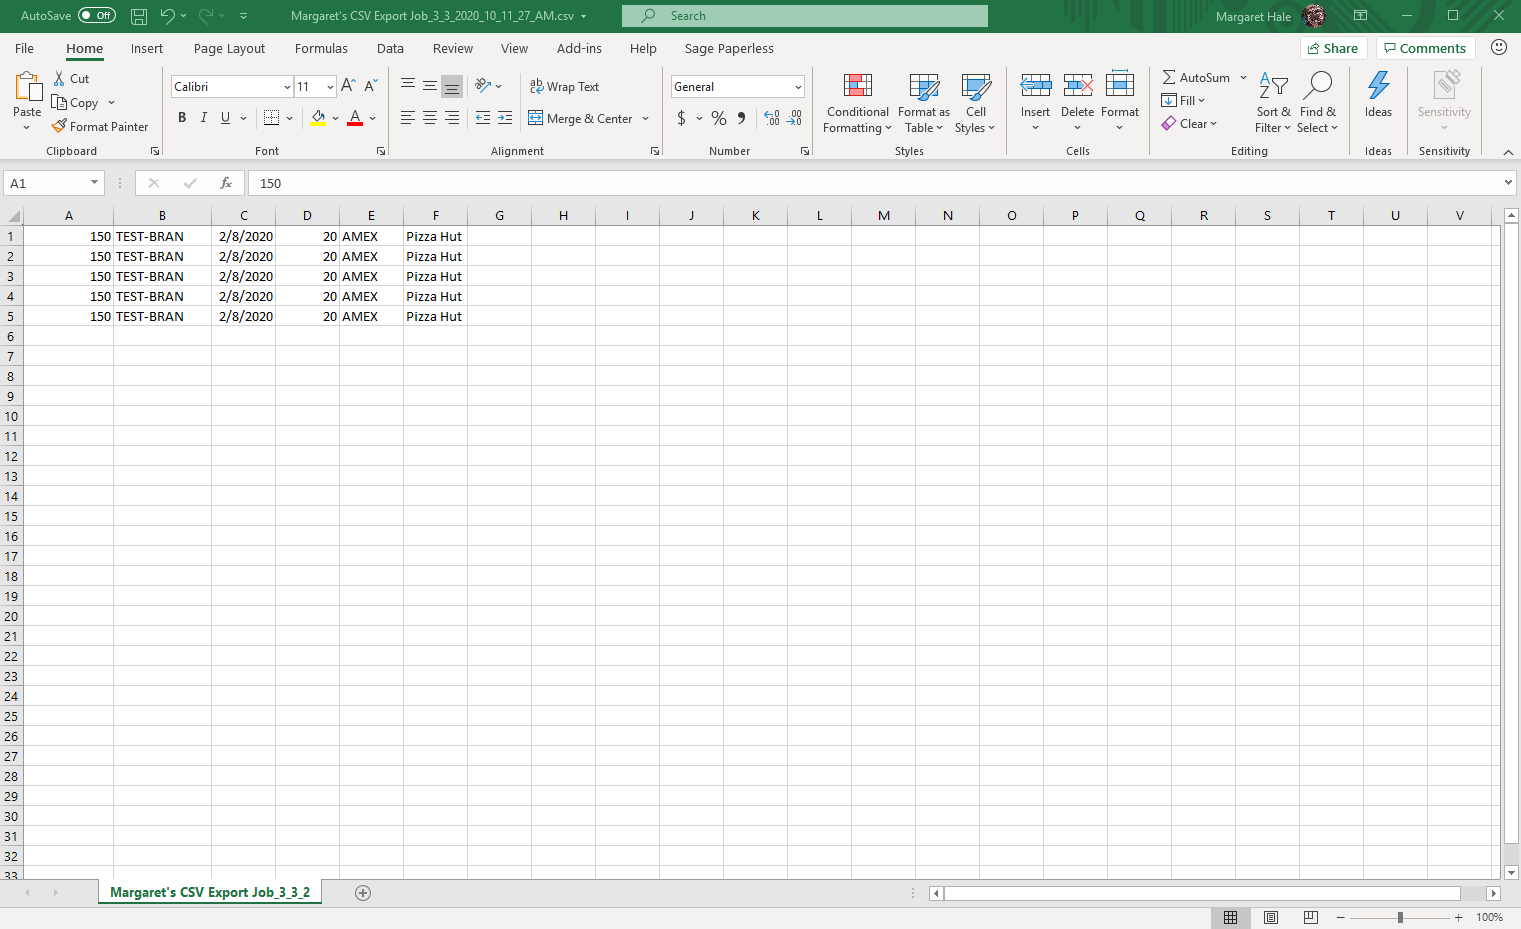
At this point, when exporting invoices, a CSV file is created and exported to the folder created on the Destination tab.
The folder and files will resemble the following:

The CSV file will resemble the following: