After importing or manually adding a project, the project for insurance tracking needs to be configured.
1.From the ribbon toolbar, click Greenlight CM™.
2.Click Greenlight.
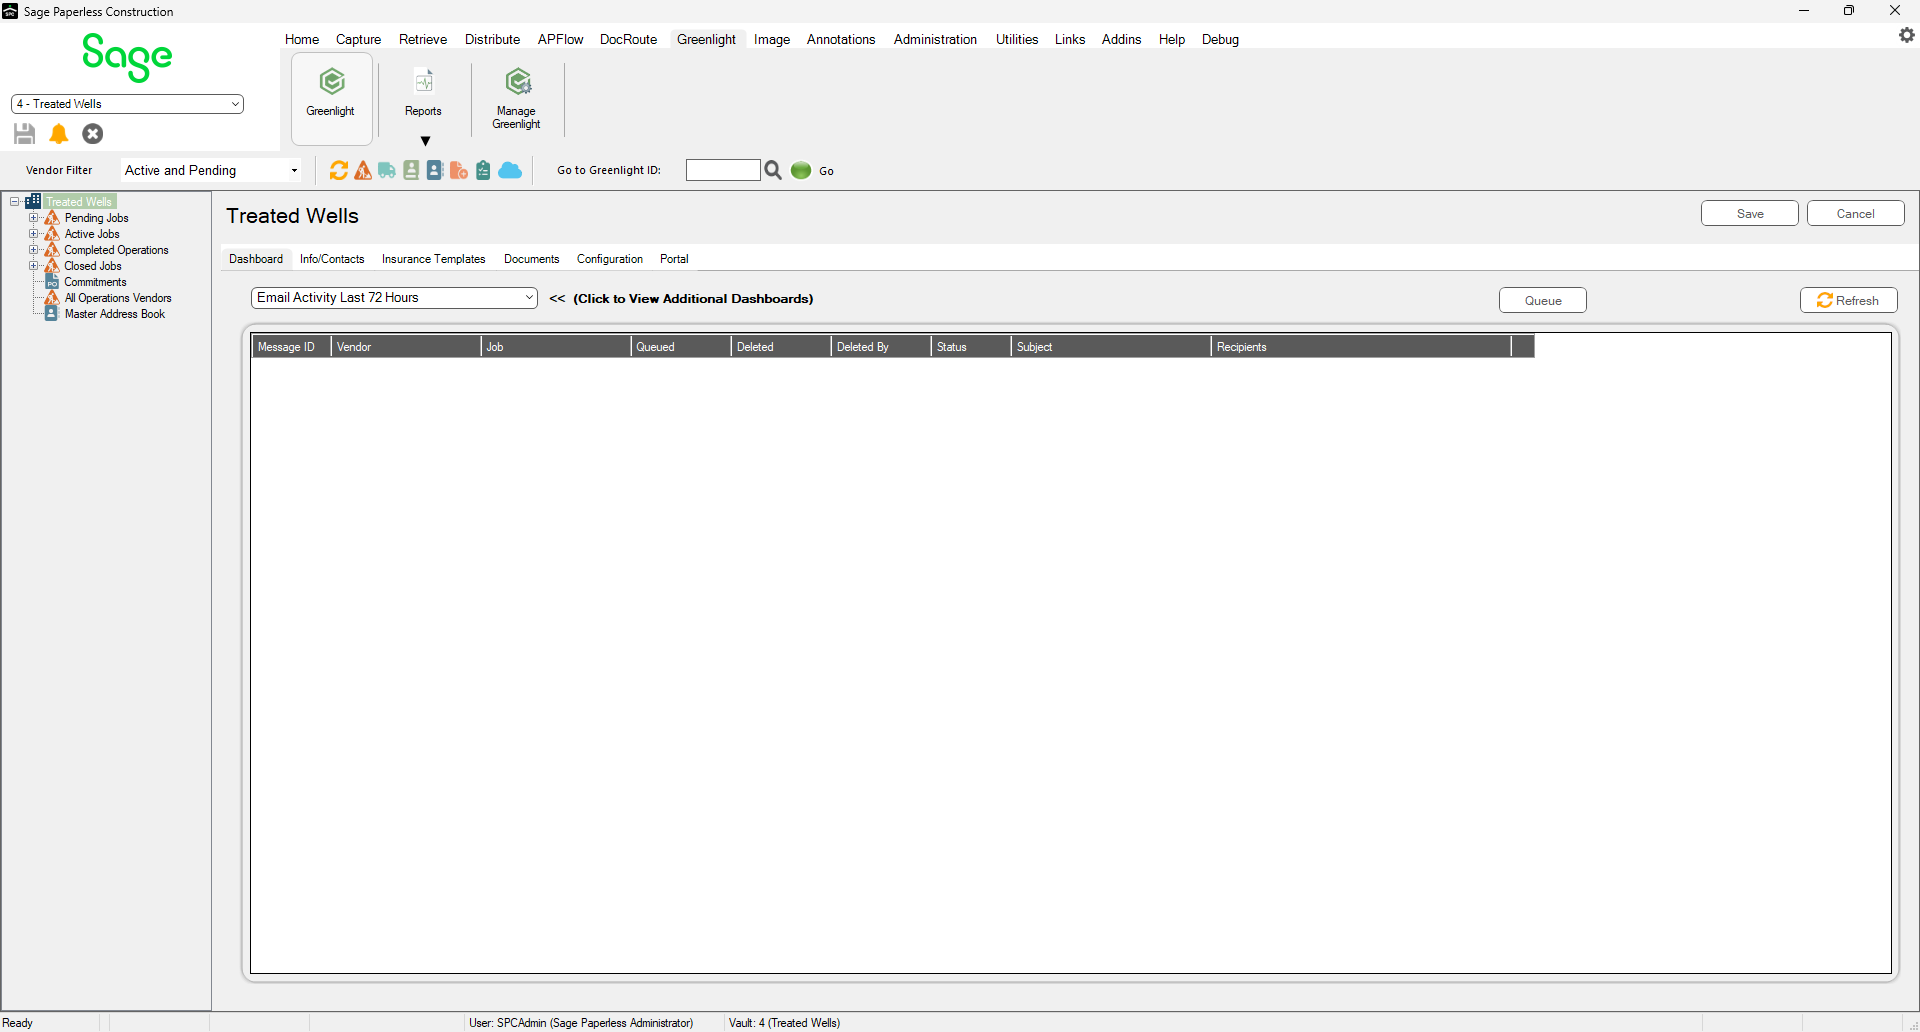
The main screen displays with the Dashboard tab active:

3.In the left navigation bar, click on a job.
The following screen displays with the Job Info tab active:

The upper pane includes the Job Number, Name and Sub Job fields. This information was entered when the job was added. Click here for details on adding jobs. For details on removing jobs--or rather marking them Inactive--click here. For details on reactivating job that were previously marked Inactive, click here. This is also where you identify those jobs that display on the portal and indicate what you are allowed to do once on the portal.
Address1 |
These fields can be imported from the accounting system. If the job was imported from the accounting system, you are unable to update the information here. Instead, access your accounting system and update the information there. The updated data is imported into Greenlight. If you manually create the job on this screen, you can enter the address fields.
TIP: If you are entering data into the job's address fields, starting by entering the zip code in the Zip field. The system defaults the city, state and county (or parish if the state is Louisiana), so all you need to enter is the actual address in the Address1 and Address2 fields. |
Status |
The job status determines where a job is located on the left navigation bar. Additionally, a job's status is directly related to whether or not compliance items are tracked. This field has a dropdown from which to select:
•Pending •Active •Completed Operations •Closed |
Project Insurance Type |
Select if this job requires Insurance Controlled Programs. This field has a dropdown from which to select:
This dropdown can be revised by accessing the Project Insurance Types topic within the Lookup Tables. Click here for details. |
Start Date |
This date refers to the official start date of the job. Depending on your accounting system, this date may be imported. |
Estimated Completed Operations Date |
Provided by project management staff or other company personnel, enter the estimated project completion date. Depending on your accounting system, this date may be imported. |
Completed Operations Period (Months) |
Enter the actual date the job was completed in this field. When a job is completed and the Status field is updated to Completed Operations (from Active), enter the number of months here. |
Completed Operations Start Date |
Once the job status is set to Completed Operations, this field displays. It is systematically populated with the current date. Note: You can run the Completed Operations report when determining whether or not a job can be moved from a Completed status to a Closed status. |
Insurance Expiration Threshold |
Enter the number of days that represents the insurance expiration threshold. For example, 30 days before insurance expires, a notice systematically generates. |
Display on Portal |
Check this box to allow the job to display in the Greenlight Portal. Note: To allow a subcontractor to access the Greenlight Portal, they must be added as a contact under the vendor. Click here for details. |
Allow Portal Insurance Update |
Click this box to allow the Greenlight Portal user to edit and update the insurance directly on the portal instead of just uploading the document. |
Track Waivers |
Click this box to allow lien waivers to be tracked in the Greenlight Portal. |
Allow Electronic Signatures for Waivers |
Click the box to allow subcontractors to electronically view, sign and upload lien waivers without having to download, then sign and finally upload the signed lien waivers manually. |
The middle area includes the Activity field with access to the dashboards and dashboard-related functionality.
The Job Compliance Dashboard allows you to:
•view the activity on the job
•identify vendors who are Out of Compliance
•determine which vendors have Expiring Insurance Policies
Each dashboard includes a hyperlink that directs you to that Vendor record. Switch between dashboards by using the field dropdown.
The bottom pane includes links to vendor-specific Activity notes and system-generated emails.

