At the bottom of the Company screen is the Divisions grid similar to the following:
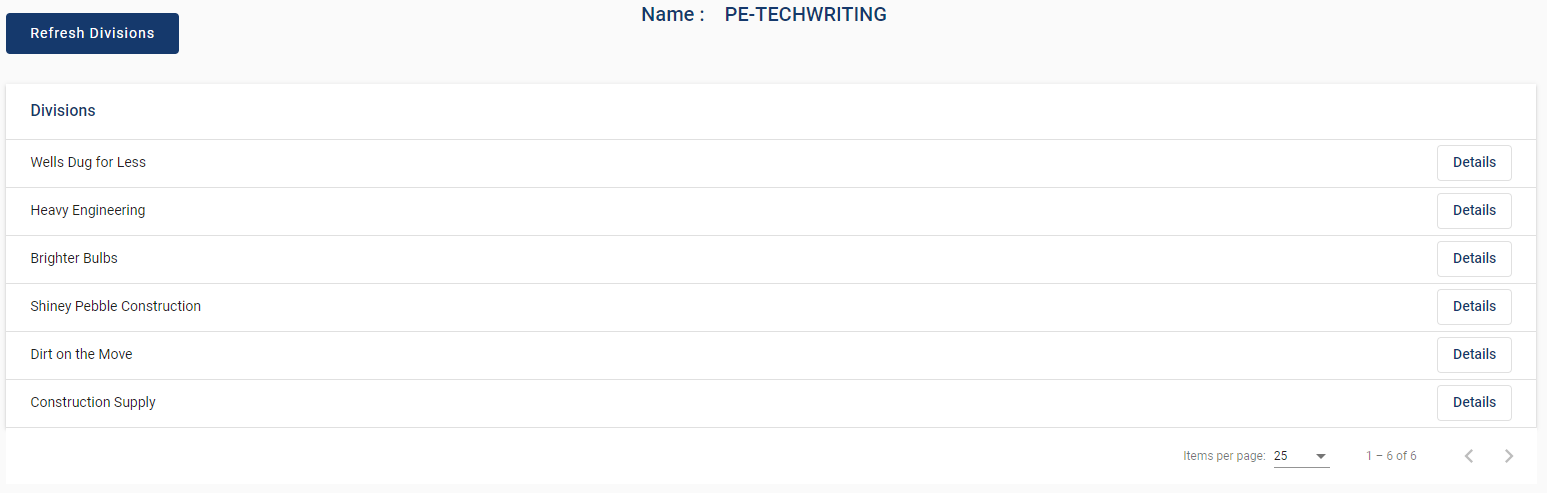
You can resort the order in which your divisions display by clicking the sorting arrow that is visible when you hover over the Divisions header,  .
.
The list of Divisions will originally display in the order entered. If you want to have the Divisions display in alphabetical order, click the sorting arrow.
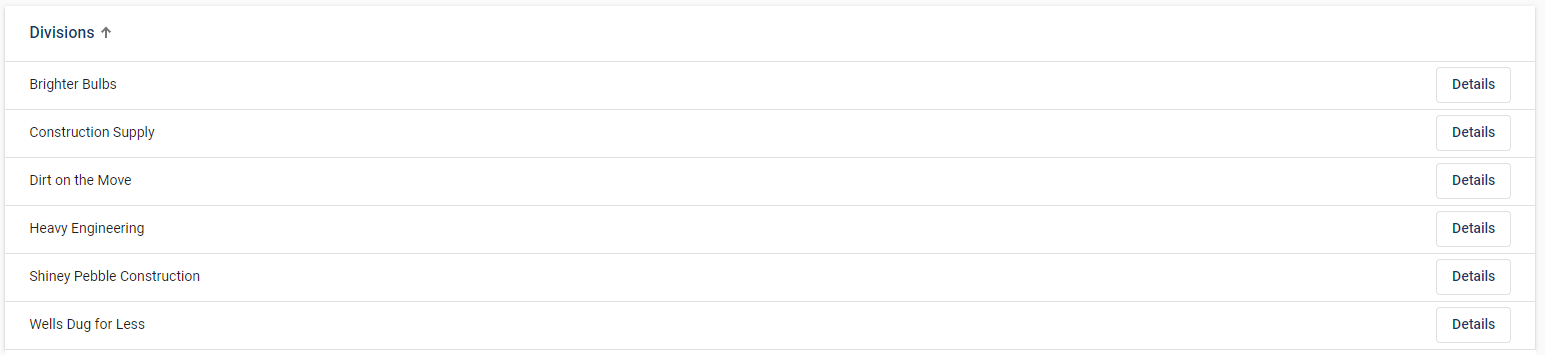
Note that the arrow is now visible. If you want to re-sort the list in reverse alphabetical order, click the arrow again.
Adding a Division
A division is not added on the LOTO portal. Instead you have to log into pVault®.
1.To add a division, access pVault®.
2.From the ribbon toolbar, click Administration.
3.Click Vaults,  .
.
The Vaults window similar to the following displays listing all available vaults for the client.
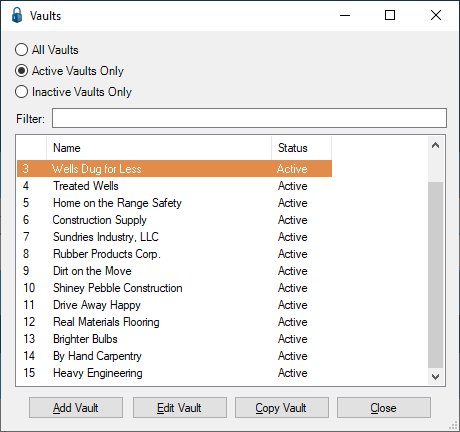
4.Highlight the vault you want to add to LOTO and click Edit Vault.
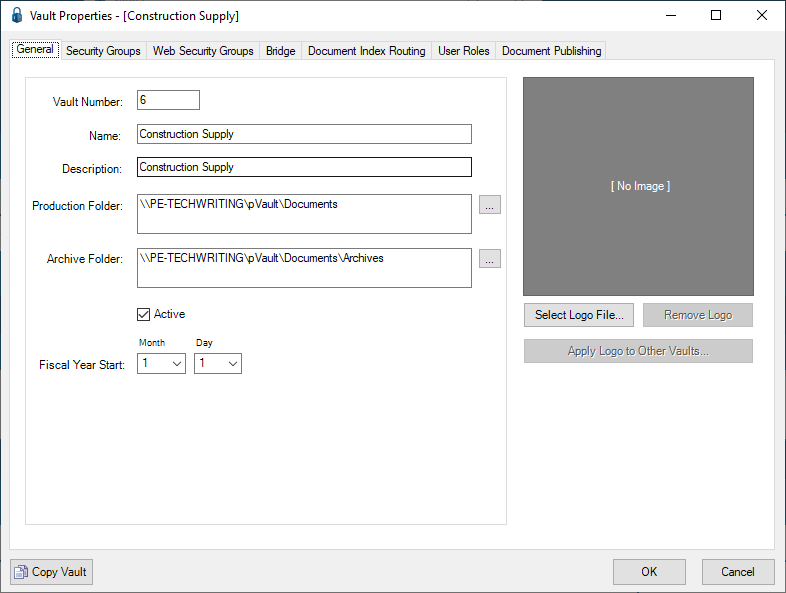
The Vault Properties window similar to the following displays with the General tab active:
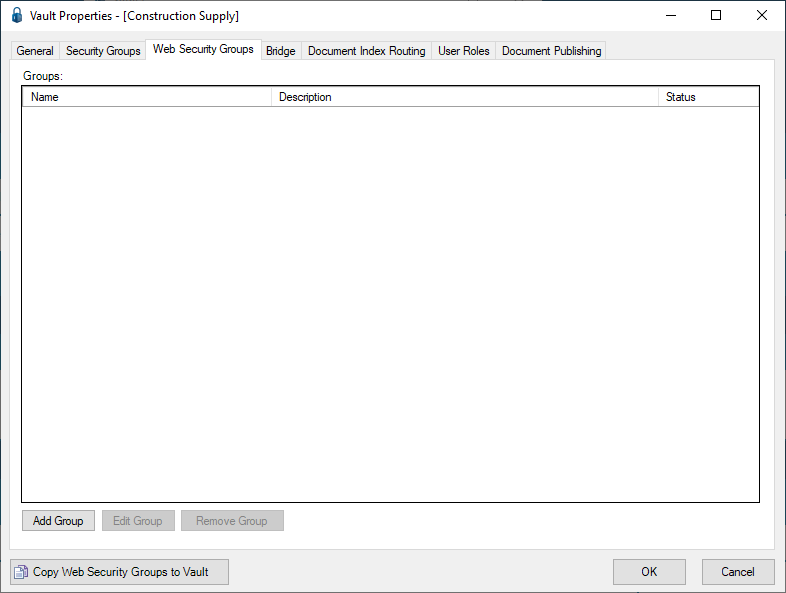
5.Click the Web Security Groups tab.
The following window displays:
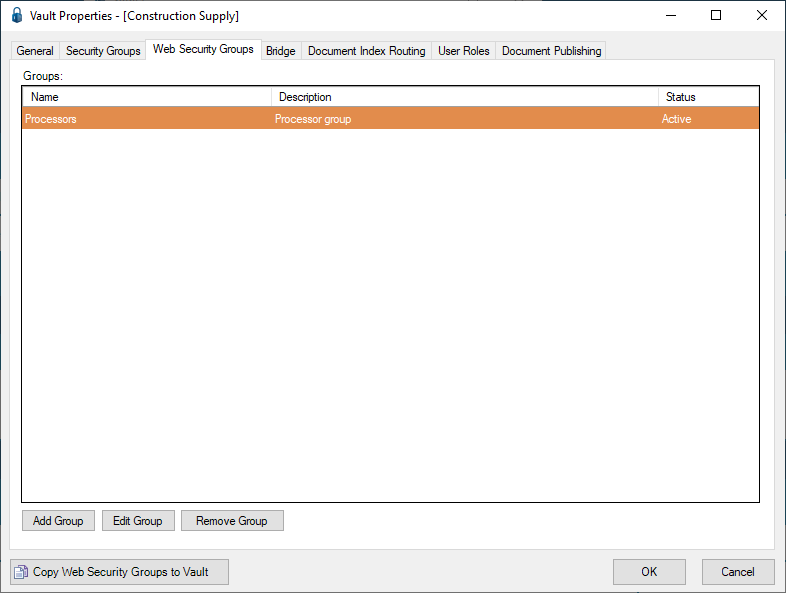
6.Click Add Group to access the first Create Web Security Group wizard window. Click here for instructions on working through the wizard windows.
The completed Web Security Groups tab window should resemble the following:
7.Click OK to close the Vault Properties window.
8.Click Close to close the Vaults window.
9.From the ribbon toolbar, click Users.
10.From the dropdown, click Web Users.
A Web User Accounts window similar to the following displays:
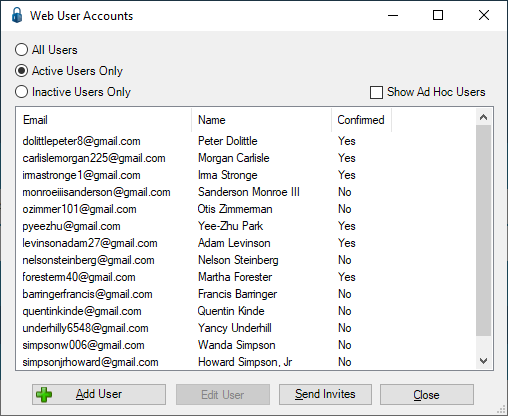
11.Click to highlight a web user entry.
12.Click Edit User.
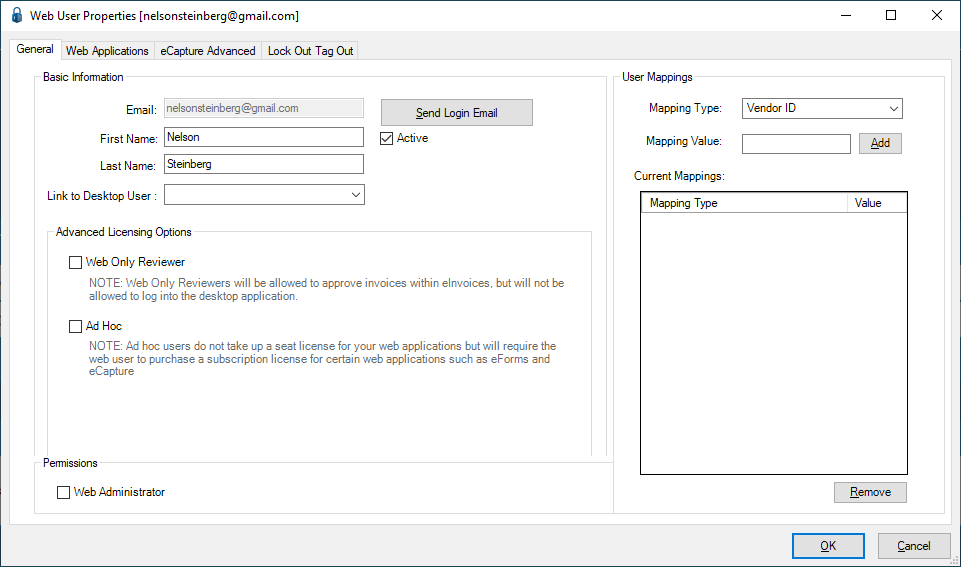
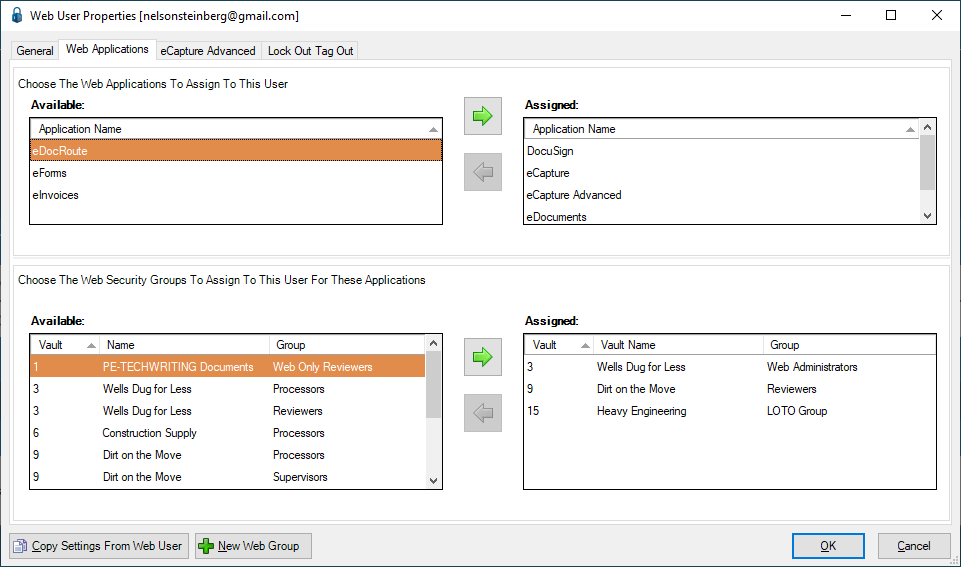
The Web User Properties window similar to the following displays with the General tab active:
13.Click the Web Applications tab.
A window similar to the following displays:
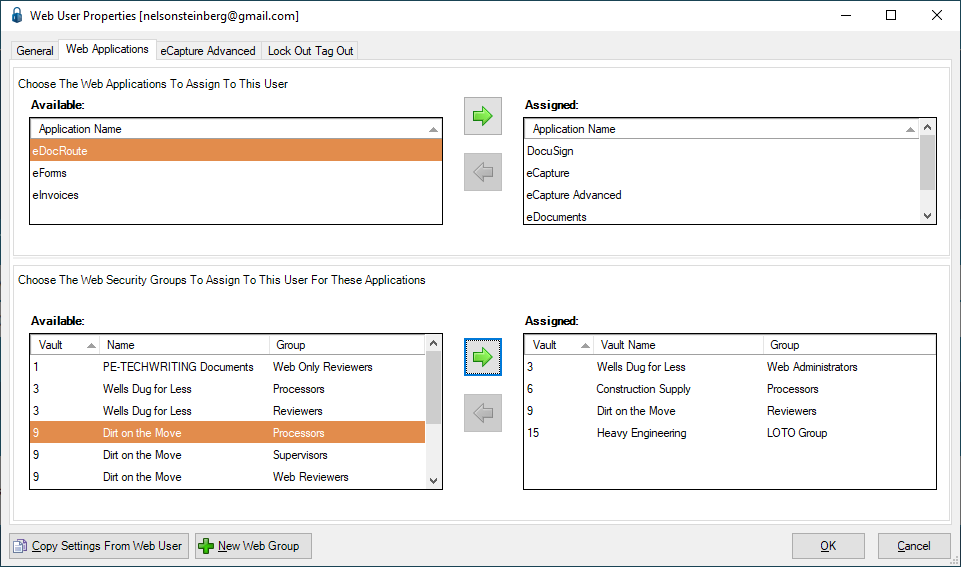
14.In the bottom pane (Choose The Web Security Groups To Assign To This User For These Applications), click to select the appropriate vault. In this case: Construction Supply.
15.Click the  to move the entry from Available to Assigned.
The window should resemble the following:
16.Click OK to close the Web User Properties window.
17.Click Close to close the Web User Accounts window.
18.Close out of pVault®.
19.Log back into the LOTO portal.
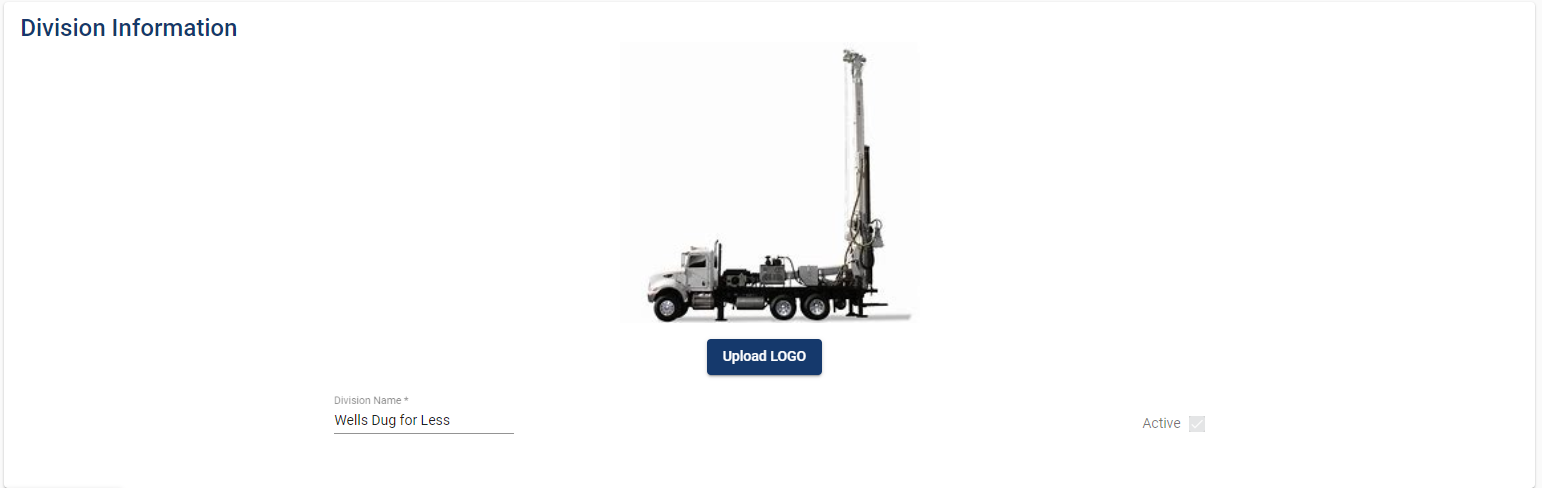
Upload LOGO
This is where you can upload a logo image associated with a particular division.
1.Click Details.
The Division Information screen similar to the following displays:

2.Click Upload LOGO.
The Division Information screen similar to the following displays:
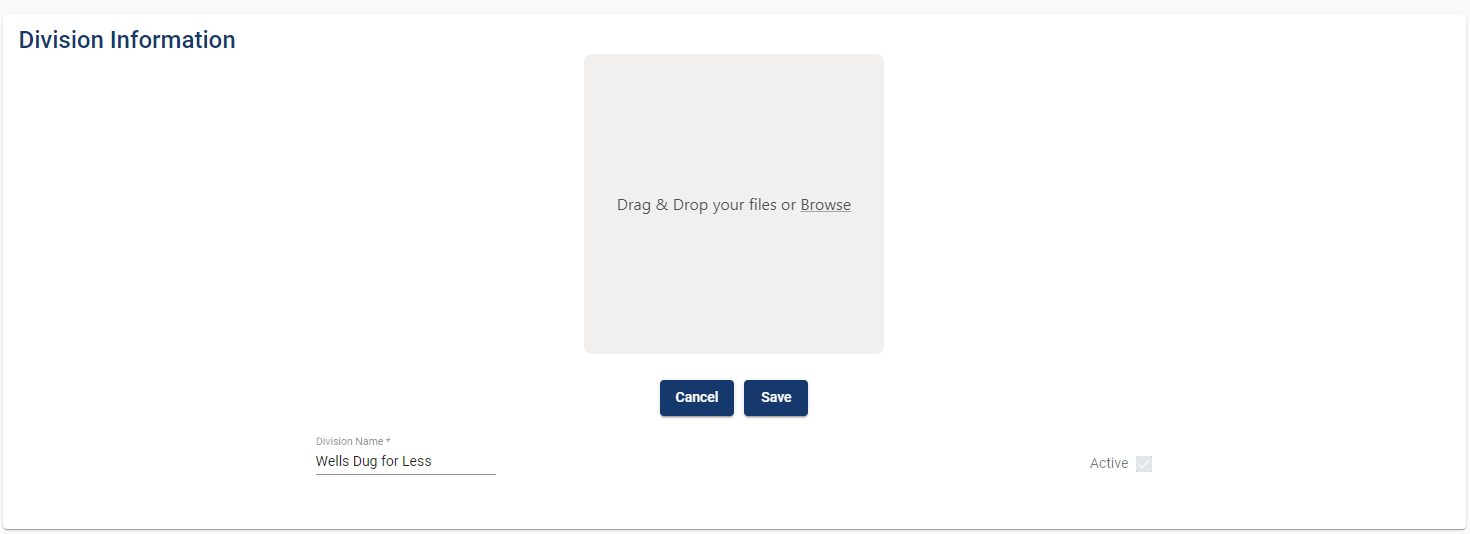
3.In the square, drag and drop the image file or click Browse.
The square should resemble the following when an image is dragged in and then dropped:
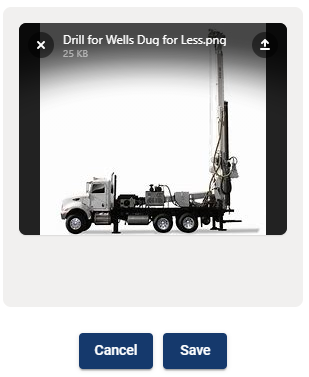
4.Click Save.
The Division Information pane will resemble the following:
Assign Admin
This is where you can assign an administrator for a specific division.

1.Click Assign Admin.
The following Add Admin dialog box displays:
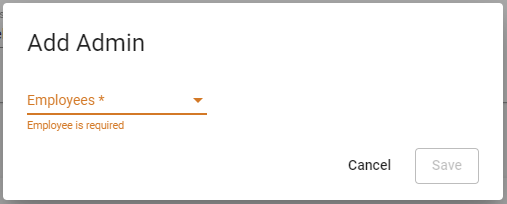
2.Use the Employees field dropdown to locate the employee who will have administrator permissions.
3.Click Save.
