Important: Field Calculations are only for custom fields. Custom fields with calculations may be overridden when entering an invoice if the associated field property is set to Yes.
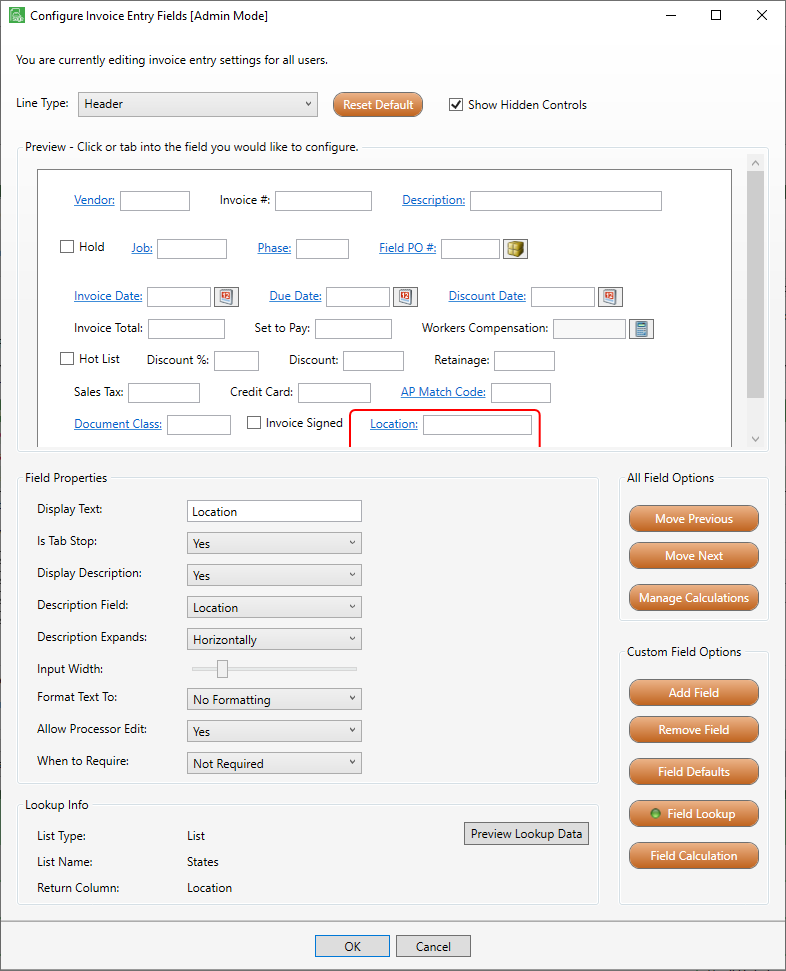
1.Click or tab to highlight an existing or newly created custom field.
The Configure Invoice Entry Fields window now displays the following Custom Field Options:
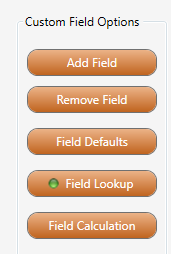
2.Click Field Calculation,  .
.
The following Edit Calculation dialog box displays:
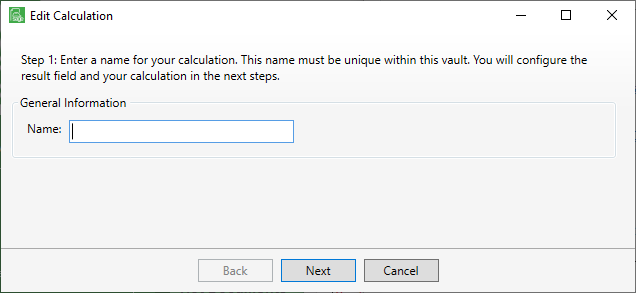
3.In the Name field, type a name for the new calculation you are creating.
This name is vault-specific.
4.Click Next.
The following dialog box displays:
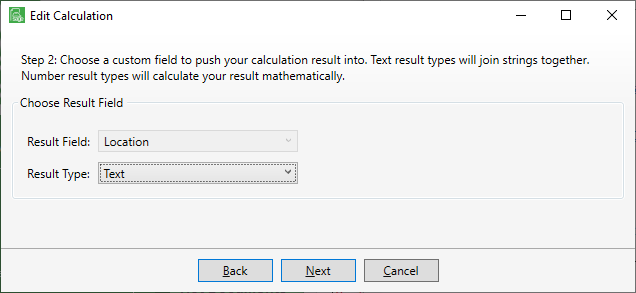
When configuring a specific calculation, the Result Field will be locked down to the field that you are editing.
For example: Location
1.Use the dropdown for the Result Type field.
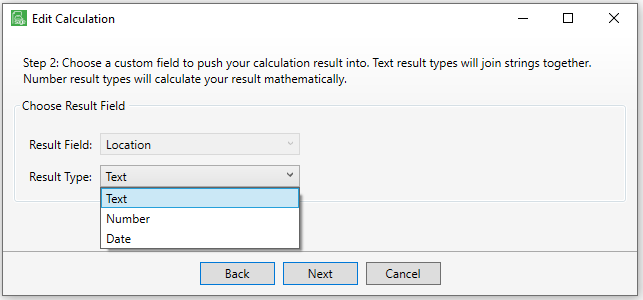
You may choose from Text, Number or Date. The choice you make on this dialog box will impact available selections during the field calculation configuration process.
Important: If the Result Field is a header field, the build calculation can only use header fields. If the Result Field is a detail field, then all fields are available for the build calculation.
2.Click Next.
The following dialog box displays:
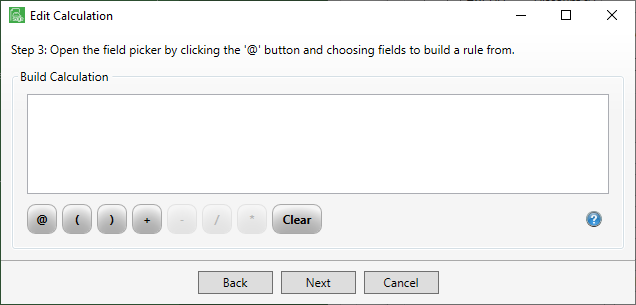
For Number Calculations, all icons display as active and available when configuring your calculation..
For Text Calculations, the  ,
,  ,
, 
 and
and  icons are active and may be selected when configuring your calculation.
For Date Calculations, only the , ,  and icons are active and may be selected when configuring your calculation.
3.Click the icons to build the calculation in the Build Calculation text box.
Refer to the table for icon details.
Note: Each value must be selected independently.
When you click the or your configured lookup key (default is F4), a dialog box similar to the following displays:
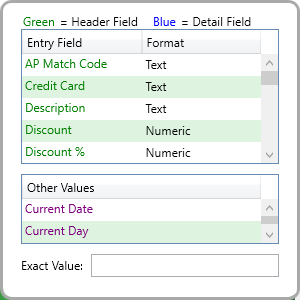
The top grid lists header fields (in green) and detail fields (in blue). If the Result Field is a header field, the build calculation can only use header fields. If the Result Field is a detail field, then all fields are available for the build calculation.
The middle grid lists dynamic values.
In the Exact Value field, enter numbers or symbols. The system does not recognize text in this field. To exit the Exact Value field, click Enter.
To exit this dialog box, click either Esc or click back in the text box area to close.
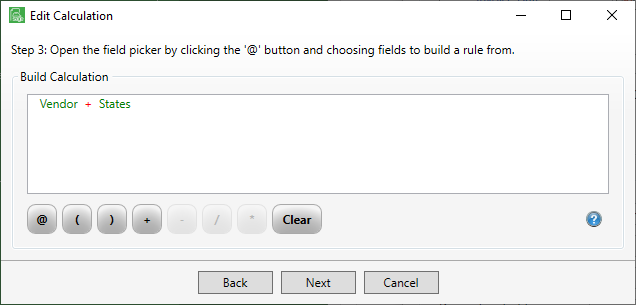
For a Text Calculation, the Edit Calculation dialog box could resemble the following:
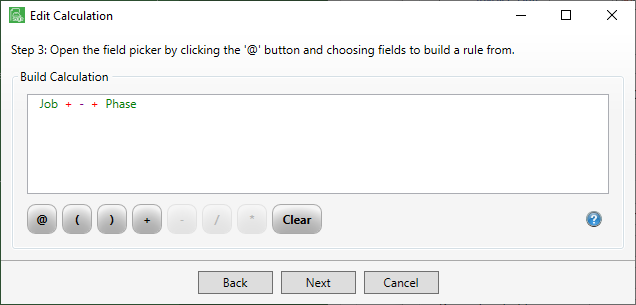
For a Text Calculation with exact values such as Job - Phase, click and select Job. Then click . In the Exact Value field enter -. Finally, click and select Phase.
The Edit Calculation dialog box would resemble the following:
For a Date Calculation, the Edit Calculation dialog box could resemble the following:
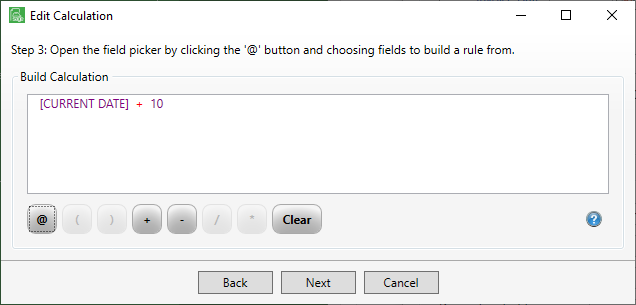
Important: There are limitations with a Date Calculation. The calculation can be Number + Date, Date + Number, Number - Date or Date - Number.
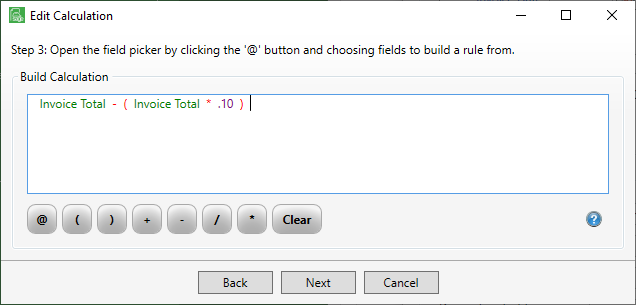
For a Number Calculation, the Edit Calculation dialog box could resemble the following:
|
Click this icon to add a field to where your cursor is currently positioned. |
|
Click this icon to add an open parentheses to where your cursor is currently positioned. |
|
Click this icon to add a close parentheses to where your cursor is currently positioned. |
|
Click this icon to add a plus sign to where your cursor is currently positioned. |
|
Click this icon to add a minus sign to where your cursor is currently positioned. Note: This icon is active only when the Result Type field (in Step 2) is set to Number. |
|
Click this icon to add a divide sign to where your cursor is currently positioned. Note: This icon is active only when the Result Type field (in Step 2) is set to Number. |
|
Click this icon to add a multiplication sign to where your cursor is currently positioned. Note: This icon is active only when the Result Type field (in Step 2) is set to Number. |
|
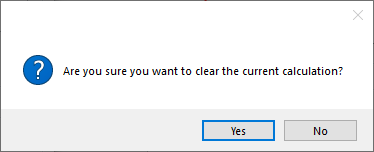
When you click this, an "Are you sure" prompt displays:
If you clicked Clear by mistake, click No. Otherwise, click Yes. |
|
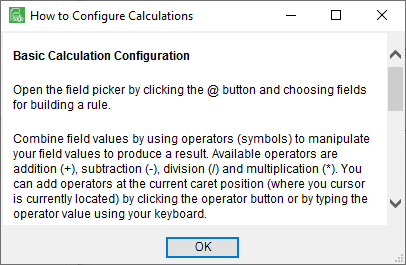
When you click this, a "How to" dialog box displays:
In addition to instructions on how to navigate through building calculations using your mouse or your keyboard, there are tips for moving the value of one field into another field and limitations around header fields. |


4.Click Next.
The Edit Calculation dialog box, Step 4, is where you can verify what you expect. Based on what you selected in the Edit Calculation dialog box, Step 2, Result Type dropdown (Text, Number, Date), the following dialog box that displays will vary accordingly:
For Text Calculations, your test calculation dialog box could resemble the following:
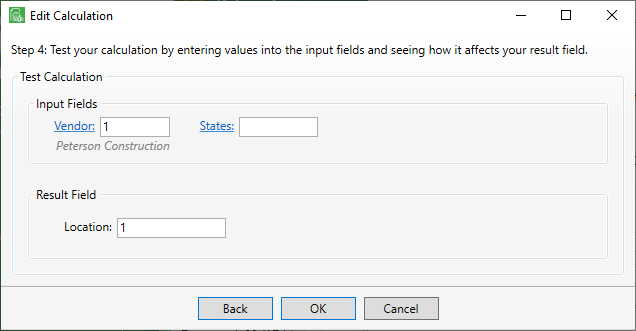
In this example the Input Fields defaults to Vendor 1, with the second field, in this example, States, left unpopulated.
The Result Field for this example defaults to the vendor number, 1.
Click the lookup fields to select the appropriate vendor and state.
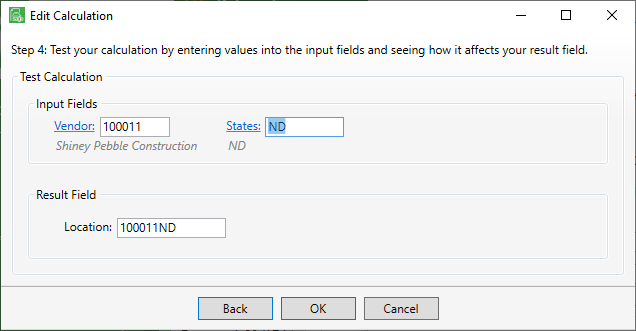
The completed dialog box could resemble the following:
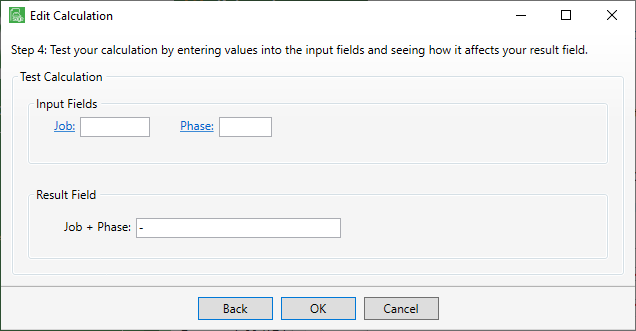
For a Text Calculation with exact values, your test calculation dialog box could resemble the following:
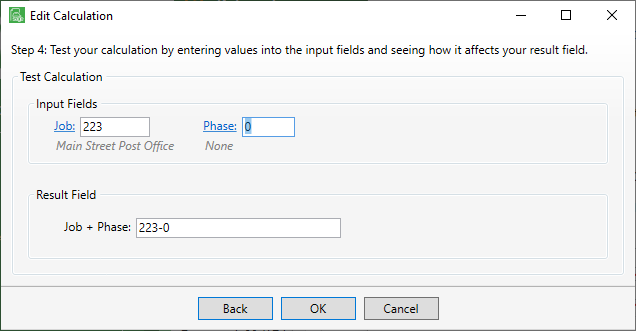
Use the lookups to populate the Job and Phase fields. Note that the exact value, in this example a hyphen (-), displays in the Result Field.
The completed dialog box could resemble the following:
For Date Calculations, your test calculation dialog box could resemble the following:
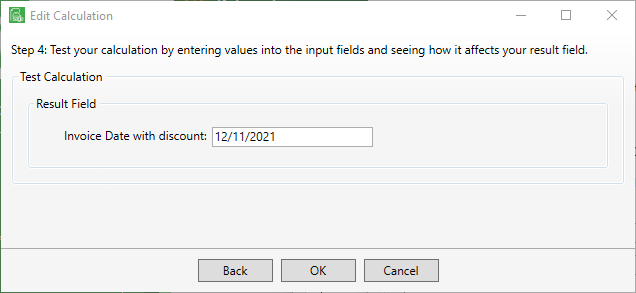
The Result Field for this example displays the current date plus 10 days. The current date was 12/01/2021. The calculation date displays as 12/11/2021.
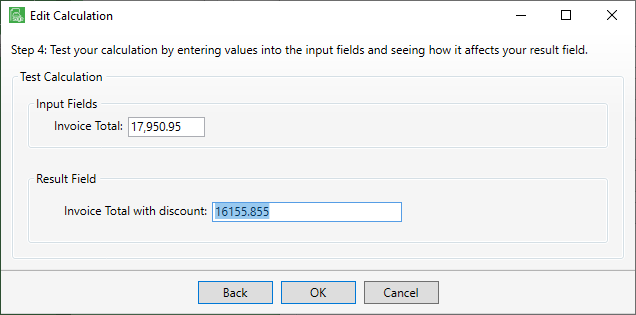
For Number Calculations, your test calculation dialog box could resemble the following:
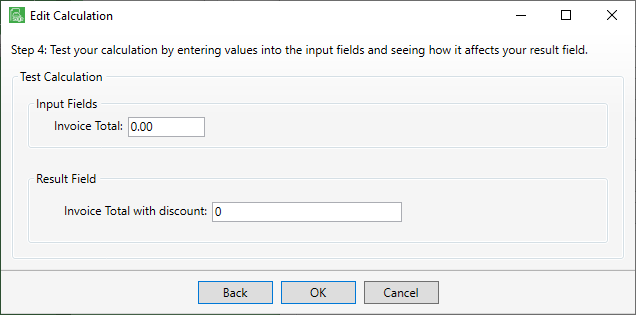
The Input Fields for this example defaults to Invoice Total 0.00 and the Result Field for this example defaults to the Invoice Total with discount, 0.
In this example the invoice amount total is 17,950.95.
Click in the Result Field field, labeled Invoice Total with discount, which is the custom field you added in the Configure Invoice Entry Fields [Admin Mode] window.
Note: If you do not want to have multiple digits displaying to the right of the decimal point, be sure to access the Format Text To field dropdown in the Field Properties grid when you are creating the custom field.
The completed dialog box could resemble the following:
5.Click OK if the test calculation is correct.
When the Field Calculation is configured and active, the Field Calculation button includes an indicator: 
To see how a Text Calculation can work, check out Invoice Routing:
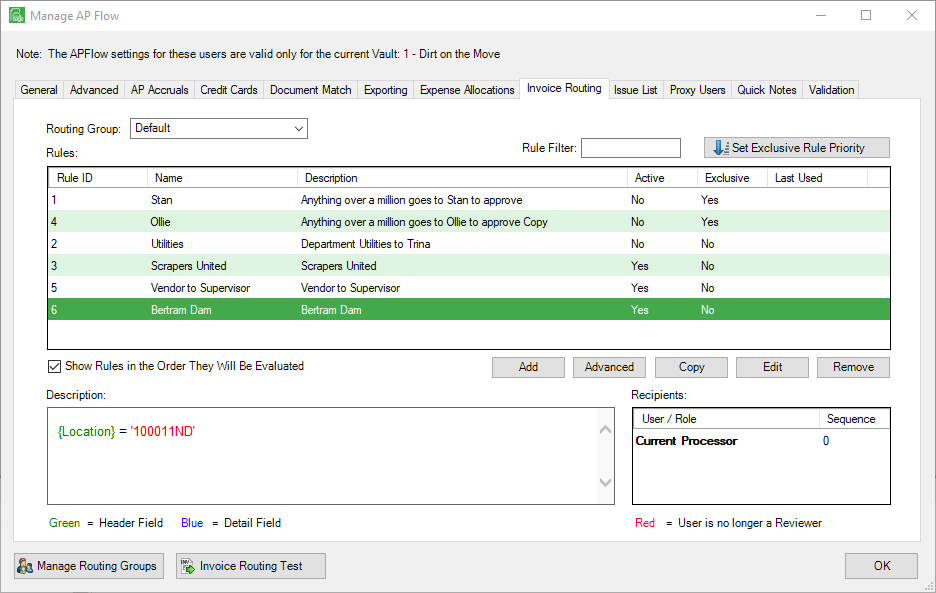
A routing rule is set up in Invoice Routing that directs any invoices for a certain vendor (in this example 100011) for a state location (in this example located in ND) to be routed to a specific individual (in this example to the Sage Paperless Construction Administrator).
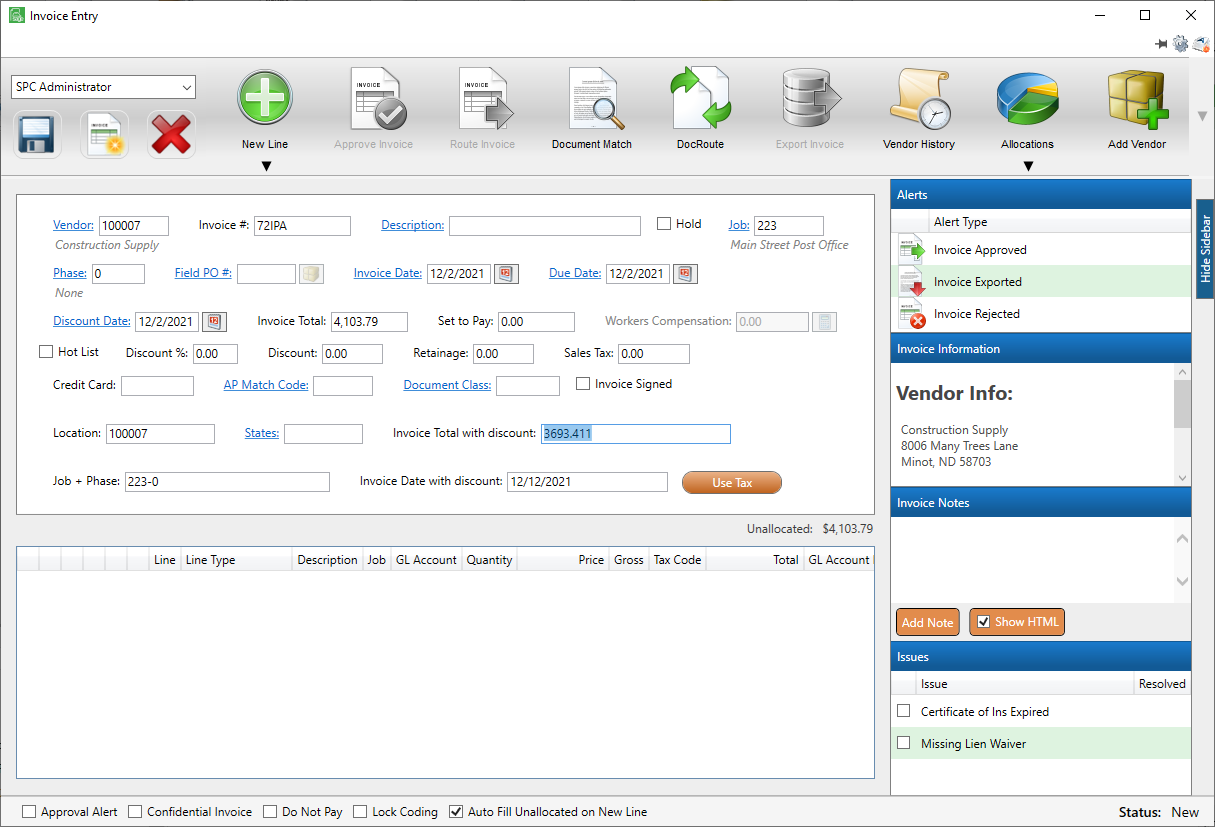
The Location field is a custom header field (denoted by the green font).
To see how a Text Calculation with exact values can work, check out the Job + Phase custom field on the Invoice Entry screen:
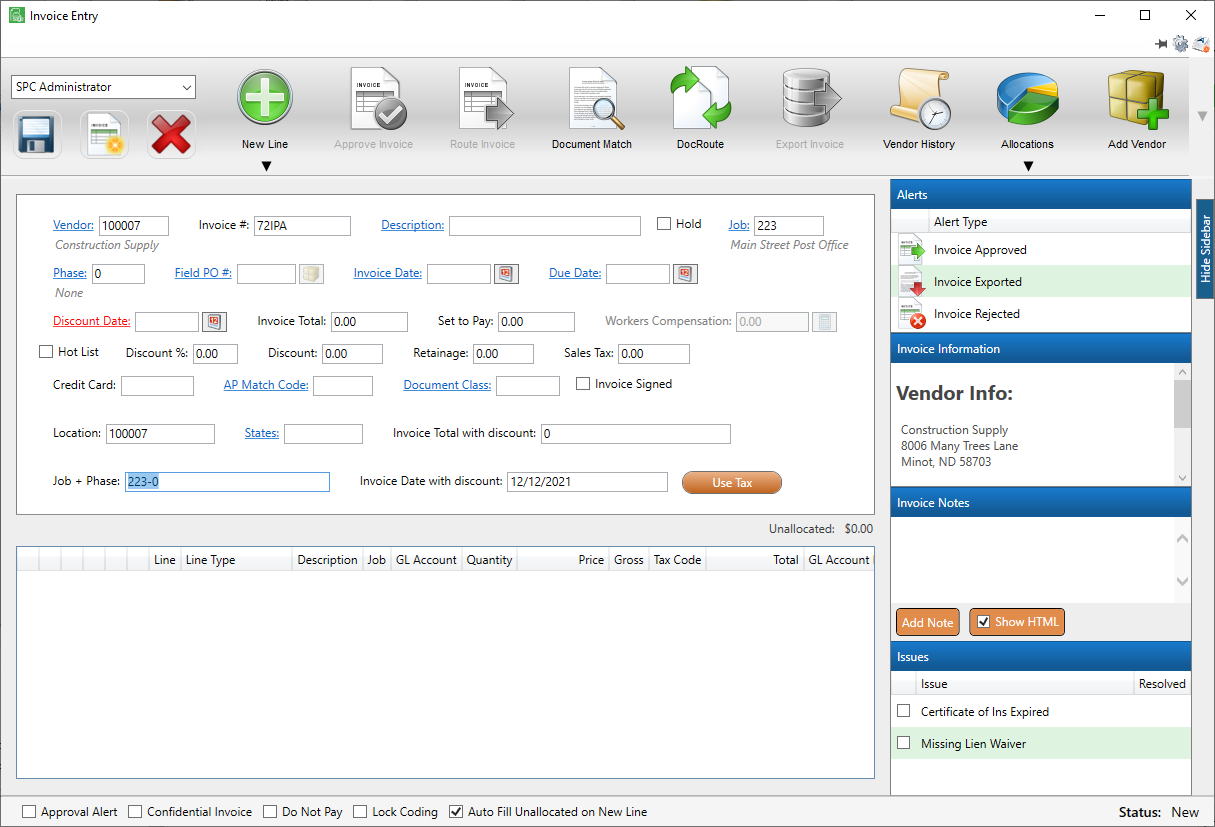
To see how a Date Calculation can work, check out the Invoice Date with discount custom field on the Invoice Entry screen:

To see how a Number Calculation can work, check out the Invoice Total with discount custom field on the Invoice Entry screen: