If your company has additional document types that are unique, you can add them here.
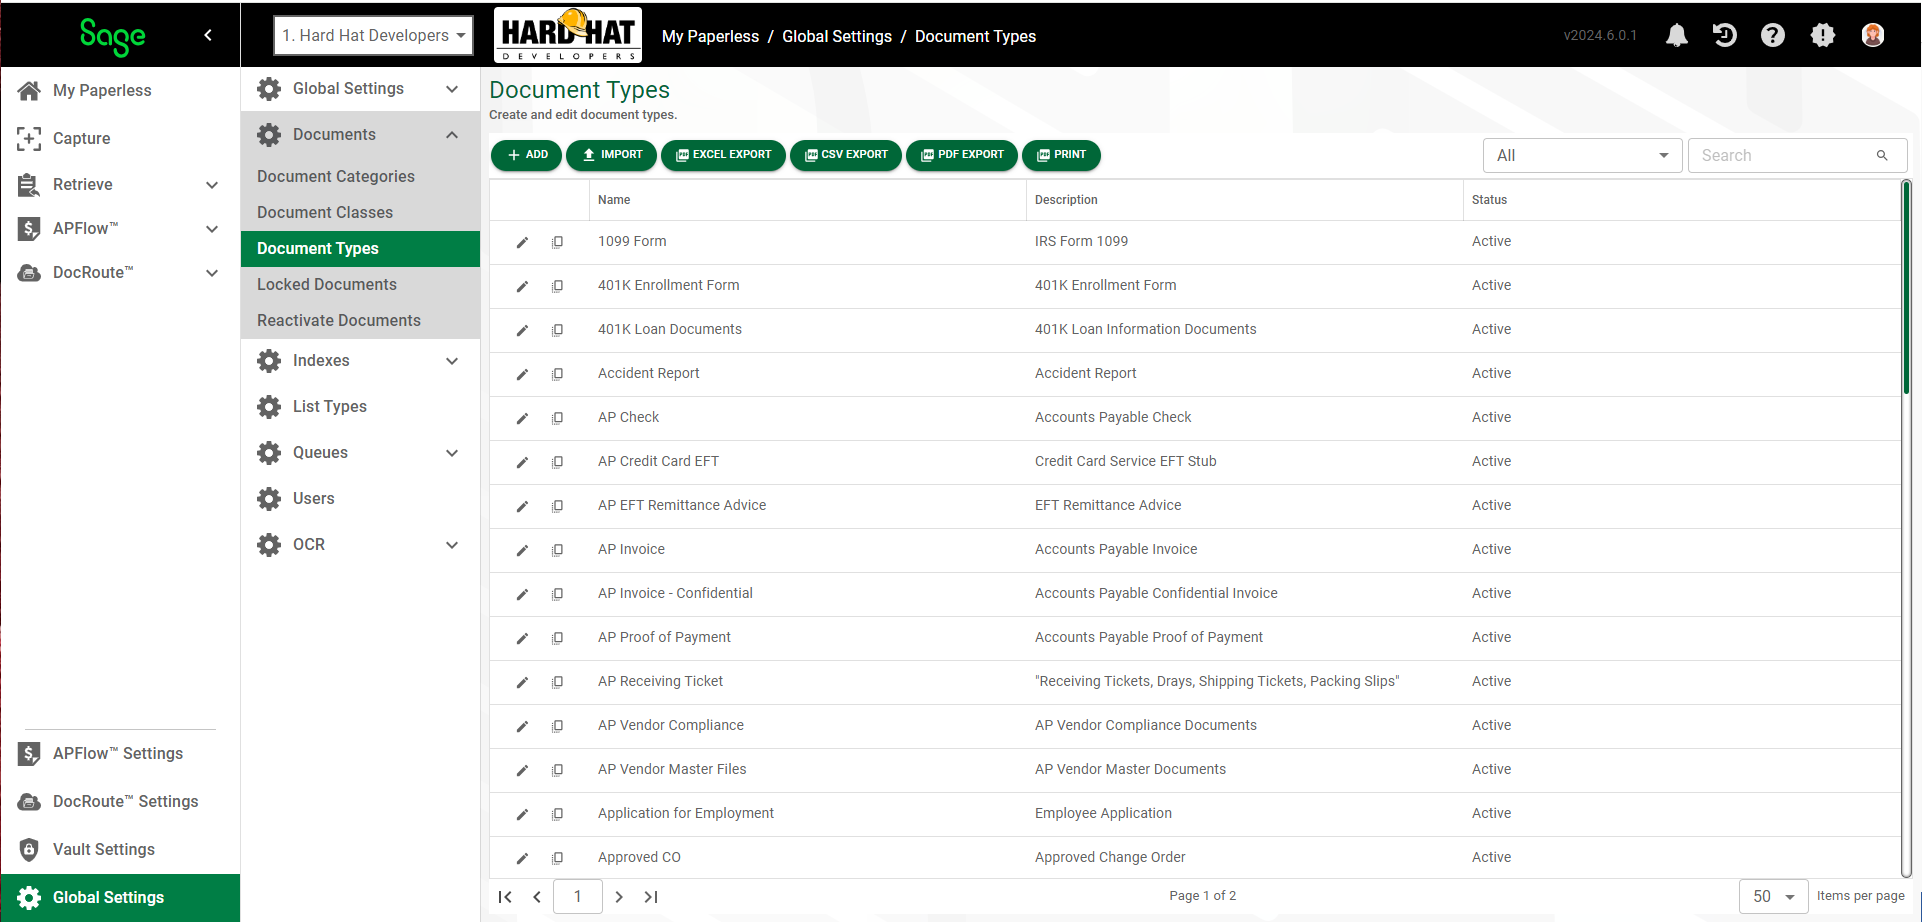
1.From My Paperless, click Global Settings.
2.In the Global Settings navigation bar, click Documents.
3.From the Document dropdown, click Document Types.
4.Click  .
.
The Create Document Type - General Properties dialog displays.
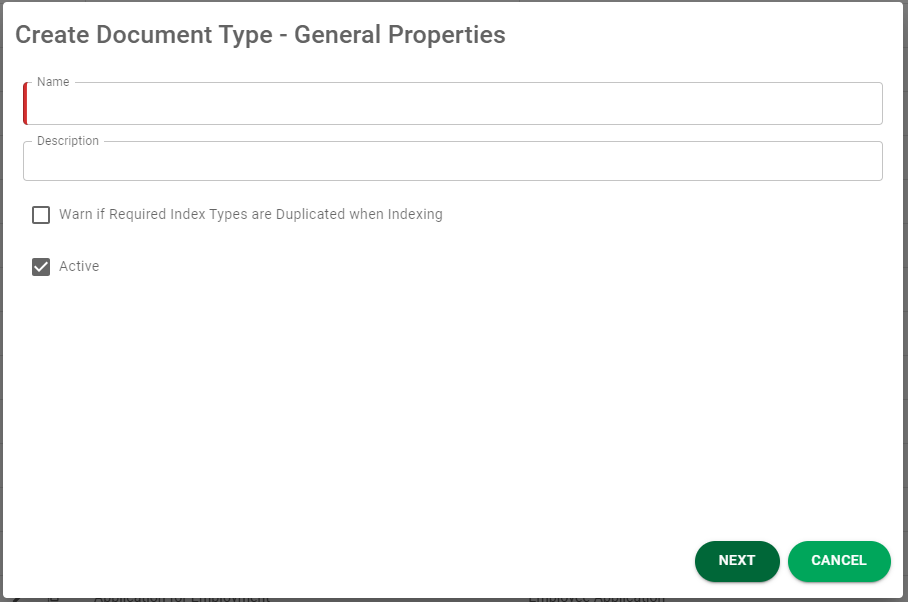
5.In the Name field, enter the name of your custom document type.
6.In the Description field, enter the description for your custom document type.
7.Click the Warn if Required Index Types are Duplicated when Indexing check box if you want a warning to generate if duplicate index types are identified.
8.The Active check box is checked by default. If you want to make this document type inactive, click the Active check box to remove the checkmark.
9.Click  .
.
The Create Document Type - Index Types dialog displays:
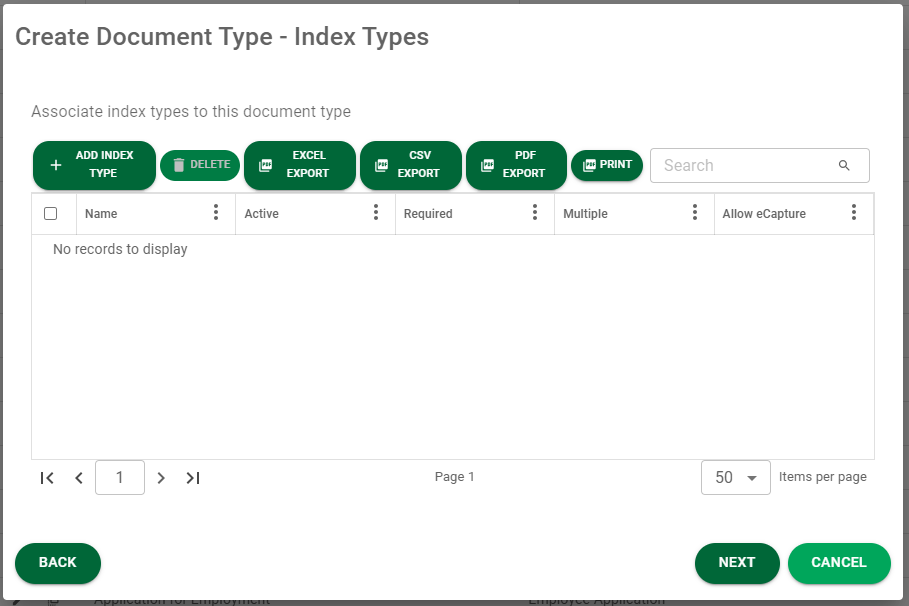
10. Click  .
.
The Add Index Types dialog displays:
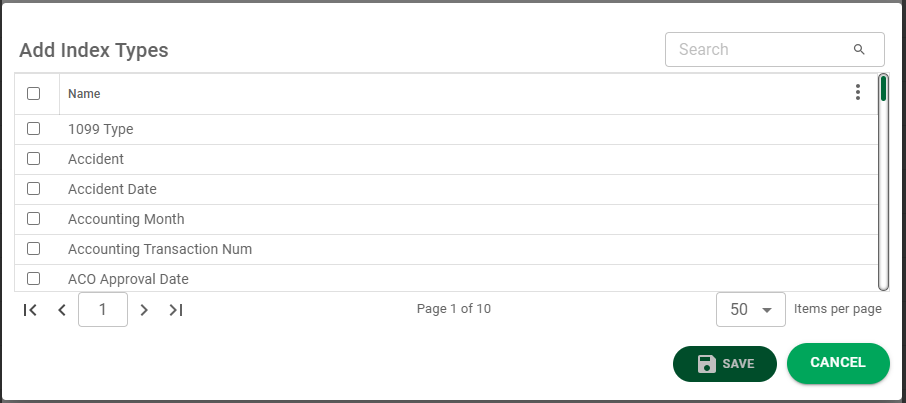
11. Click to add all the index types that are related to this custom import type.
12. Click  .
.
The Create Document Type - Index Types dialog redisplays:
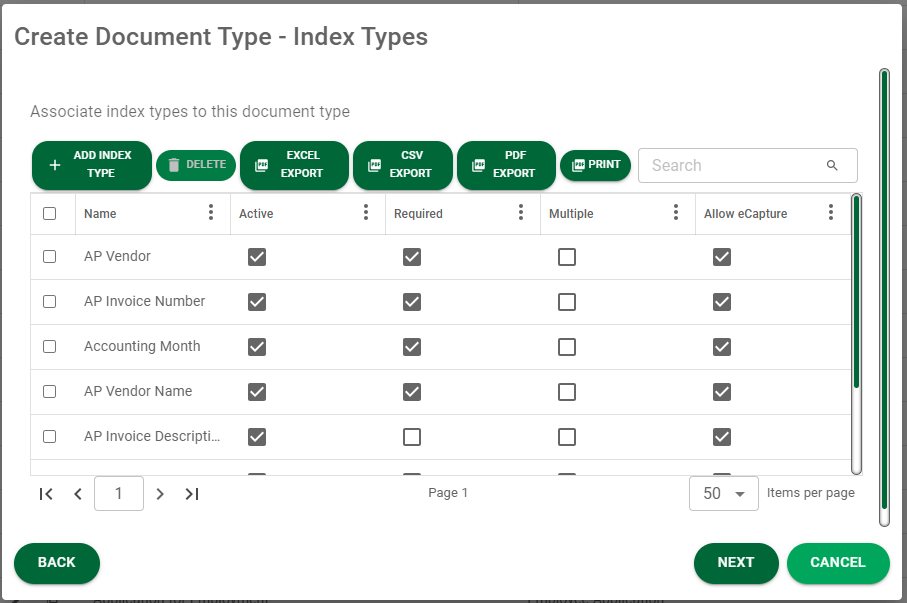
13. Scroll through the index types list and click the check boxes for those index types that:
•Required - the identified index field must be completed before the document can be indexed
•Multiple - more than one instance of a specific index field will systematically display
•Allow eCapture - the identified index field may be imported through eCapture
14. Click .
The Create Document Type - Default Document Description dialog displays:
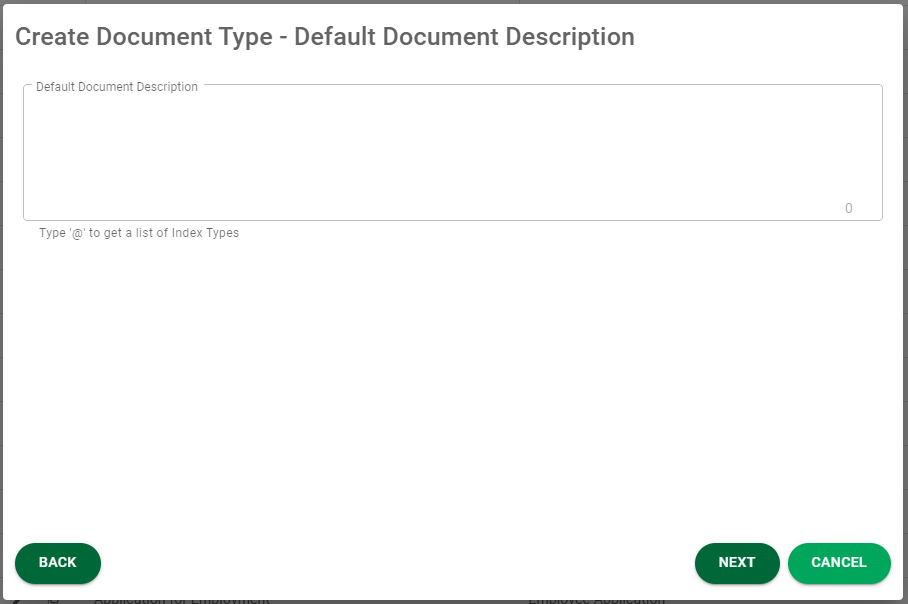
15. In the Default Document Description text box, enter an @.
This will display a dropdown list of all index types you selected in the Add Index Types dialog:
16. Review the list and select as many document types as necessary.
17. Click .
The Create Document Type - Document Type Categories dialog displays:
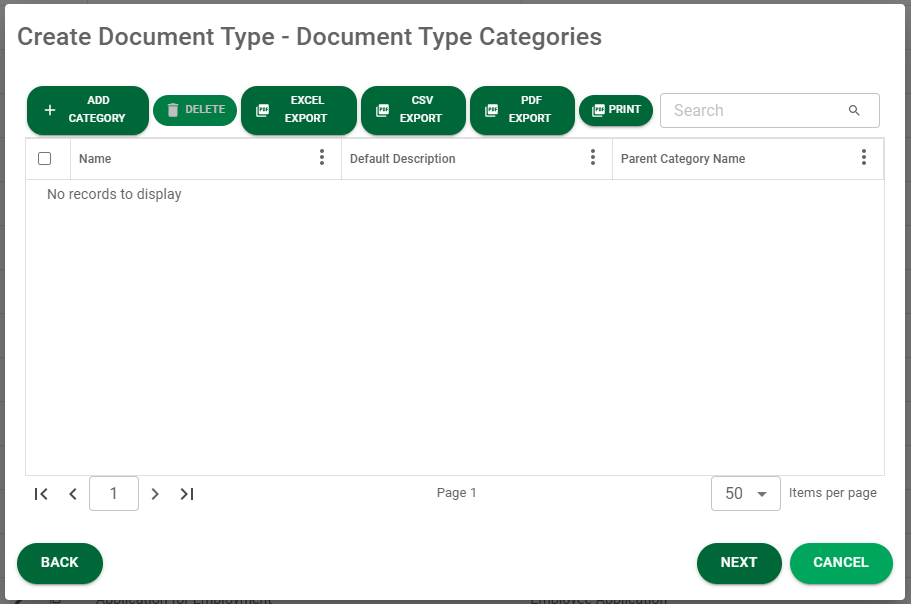
18. Click  .
.
The Add Categories dialog displays:
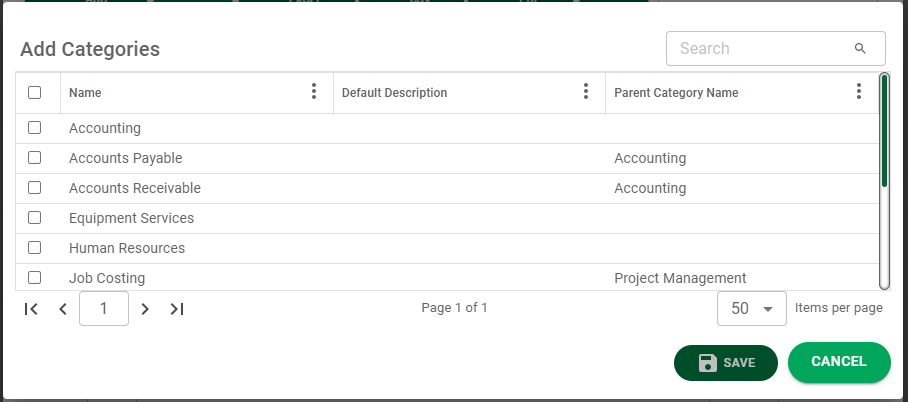
19. Click any appropriate categories from the list that displays.
20. Click .
A populated Create Document Type - Document Type Categories dialog redisplays:

21. Click to select the the appropriate category.
22. Click .
The Create Document Type - Snapshot Options dialog displays:
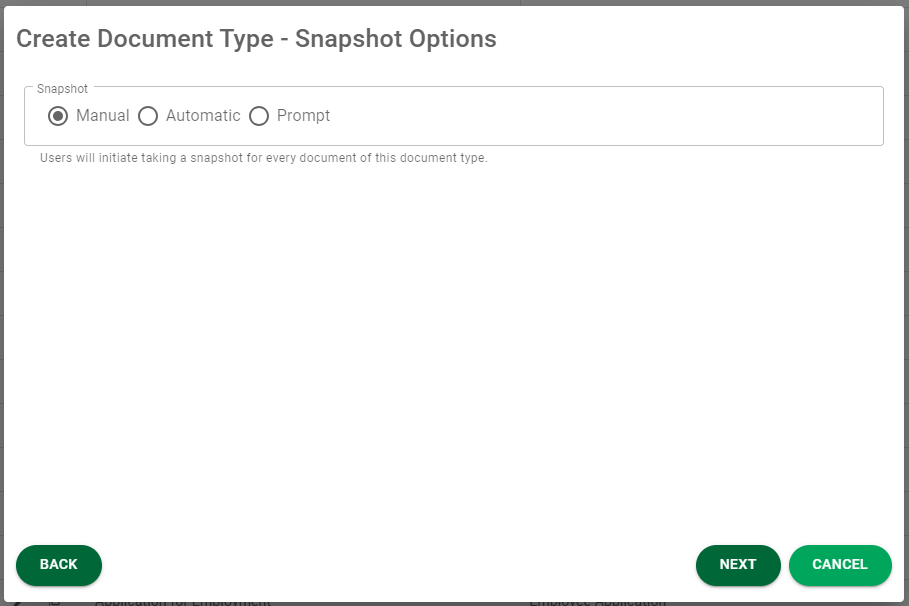
23. Manual is the default. You can keep the snapshot option as Manual or click either Automatic or Prompt radio button.
This means you can initiate the taking of a snapshot before you save any documents in the document type or not.
If you want a snapshot to be systematically taken, click the Automatic radio button.
If you want to be prompted to remember to take a snapshot, click the Prompt radio button.
24. Click .
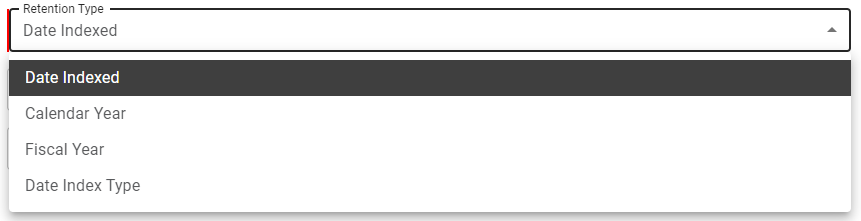
The Create Document Type - Retention Options dialog displays:

25. In the Retention Type field, use the dropdown to select the criteria for determining retention.
Date Indexed is the default.
26. In the Retention Period field, enter the number of either Months or Years.
27. In the Archive Period field, enter the number of either Months or Years.
28. Click .
The Create Document Type - Assign Security Groups dialog displays:
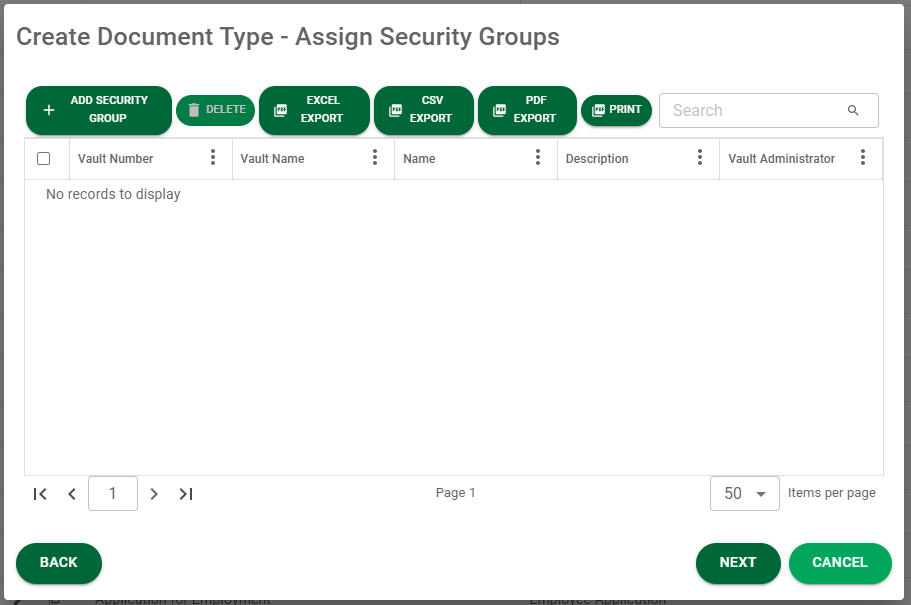
29. Click  .
.
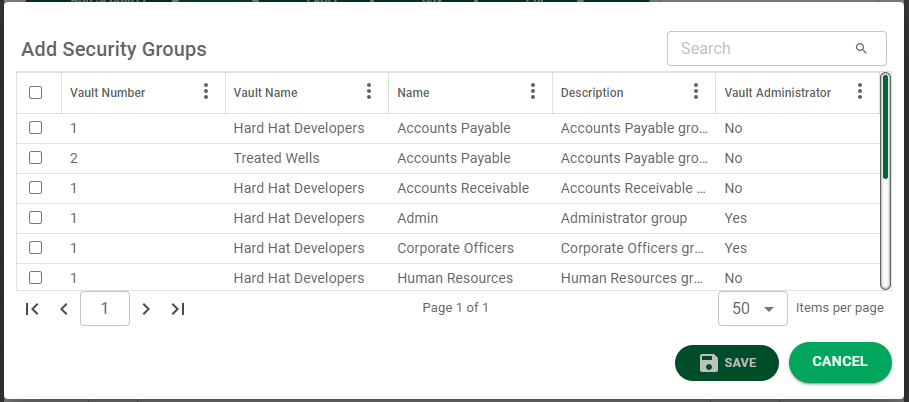
30. Click the appropriate groups within your vault(s).
31. Click .
The groups that you selected will populate the Add Security Groups dialog.
32. Click .
The Create Document Type - Assign Backfills dialog displays:
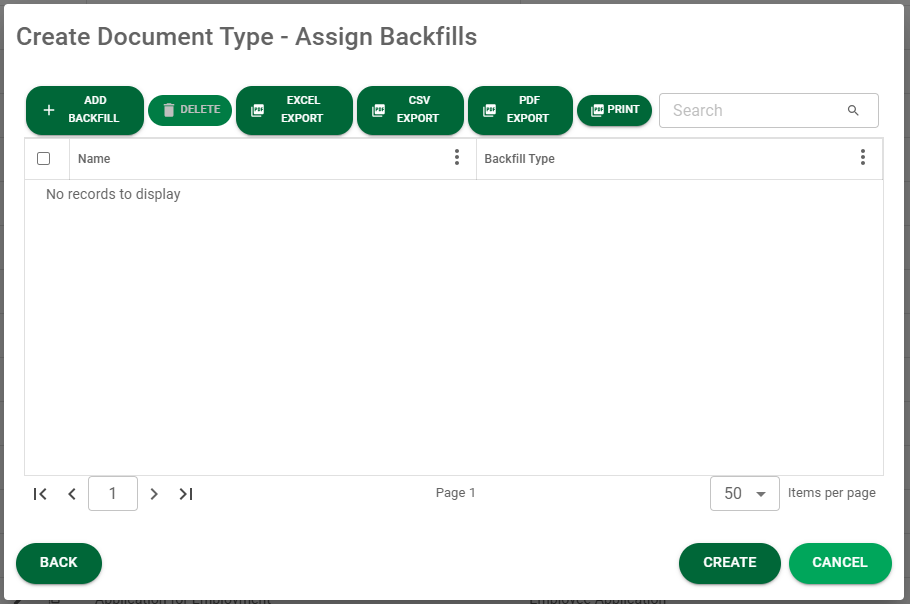
33. Click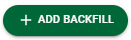 .
.
The Add Backfills dialog displays:
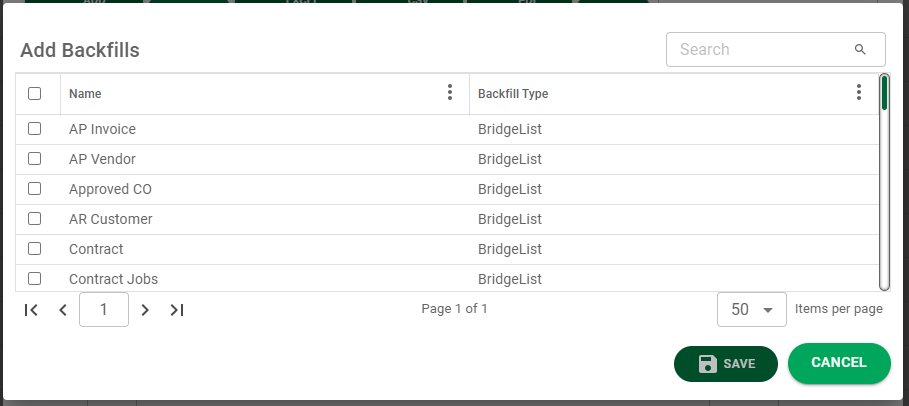
34. Select one or more of the appropriate backfills.
35. Click .
The Create Document Type - Assign Backfills dialog redisplays:
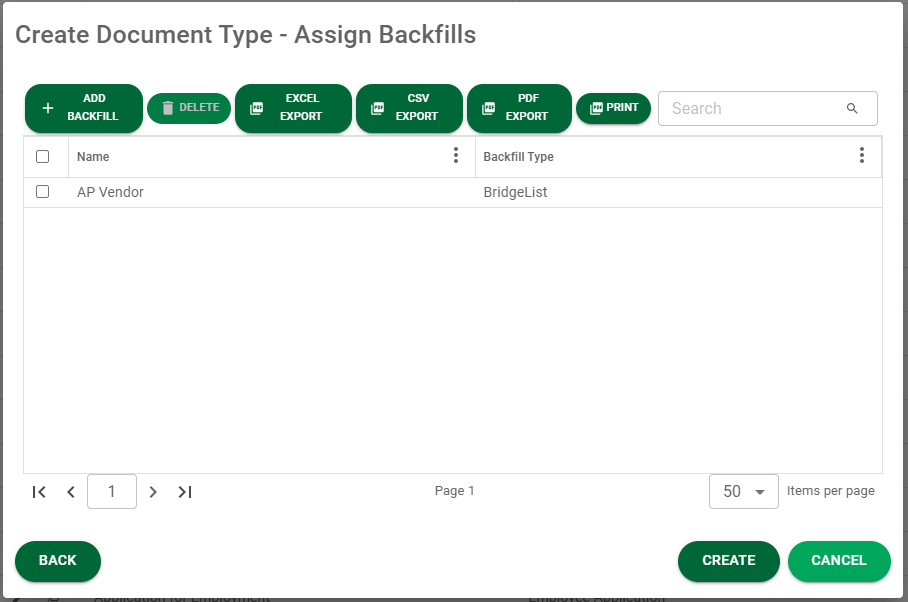
36. Click  .
.