The Create Document Type wizard lets you create Sage Intacct Paperless document types very quickly.
1.From My Paperless, click Global Settings.
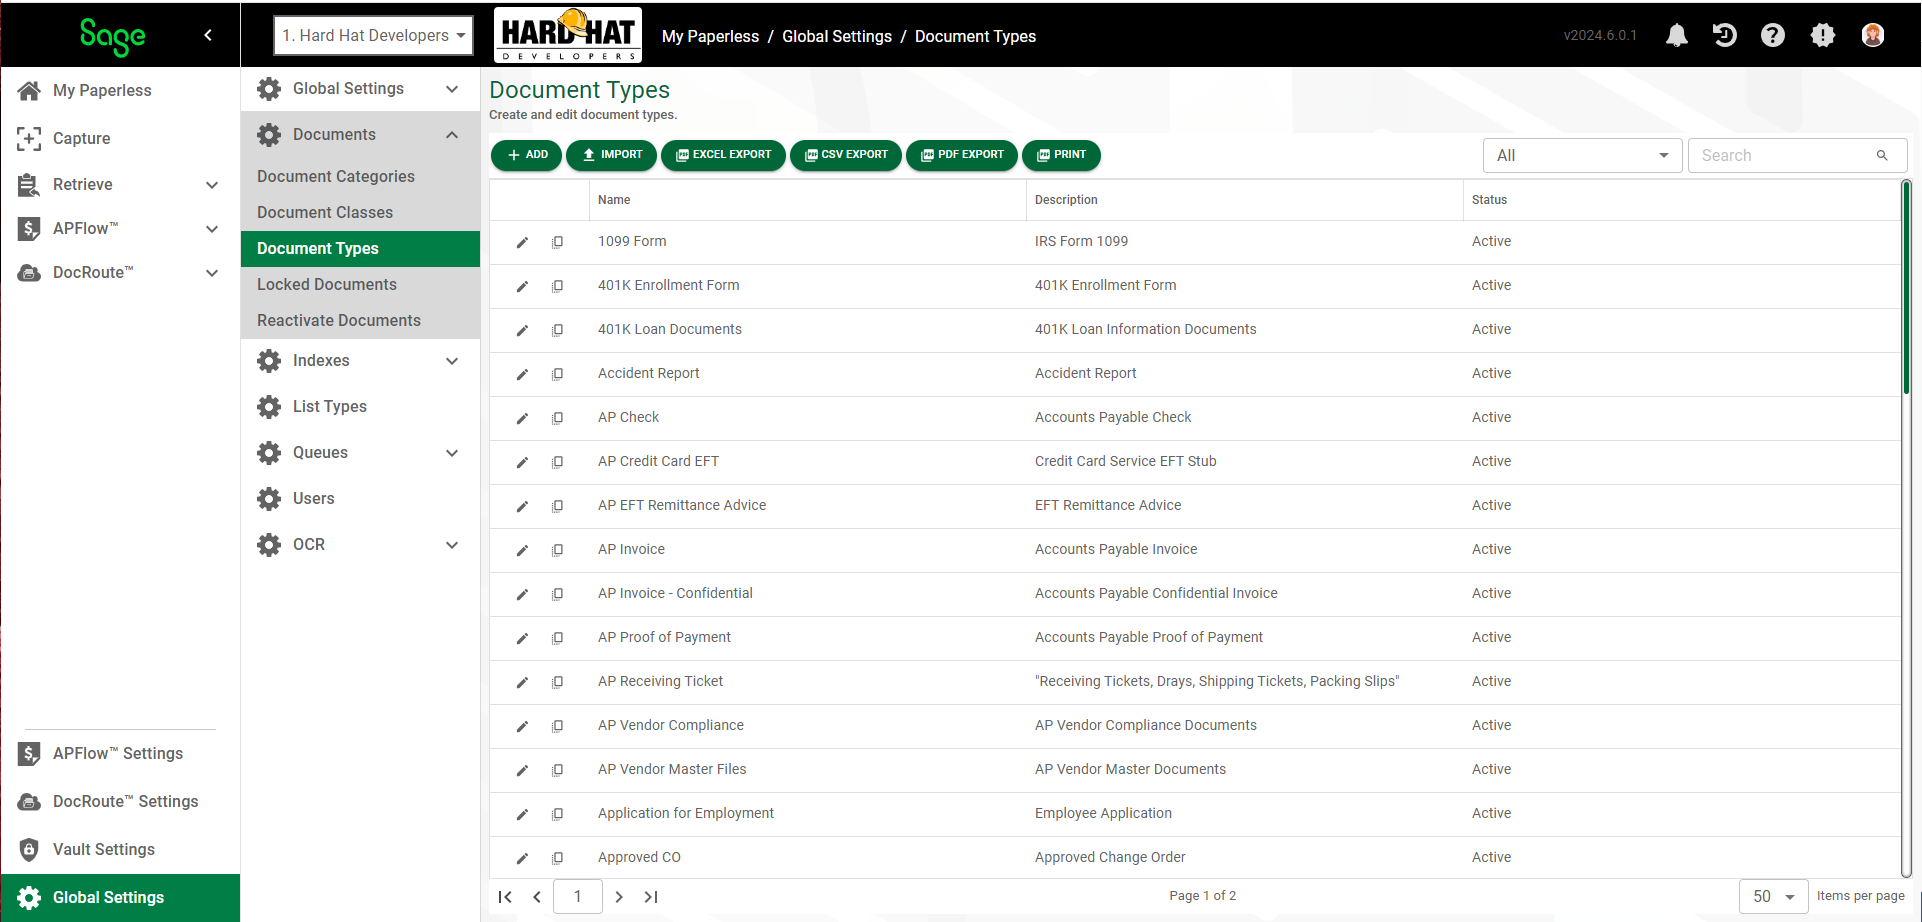
2.In the Global Settings navigation bar, click Documents.
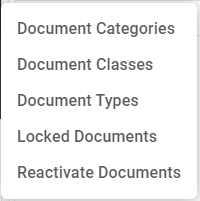
3.From the Document dropdown, click Document Types.
A Document Types page similar to the following displays:
4.Click  .
.
The Create Document Type wizard begins with the General Properties dialog:
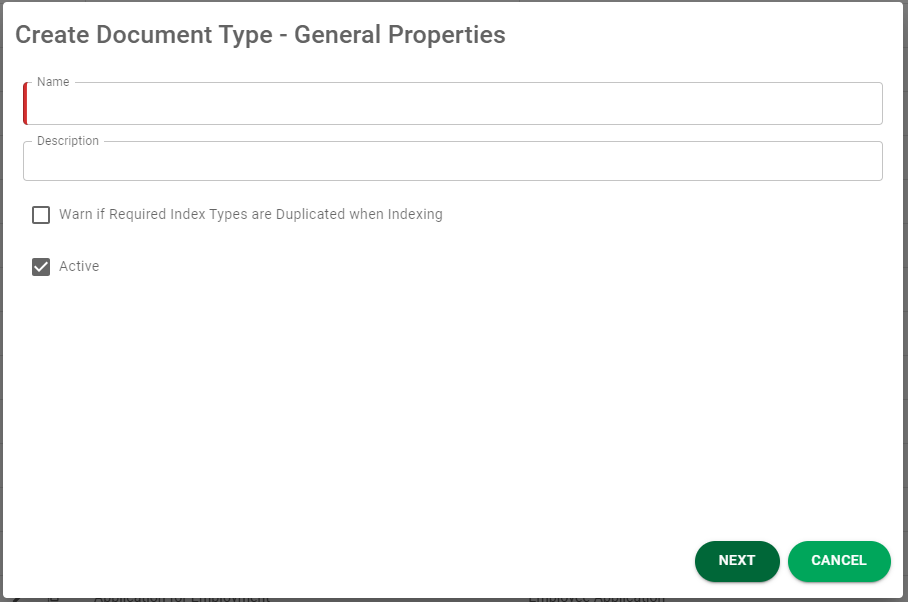
5.In the Name field, type the document type name.
This is a required field.
Note: For this example, the document type, Project Contracts, is being added.
6.In the Description field, type a description of the document type.
This is a required field.
Note: For this example the description, Project Contract Documents, is being added.
7.To be notified when a possible duplicate index type is identified, click the Warn if Required Index Types are Duplicated when Indexing check box so a warning will generate.
If this check box is populated, the system checks to see if there is already a document in the system with the same required field values. If one is identified, you will be presented with options. For details, click here.
The Active check box is selected by default.
8.Click  .
.
The next Create Document Type wizard dialog displays for Index Types:
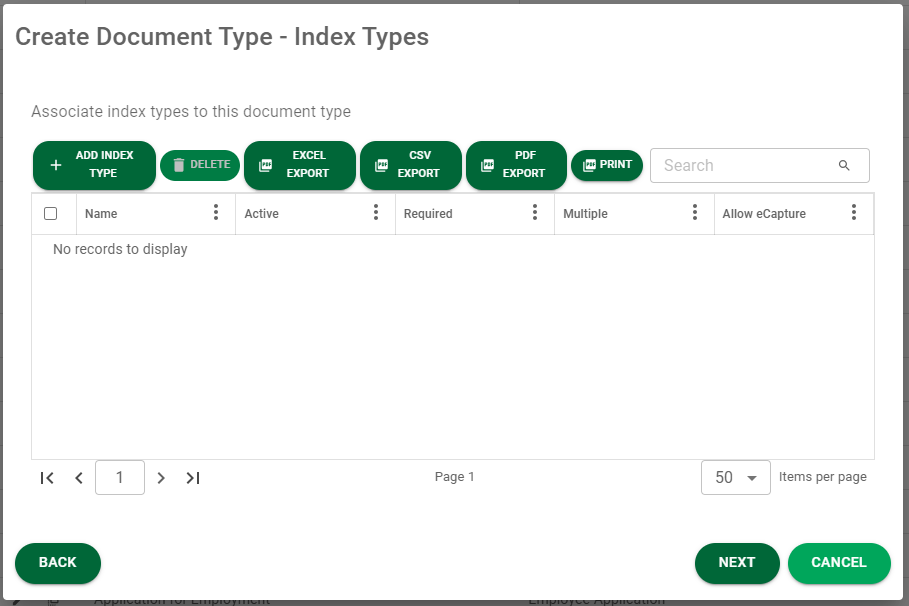
9.Click  .
.
The Add Index Types dialog displays:
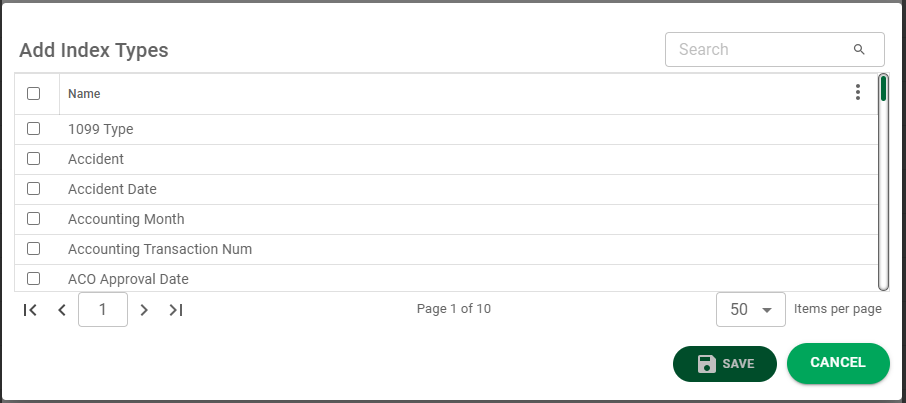
Important: A document must be associated with at least one index type to be stored in the Sage Intacct Paperless system.
10. Click to select the appropriate index type(s).
11. Click  .
.
The original Index Types wizard dialog redisplays, populated with the choices you made in the Add Index Types dialog:
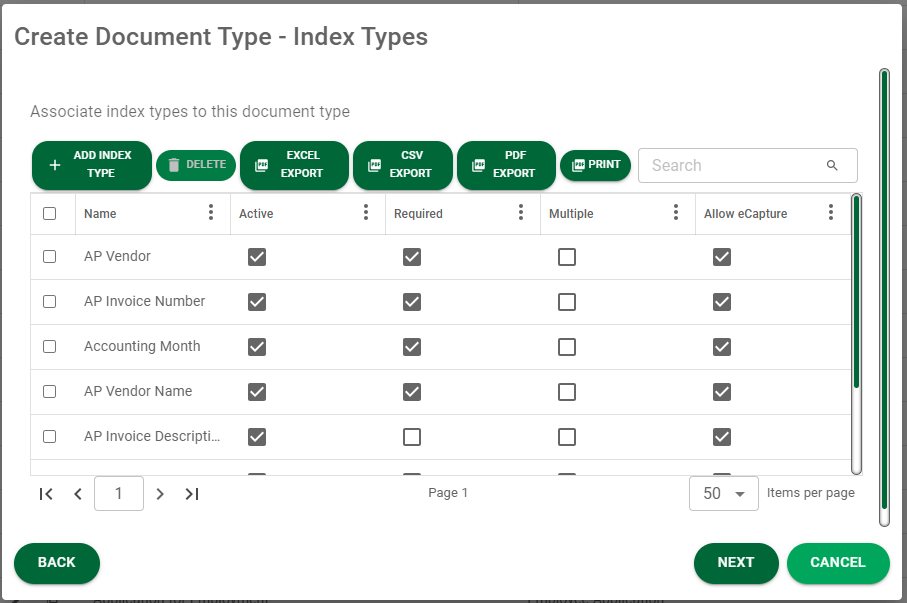
12. For each index type listed, as appropriate, click the Required column check box, the Multiple column check box and/or the Allow eCapture check box.
13. Click .
The next Create Document Type wizard dialog displays for Default Document Description:
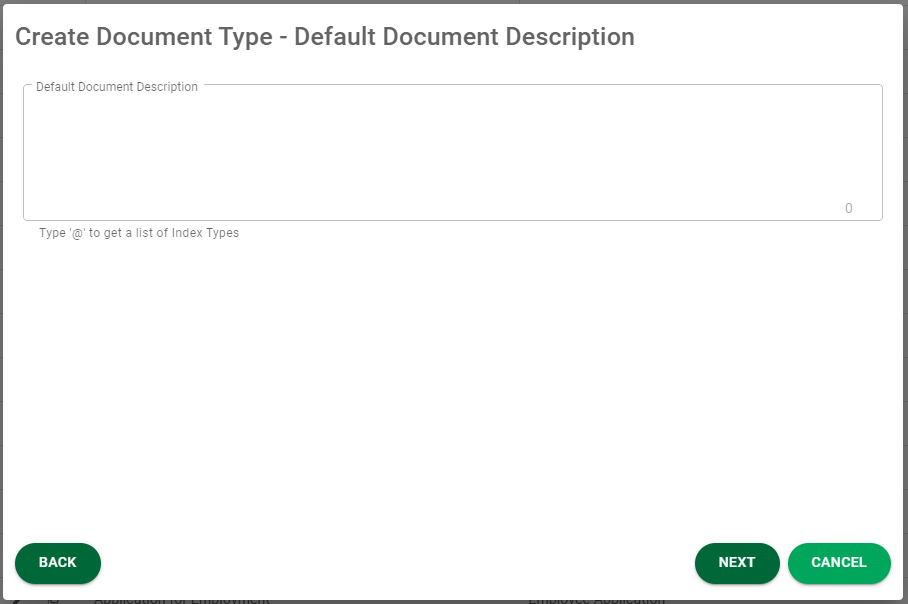
14. Provide a default document description to the document type.
15. To include Index Types in the document description, click @ for a dropdown list.
The default document description is automatically assigned when the document is indexed and stored in Sage Intacct Paperless. This ensures that all documents stored in Sage Intacct Paperless are consistently named. The description can be built using static text, as well as values stored in index fields.
16. Click .
The next Create Document Type wizard dialog displays for Default DocRoute™ Description:

17. Provide a default DocRoute™ subject for this document type.
18. To include Index Types in the DocRoute™ subject, click @ for a dropdown list.
19. Click .
The next Create Document Type wizard dialog displays for the Document Type Categories:
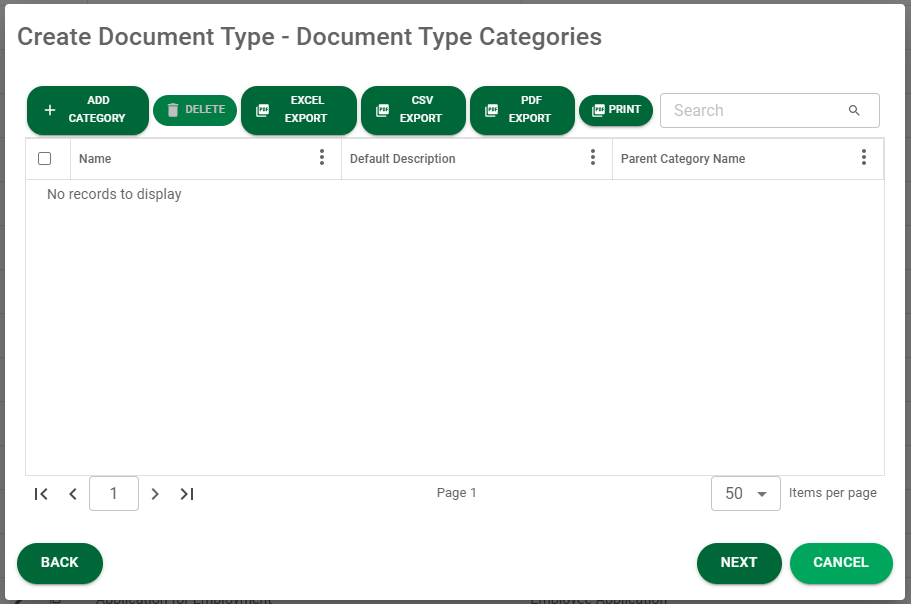
20. Click  .
.
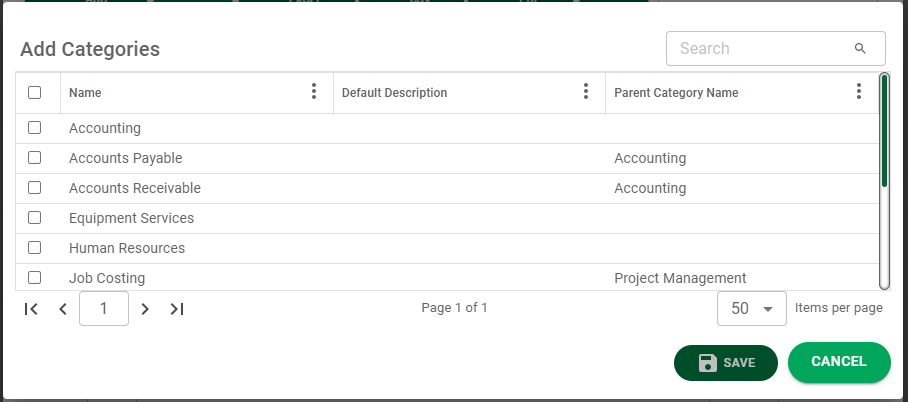
21. Click to select the appropriate categories.
Note: For this example, Legal and Project Management were selected.
22. Click .
The original Document Types Categories wizard dialog redisplays, populated with the choices you made in the Add Categories dialog:

Important: Be sure to click the check box of all categories you selected.
23. Click .
The next Create Document Type wizard dialog displays for Snapshot Options:
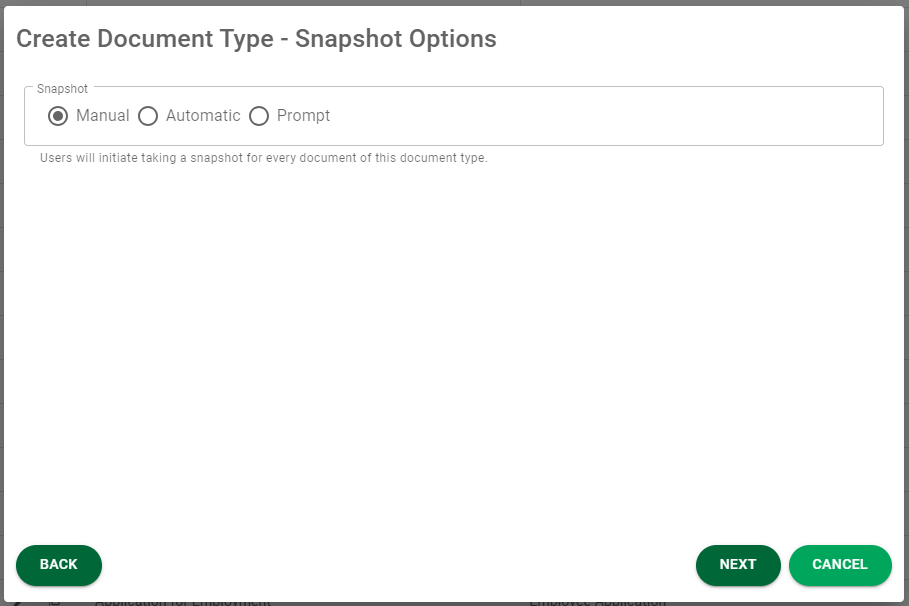
24. Determine the relationship with snapshots and this document type. Choose from Manual, Automatic and Prompt options.
For details on snapshot options, click here.
25. Click .
The next Create Document Type wizard dialog displays for Retention Options:

26. Set up the retention details.
These settings determine the period of time that must elapse before the purging process can delete the documents from primary storage.
Note: To read more about the retention fields, click here.
27. Click .
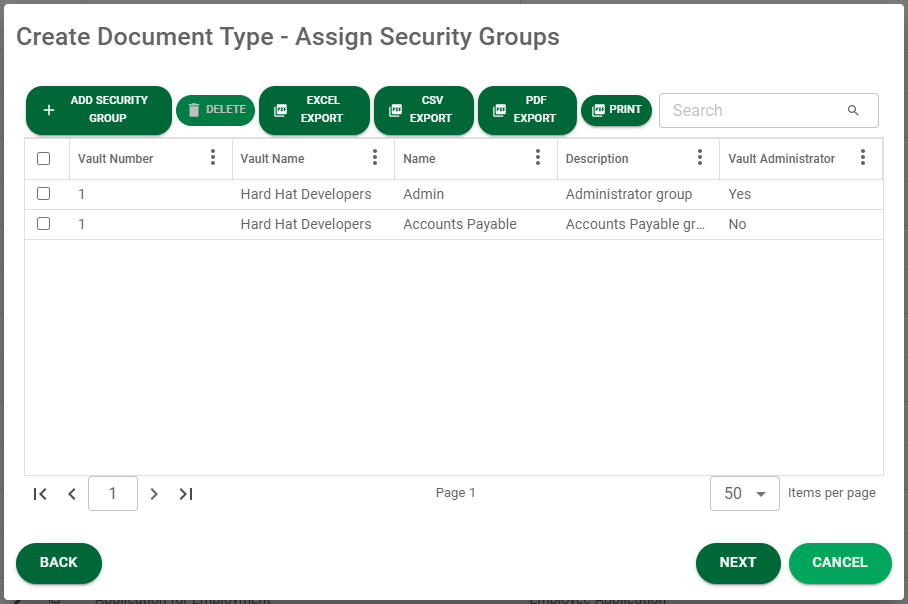
The next Create Document Type wizard dialog displays for Assign Security Groups:
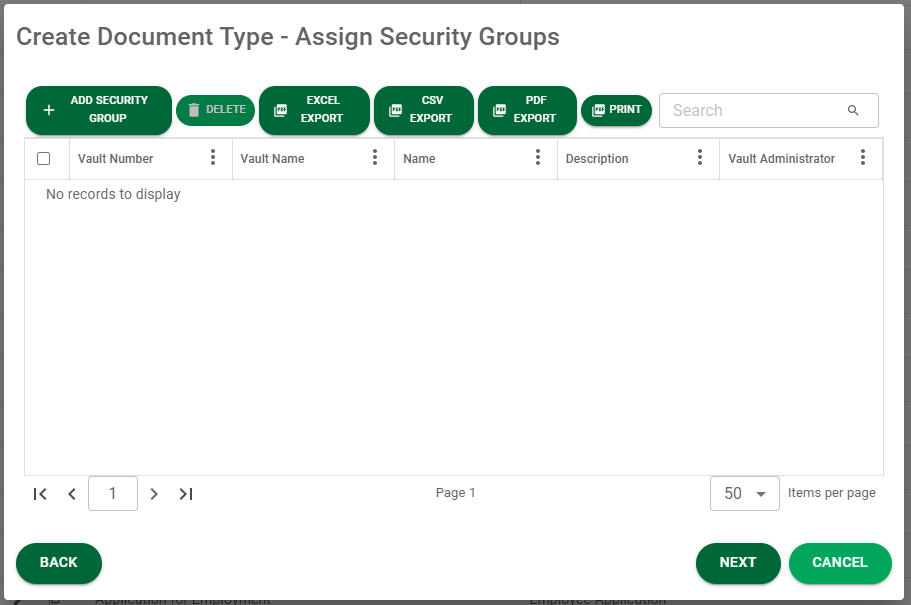
28. Click  .
.
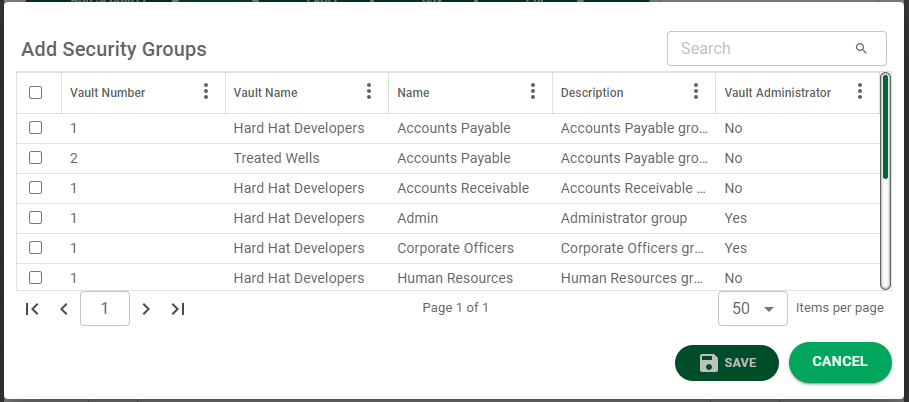
29. Click the check box(es) for the appropriate security group(s) to be associated with this document type.
30. Click .
The original Assign Security Groups wizard dialog redisplays, populated with the choices you made in the Add Security Groups dialog:
Important: Be sure to click the check box of the category you selected.
31. Click .
The next Create Document Type wizard dialog displays for Assign Backfills:
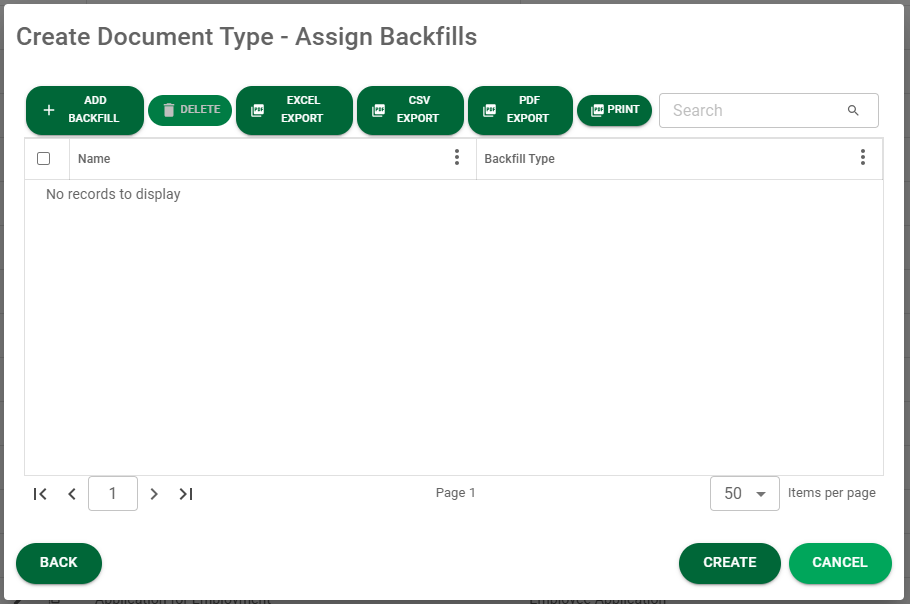
32. Click  .
.
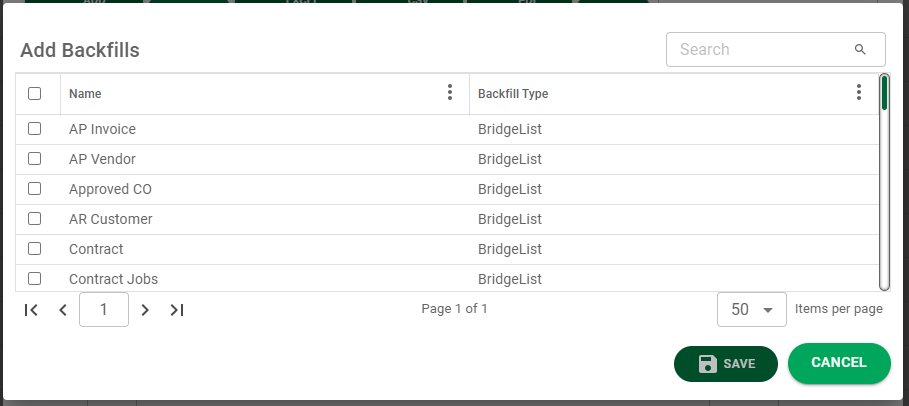
33. If appropriate, click the check box of backfill(s) to associate with the document type.
34. If a backfill was selected, click .
If a backfill was not selected, click  .
.
Important: Be sure to click the check box of the backfill(s) you selected.
The populated Assign Backfills dialog redisplays.
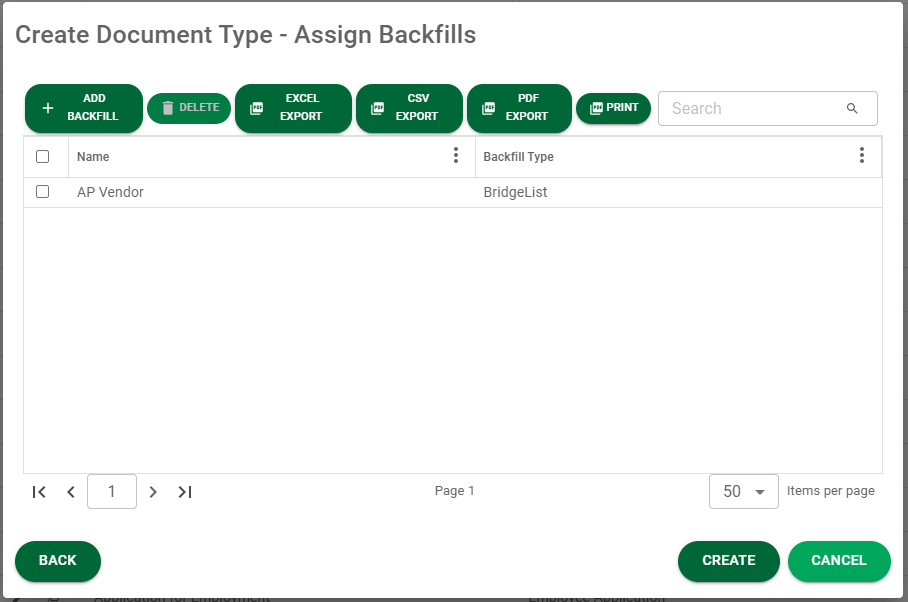
35. Click  .
.
Your new document type is now created.