There are two versions of the Document Information sidebar.
•The sidebar visible on the Documents page, RESULTS tab includes a Document Preview section. This is essentially a thumbnail view of the active document. To see a full-size view, click the VIEWER tab.
•The sidebar visible on the Queues page, does not include a Document Preview section. This is because you can click on a document listed in the Queues pane to display a full-size version.
1.From My Paperless, click Retrieve.
2.From the Retrieve navigation bar dropdown, click either Documents or Queues.
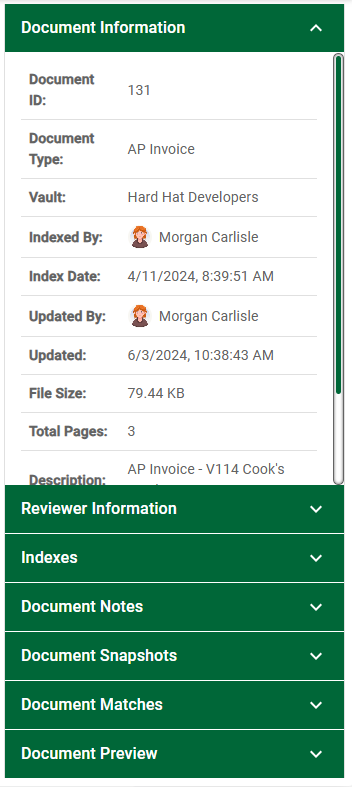
The Document Information pane displays to the right of the visible document:
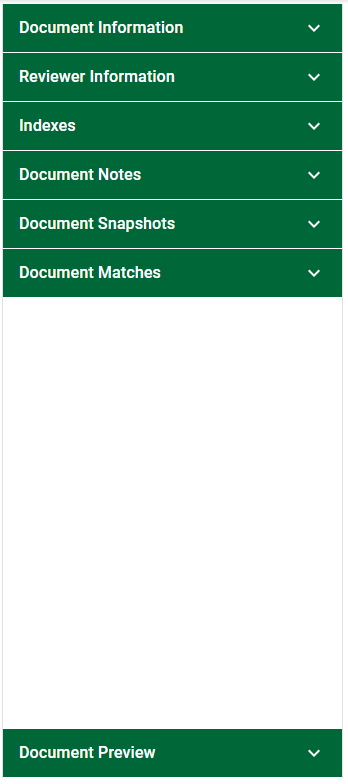
Important: The Document Information sidebar is visible on the main Viewer. This sidebar is also visible on the RESULTS tab of the Documents page. The sidebar viewed through the Documents page will include the Document Preview section. The sidebar, minus the Document Preview section, can also be viewed through the Queues page.
Navigation
To close the Document Information sidebar, click the  that displays at the top of the pane.
To open the Document Information sidebar if it is closed, click the  that displays in the center of the collapsed pane.

You can click the header bar to expand each section of the sidebar if collapsed or collapse it if already expanded.
Document Information
The Document Information sidebar is comprised of five sections*:
•Document Information
•Reviewer Information
•Indexes
•Document Notes
•Document Snapshots
•Document Matches
•*Document Preview (visible only if accessing the sidebar through the Documents page)
The Document Information section contains information about the document currently visible in the Viewer page.
Document Audit Trail
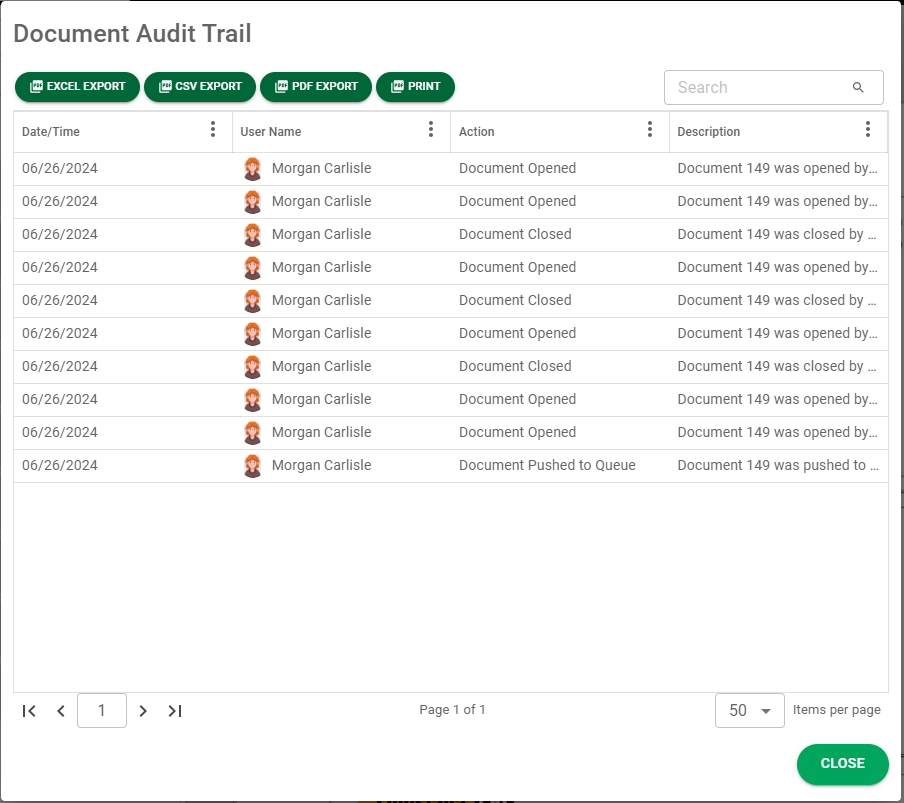
Sage Intacct Paperless keeps a complete audit log of all actions taken on a document from the moment it is indexed and stored in the system to the time it is deleted.
Click  that displays below the details in the Document Information portion of the sidebar. A Document Audit Trail report displays. This report details all the actions taken relating to the active document, such as when the document was opened, closed, indexed, pushed to queue, etc. and identifies who took the action and when that action occurred. You can export the Document Audit Trail report with an Excel extension, a CSV extension or a PDF extension. You can also send it to a printer.
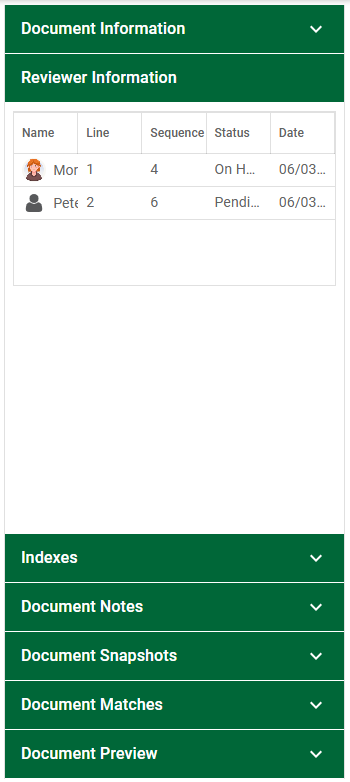
Reviewer Information
The Reviewer Information section identifies the reviewers from the APFlow™ route. Look here to determine the reviewer of each line, that individual's sequence number, the status of the document routed (for example On Hold, Approved, etc.) and the date the document was routed.
Indexes
The Indexes section contains information about the document currently active in the Viewer page. The information that displays is based on what was entered when the document was indexed.
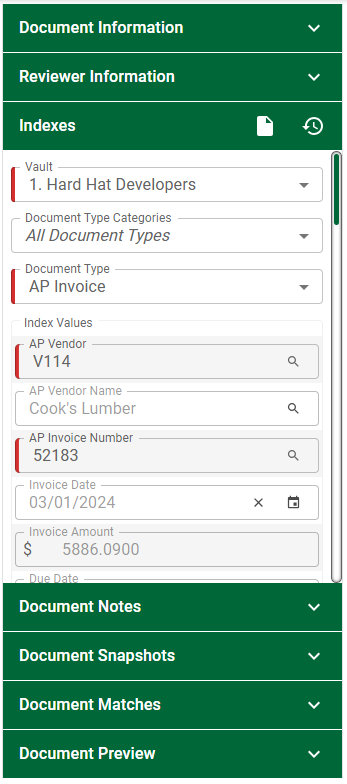
You can enter the Invoice Values fields before indexing the current document. When you are finished, click the Index icon,  , in the Indexes section header bar to save your work. You can also revise some of the fields or click the Reset icon,
  , to clear all the active fields. To close the Indexes pane, click in the section header bar.
Sage Intacct Paperless remembers the last Document Type selection you made. This will save you time when you are indexing a batch of documents with the same Document Type.
Note: This is per vault, per user.
Note: You can also click the Reset icon, , if all the information entered in the Index pane needs to be modified.
Duplicate Index Types
If you inadvertently added the same document twice and have:
•selected the Warn if Required Index Types are Duplicated when Indexed check box for a specific Document Type (click here for details), and
•selected the Required check box (click here for details),
a Duplicate Index Values dialog box similar to the following will display:
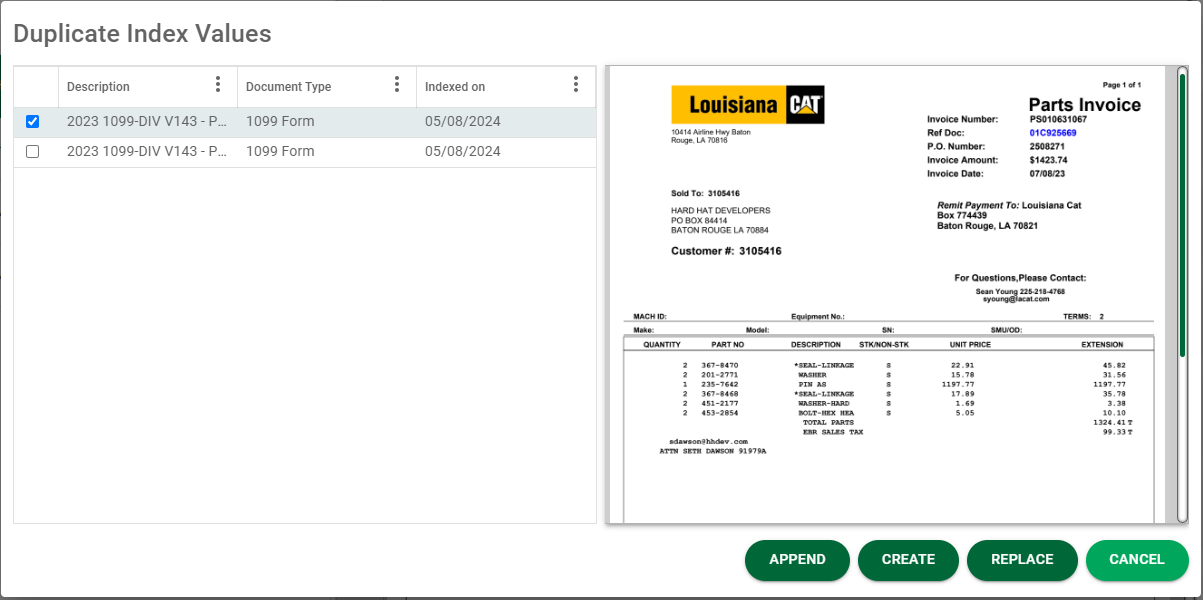
You must take one of these actions:
|
This option appends the image data from the current document to the image data for the document selected in the grid. Note: If the document being indexed, or the document chosen in the grid, or both, are unsupported, then APPEND is disabled. |
|
This option chooses the document indexed as expected. |
|
This option replaces the image data and index values of the selected document in the grid with the data from the current document being indexed. |
|
This option aborts the document save and brings you back to the index form where you can continue making changes to the index values. |


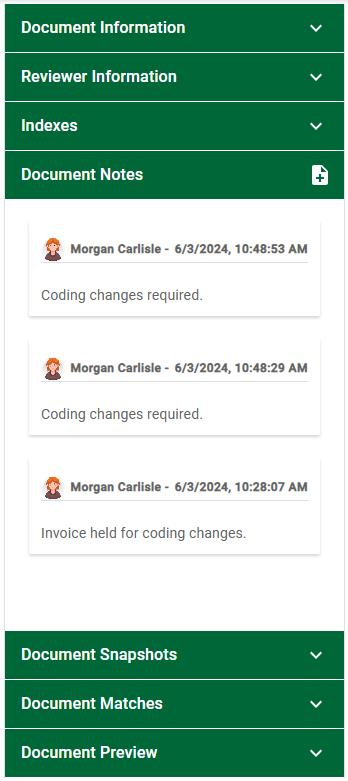
Document Notes
The Document Notes section contains all notes associated with the document currently visible in the Viewer page. Here you can view existing notes or add new notes.
To add a new note, in the Document Notes section header bar click the Add Note icon,  .
.
An Add Note dialog box displays:
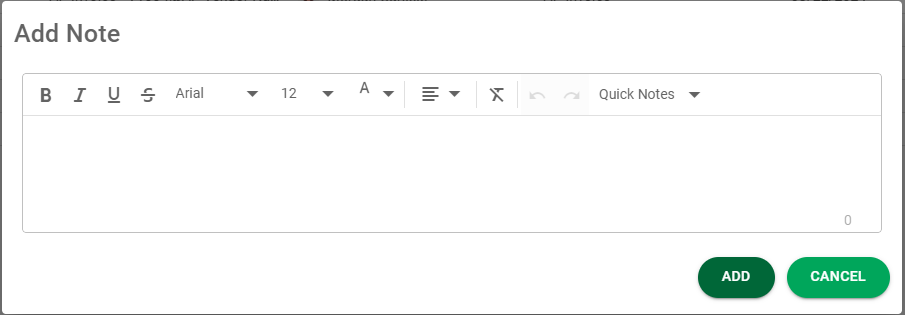
Enter your note in the text box. If you want to use a Quick Note, click the dropdown:
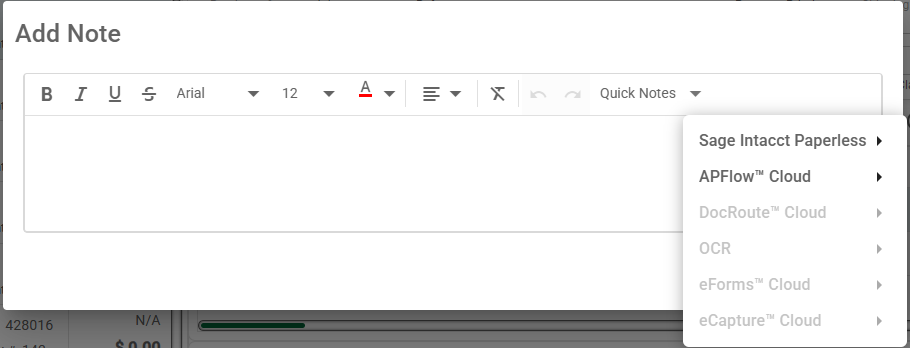
Click on the Quick Note title to populate the text box and then click  .
.
The Quick Note is added to the Document Notes section. For audit purposes, Sage Intacct Paperless logs the notes on the document and generates a time stamp in addition to documenting the user ID of the person who entered the note.
Document Snapshots
If you have taken any snapshots of the active document, those snapshots will display here.
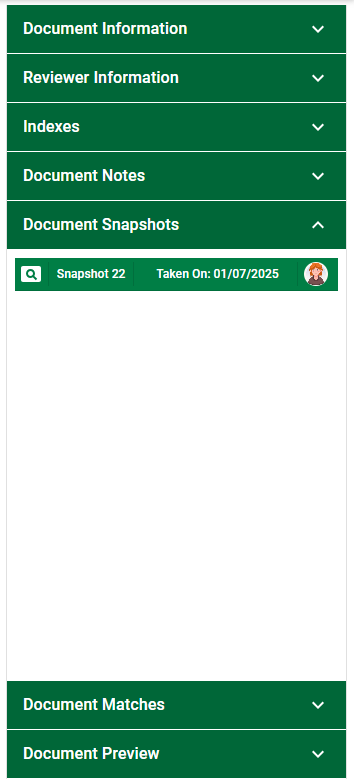
Open the Document Snapshots section.
Viewing the Snapshot
Click anywhere on the bar to view the active document's history of snapshots list.
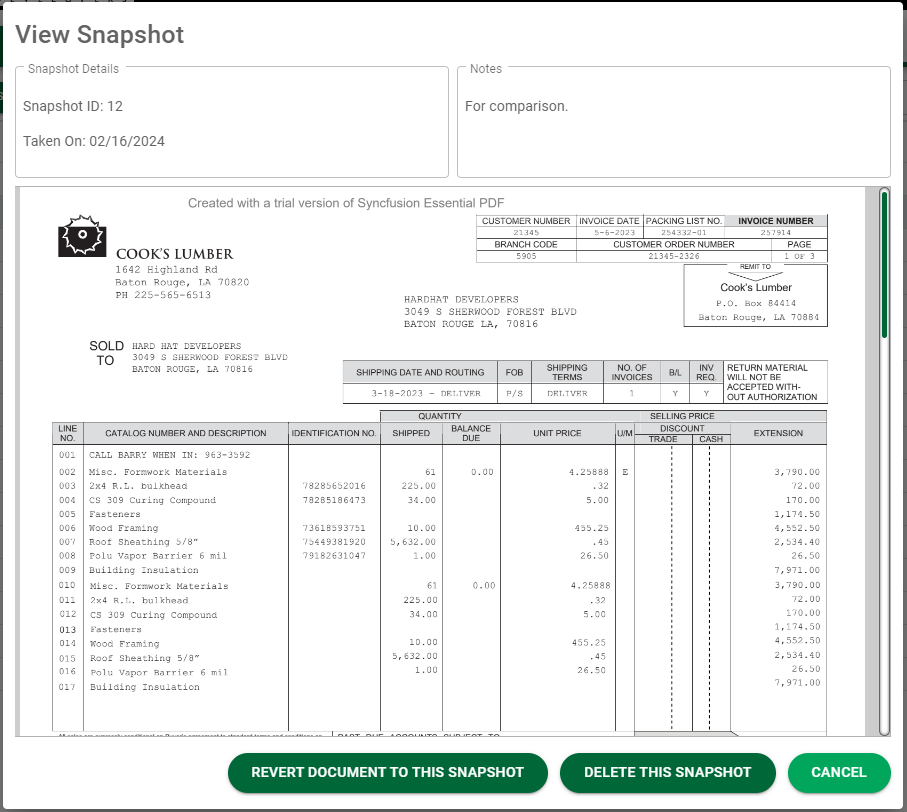
In the Document Snapshots pane, all snapshots of the current document display in reverse chronological order with the most recent snapshot displaying first. Click on a snapshot in the list to display it in a View Snapshot dialog box. Any notes associated with the snapshot will display in the Notes section of the dialog box.
The View Snapshots dialog box similar to the following displays:
Reverting Back to a Snapshot
“Revert” back to a snapshot by selecting a snapshot. In the View Snapshot dialog box, click  .
.
Two things will occur:
• A snapshot of the current document is made.
• The selected snapshot is copied into the current document’s position.
This way, there is always a history of the document and you can revert back to any point in time based on the snapshots taken.
Note: Click  to leave the current document unchanged.
Deleting Snapshots
With the proper permissions**, a snapshot may be deleted by clicking  .
.
Important: There is no prompt associated with this action. When you click , the snapshot is immediately deleted.
** Permission to delete snapshots is configured in Vault Settings on the Security Group Properties page.
•For details on the Viewer page, click here.
Document Matches
The Document Matches section contains any matches associated with the document currently highlighted.
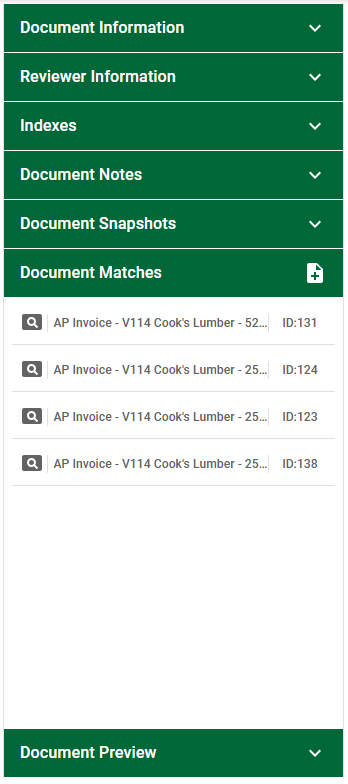
Here you can view those matched documents by clicking the associated  , or click
  to open the Document Match page.
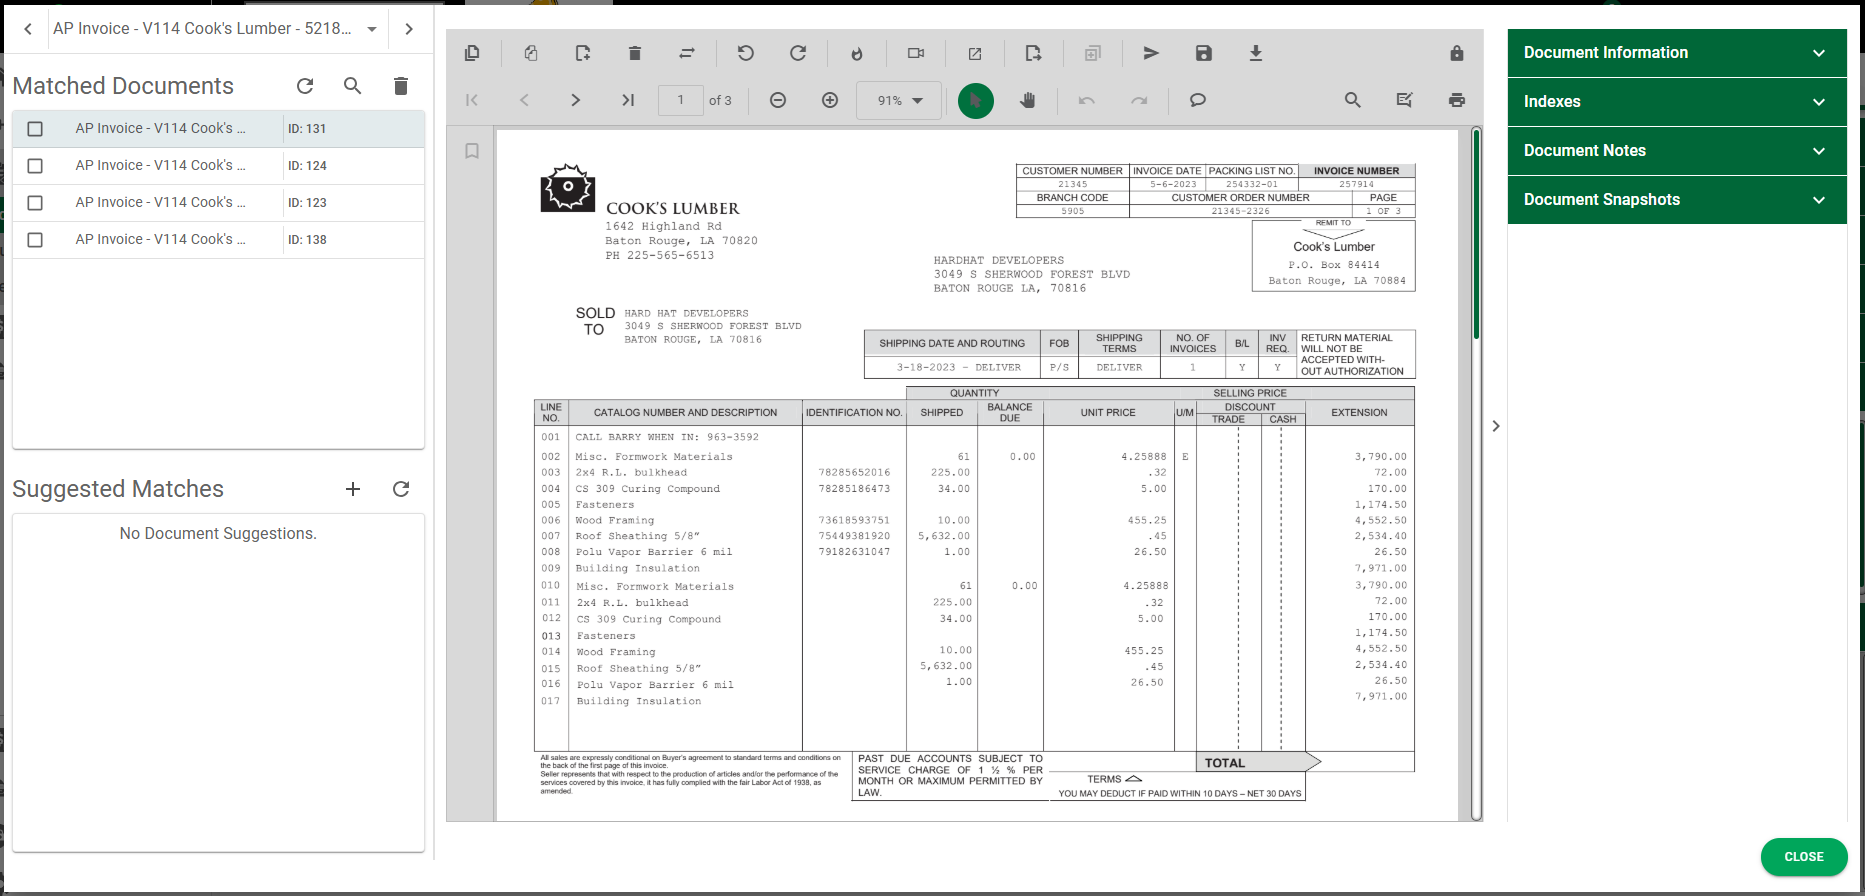
Note: For details on how the Document Match functionality works, click here.
Document Preview
This section is only visible if accessing the sidebar through the Documents page.
The Document Preview section displays a thumbnail image of the current document.
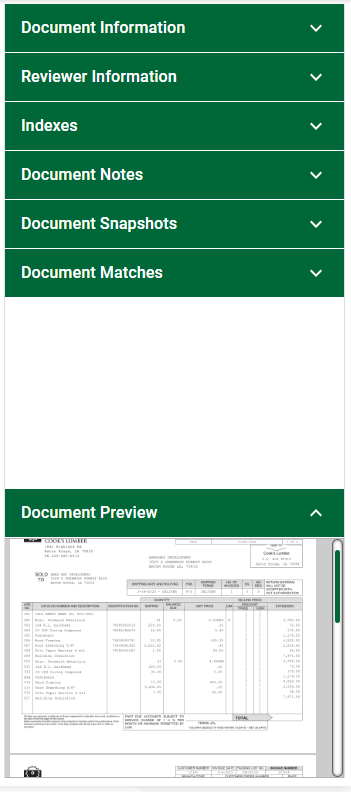
Use the scroll bar to view all document pages.