As part of the Importer Jobs process, you can add existing email accounts or set up generic accounts payable email accounts or specific vendor email accounts. For more information, see Importer Jobs.
Go here to manage (add, edit, delete) Office 365 and Google Accounts associated with the Importer Jobs process.
1.Click the My Account ![]()
 icon in the header.
2.Select Profile. This brings up the User Settings page.

3.Click Linked Accounts.
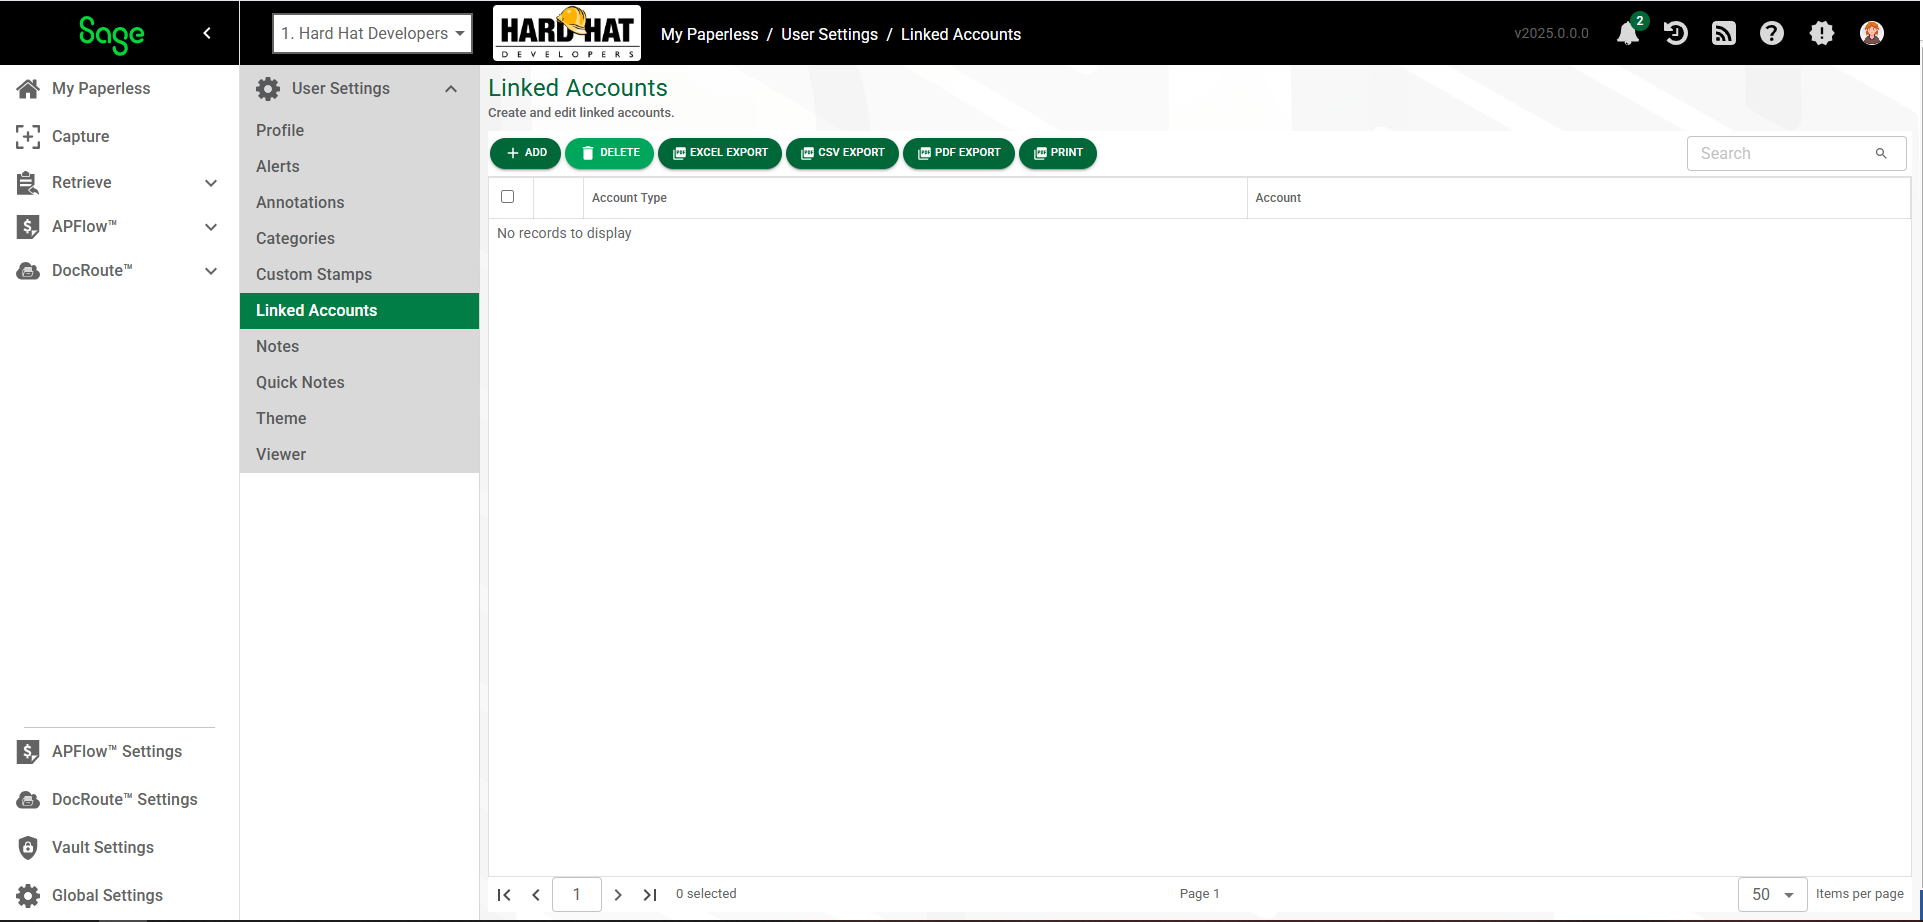
Add a Linked Account
1.On the Linked Accounts page, click ADD.
2.Choose Office 365 Account or Google Account from the Account Type field dropdown.

3.If system or vault administrators should have permission to configure Email Importer jobs for this email account, select the Allow any system or vault admin to configure jobs for this email check box.
Office 365 Account |
Google Account |
3. |
4. |
Select the Modify Mail check box so that Sage Intacct Paperless can import emails, email attachments or both. |
Select the Modify Gmail check box so that Sage Intacct Paperless can import emails, email attachments or both. |
For shared mailboxes, select Modify Shared Mailboxes. This enables Sage Intacct Paperless to import emails and/or email attachments beyond the account listed here. |
N/A |
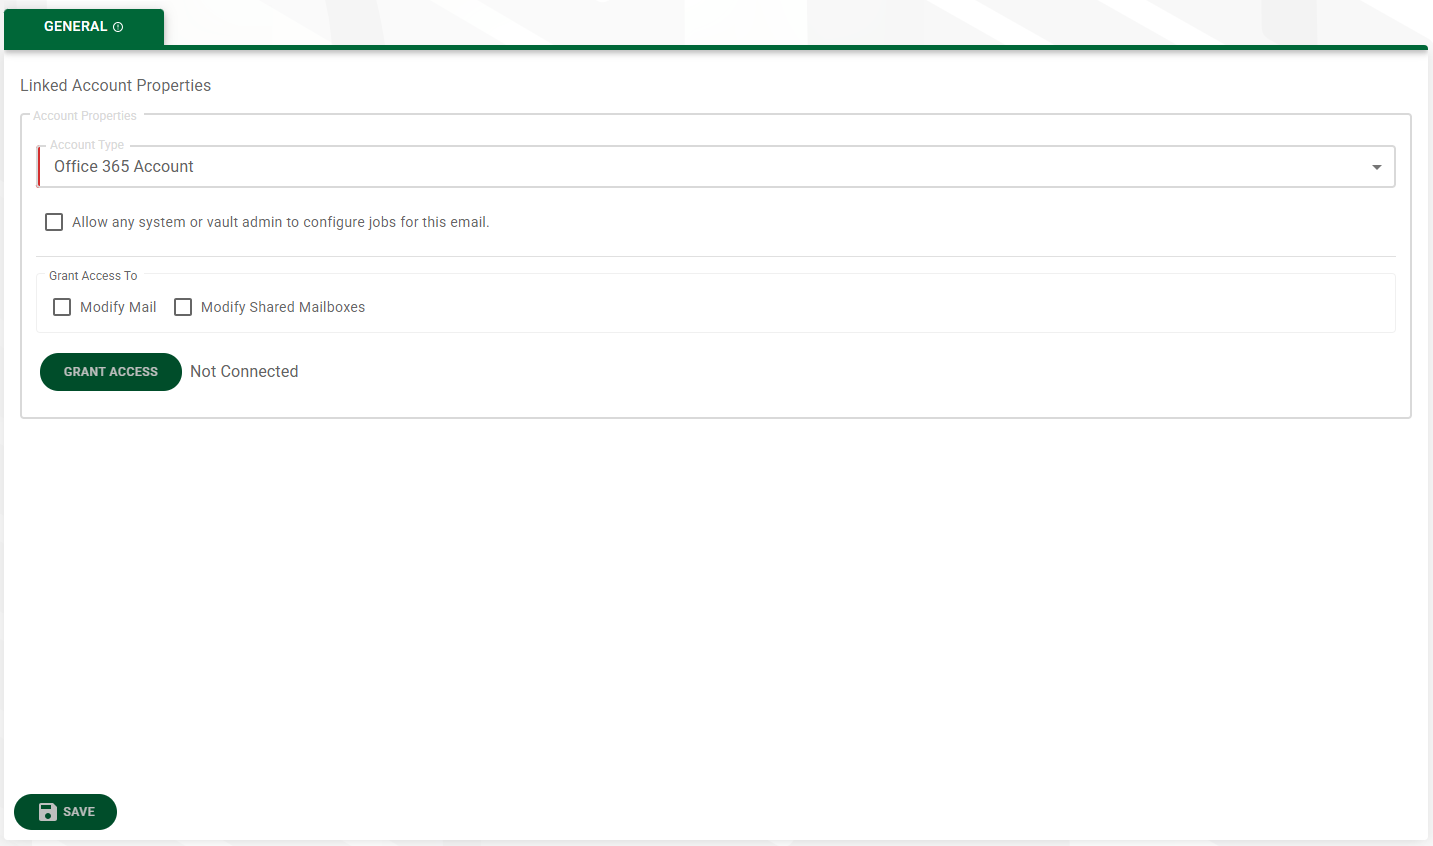
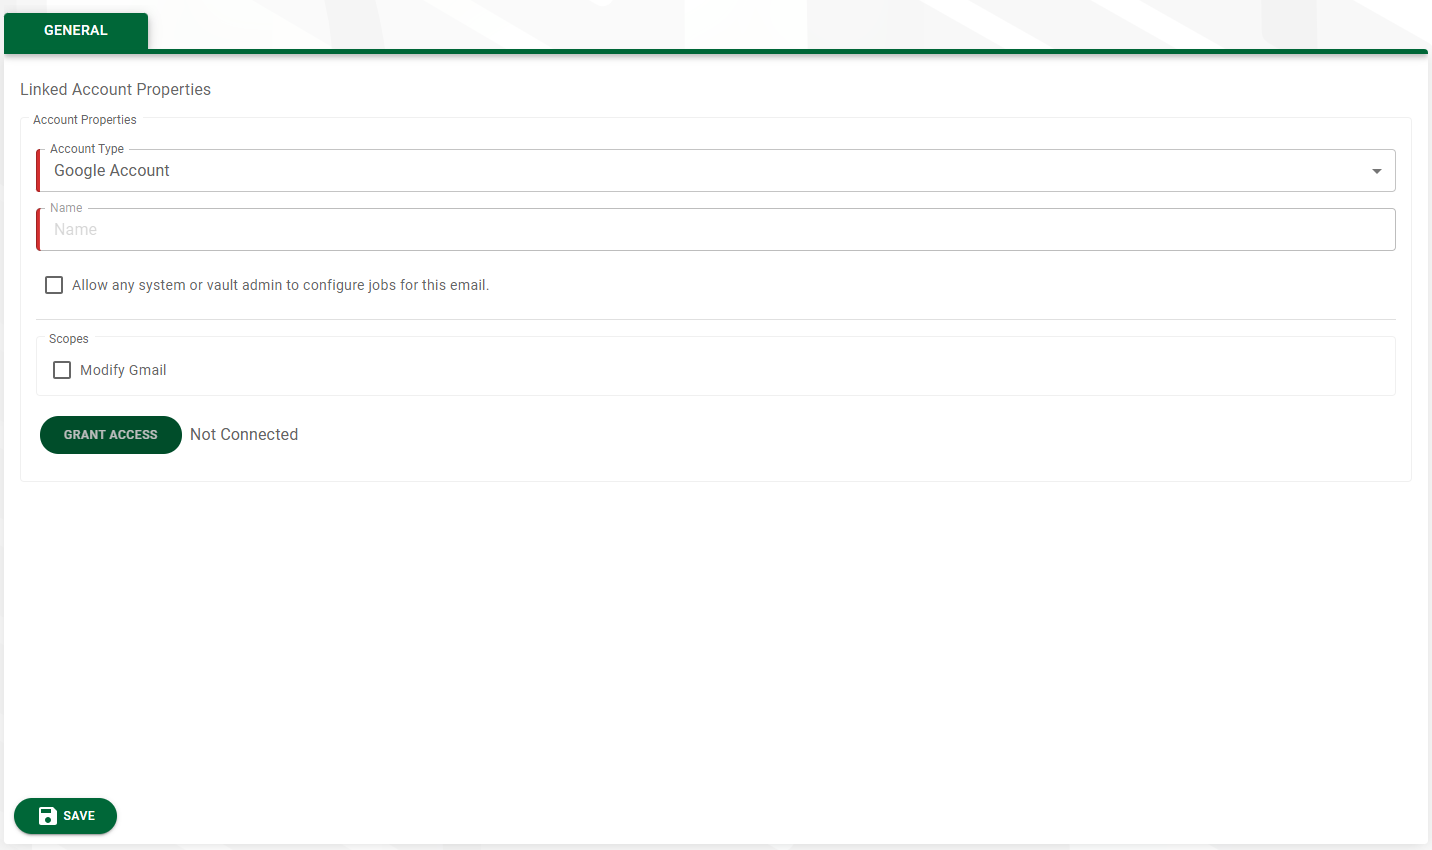
5.Click GRANT ACCESS.
If you are linking a Google Account, a dialog similar to the following displays:

If you are linking an Office 365 Account, a dialog similar to the following displays:
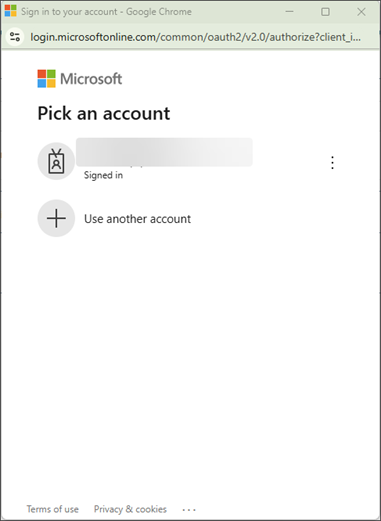
6.Click NEXT and proceed through each dialog prompt. Be sure to read and enter all required information to successfully authenticate the connection between Sage Intacct Paperless and your linked account.
7.Click SAVE.