Preview a document |
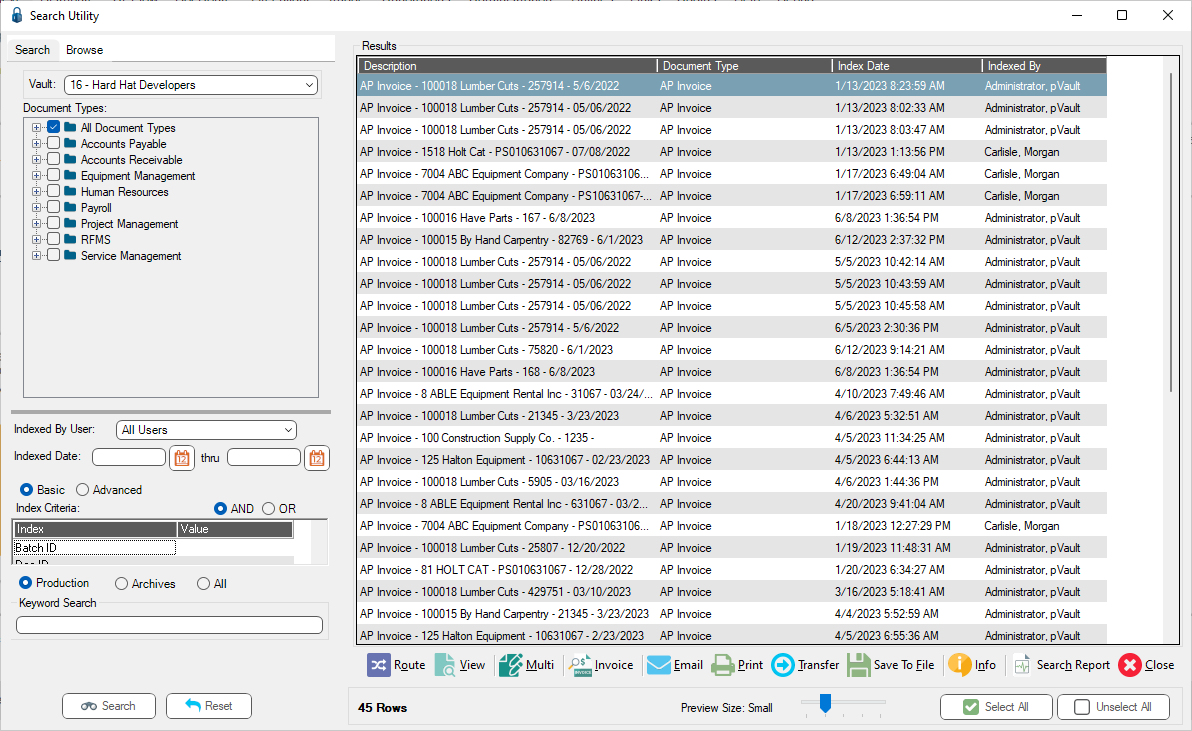
Hover the mouse over a result line to display a preview of the document. Use the Preview Size slider bar to set the size of the preview. |
View a document |
Click to highlight the document and double click on the document to view the image. |
|
Click the Preview Size slider to set the size of the preview (Preview a document). |
|
Click to select all of the documents displaying in the Results panel. |
|
Click to remove checkmarks from all documents. |
|
Click to route the document through the DocRoute™ module. For details on the Quick Route process, click here. |
|
Click to display the selected document in the Main Viewer. For details on the pVault® Main Viewer, click here. The Doc Info Tray displays below the selected document. Click here for details on Doc Info Tray functionality. |
|
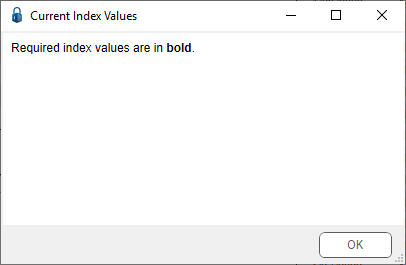
Click to access the Multi-Indexing Control Screen. If existing values cannot display, the following dialog displays:
Note: For more information on the Multi Indexer functionality, click here. |
|
Click to display a read-only version of the APFlow™ Invoice Entry screen. (optional APFlow module) |
|
Click to email the selected document. For details on emailing documents, click here. |
|
Click to send the selected documents to the printer. For details on printing documents, click here. |
|
Click to move to the Transfer Image screen. For details on transferring documents, click here. |
|
Click to save the selected file(s) to an external file. For details on saving documents to file, click here. |
|
Click to display general information on the creation of the batch that the document is in, including batch information and the indexes. For details on viewing document information, click here. |
|
Click to generate a report of the search results. For details on generating reports, click here. |
|
Click to exit the pVault® Search Utility screen. |
|
Click to generate the search based on the selected criteria. |
|
Click to clear all entered search criteria. All settings are cleared. |