Important
•A license for Procore is required.
•Run cloud sync service before configuring Procore.
Integration
The integration with Procore allows the import of subcontractor invoices into Sage Paperless Construction. When invoices reach the Approved status in Procore, you have the option to either manually or automatically import them. In addition, you can configure Sage Paperless Construction to update Procore with the payment information once the invoice is paid in the accounting system. As a prerequisite, your Procore instance should already be integrated with your accounting system so the subcontract and purchase orders in Procore match what is set up in your accounting system.
Configuration
Important: The Procore Configuration button is only visible for vaults bridged to following accounting systems:
Sage 100 |
Sage 300 |
Automated import requires that both the cloud sync license and the cloud sync be running. However, manual import will still work without the cloud sync server running.
1.From the ribbon toolbar, click APFlow™.
2.Click Manage APFlow™,  .
.
The Manage APFlow screen similar to the following displays with the General tab active:
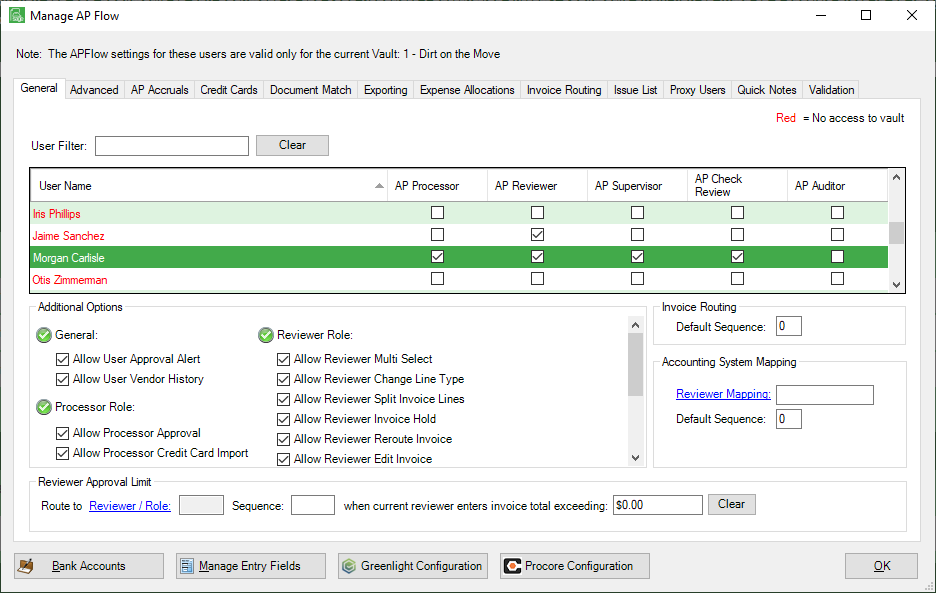
3.Click Procore Configuration,  .
.
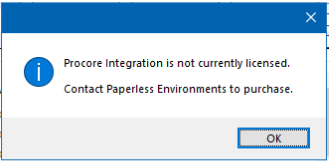
Important: A license is required for Procore. If a license was not purchased, the following prompt will display:
The Procure Configuration window similar to the following displays:
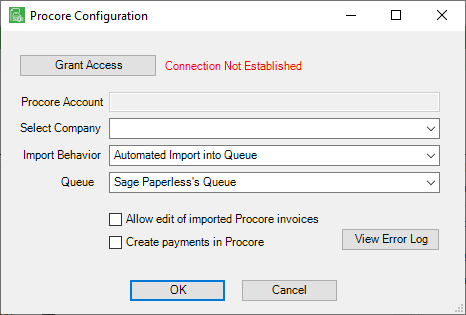
4.Click Grant Access.
The Authorize Procore Connection banner displays while the login process it underway.
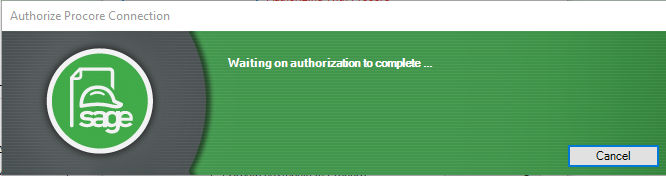
You should be systematically connected with the Procore Log In screen.
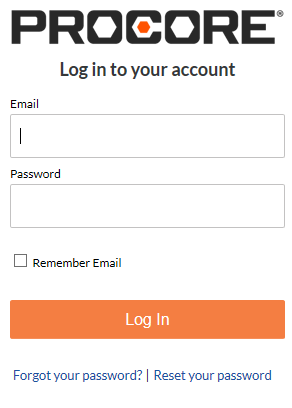
5.In the Email field, enter the user's email address.
6.In the Password field, enter the user's associated password.
The Authorization required window similar to the following displays:
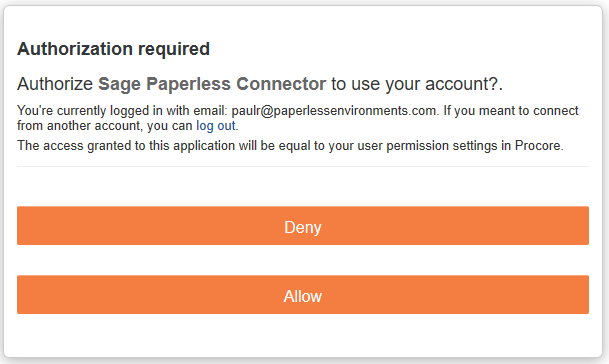
7.Click Allow.
Note: This window will only display once.
8.Click Log In.
The following window displays:
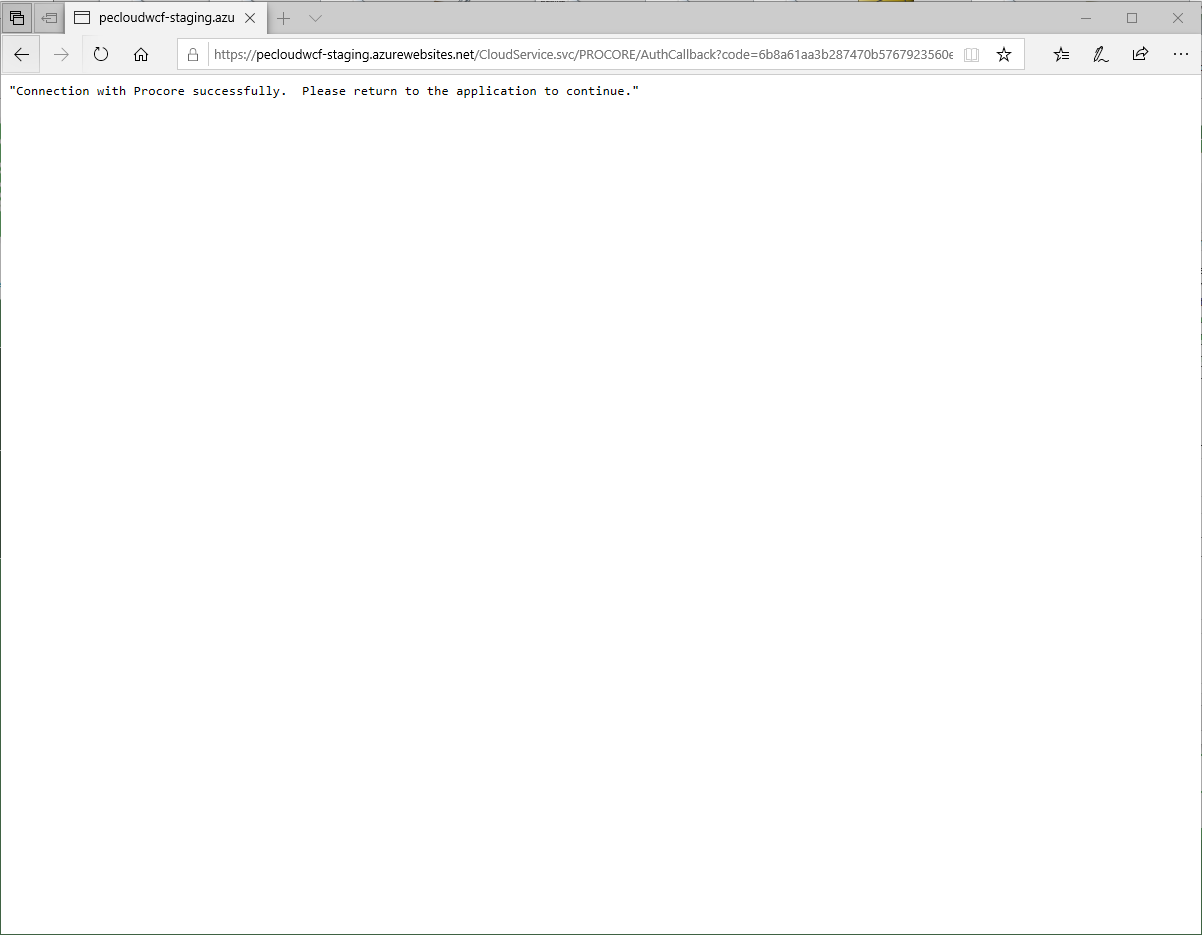
9.Click the screen X to close the window.
10. Return to Sage Paperless Construction.
The following Procore Configuration window similar to the following displays:
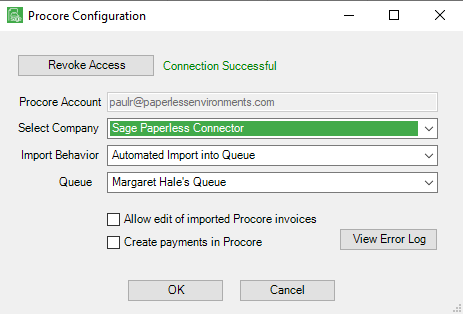
11. In the Select Company field, use the dropdown menu to select the appropriate company.
In this example, Sage Paperless ProCore Connector is the appropriate company to select.

One company to one vault. Each vault has its own unique Procore company. If a company is already tied to a vault, you will not be able to save that company configuration to a different vault and a prompt will display.
12. In the Import Behavior field, there are three choices of interaction.
In this example, Automated Import into Queue was selected. This is also the default.

Automated Import into Queue |
Procore Subcontractor invoices will populate into a specific queue once they are set to Approved status in Procore. The invoices in Procore must have a file attachment for successful import. All files attached to the invoice will be combined into one document in Sage Paperless Construction.
|
Automated Import and Auto Route with Queue Failover |
In addition to importing the invoice, the system will attempt to route the invoice. Successful routing requires the invoice to pass validation and each line assigned a review by the configured routing rules. If validation fails or a reviewer is not assigned to every line, the invoices will remain in the specified queue.
|
Manual Import |
If using a manual import, the user can open the Invoice Entry screen and click the Procore Import button to select the specific invoice which populates the open Invoice Entry screen. The attachments on the invoices in Procore are not imported in as part of this process. |
Note: The Automated Import Import Behavior requires that both the cloud sync license and the cloud sync be running. The Manual Import Import Behavior will still work without the cloud sync server running.
Procore Subcontractor invoices must be set to Vendor and Commitment values that correspond to valid values in the account system or the invoice validation will fail validation once in Sage Paperless Construction.
DocuSign documents linked to the invoice in Procore are not accessible from Procore's interface and will not be imported into Sage Paperless Construction. To include the DocuSign document in the automated import, it will need to be downloaded and added to the file attachment section of the invoice. The alternative is to use the Manual Import Import Behavior, add the DocuSign document to your queue and use the Procore Import button to load the invoice into Sage Paperless Construction.
13. In the Queue field, use the dropdown menu to select the appropriate queue.
14. If the user should have permission to edit imported Procore invoices, click to select Allow edit of imported Procore invoices.
15. If you would like Sage Paperless Construction to update Procore with the payment information after the invoice is paid in your accounting system, click to select Create payments in Procore. This setting requires the Job Poll Invoice Check Backfiller job to be configured and running.
16. Click OK to close the Procore Configuration window.
17. Click OK to close the Manage APFlow™ window.