1.From the ribbon toolbar, click Greenlight.
2.Click Greenlight,  .
.
The main screen displays with the Dashboard tab active:
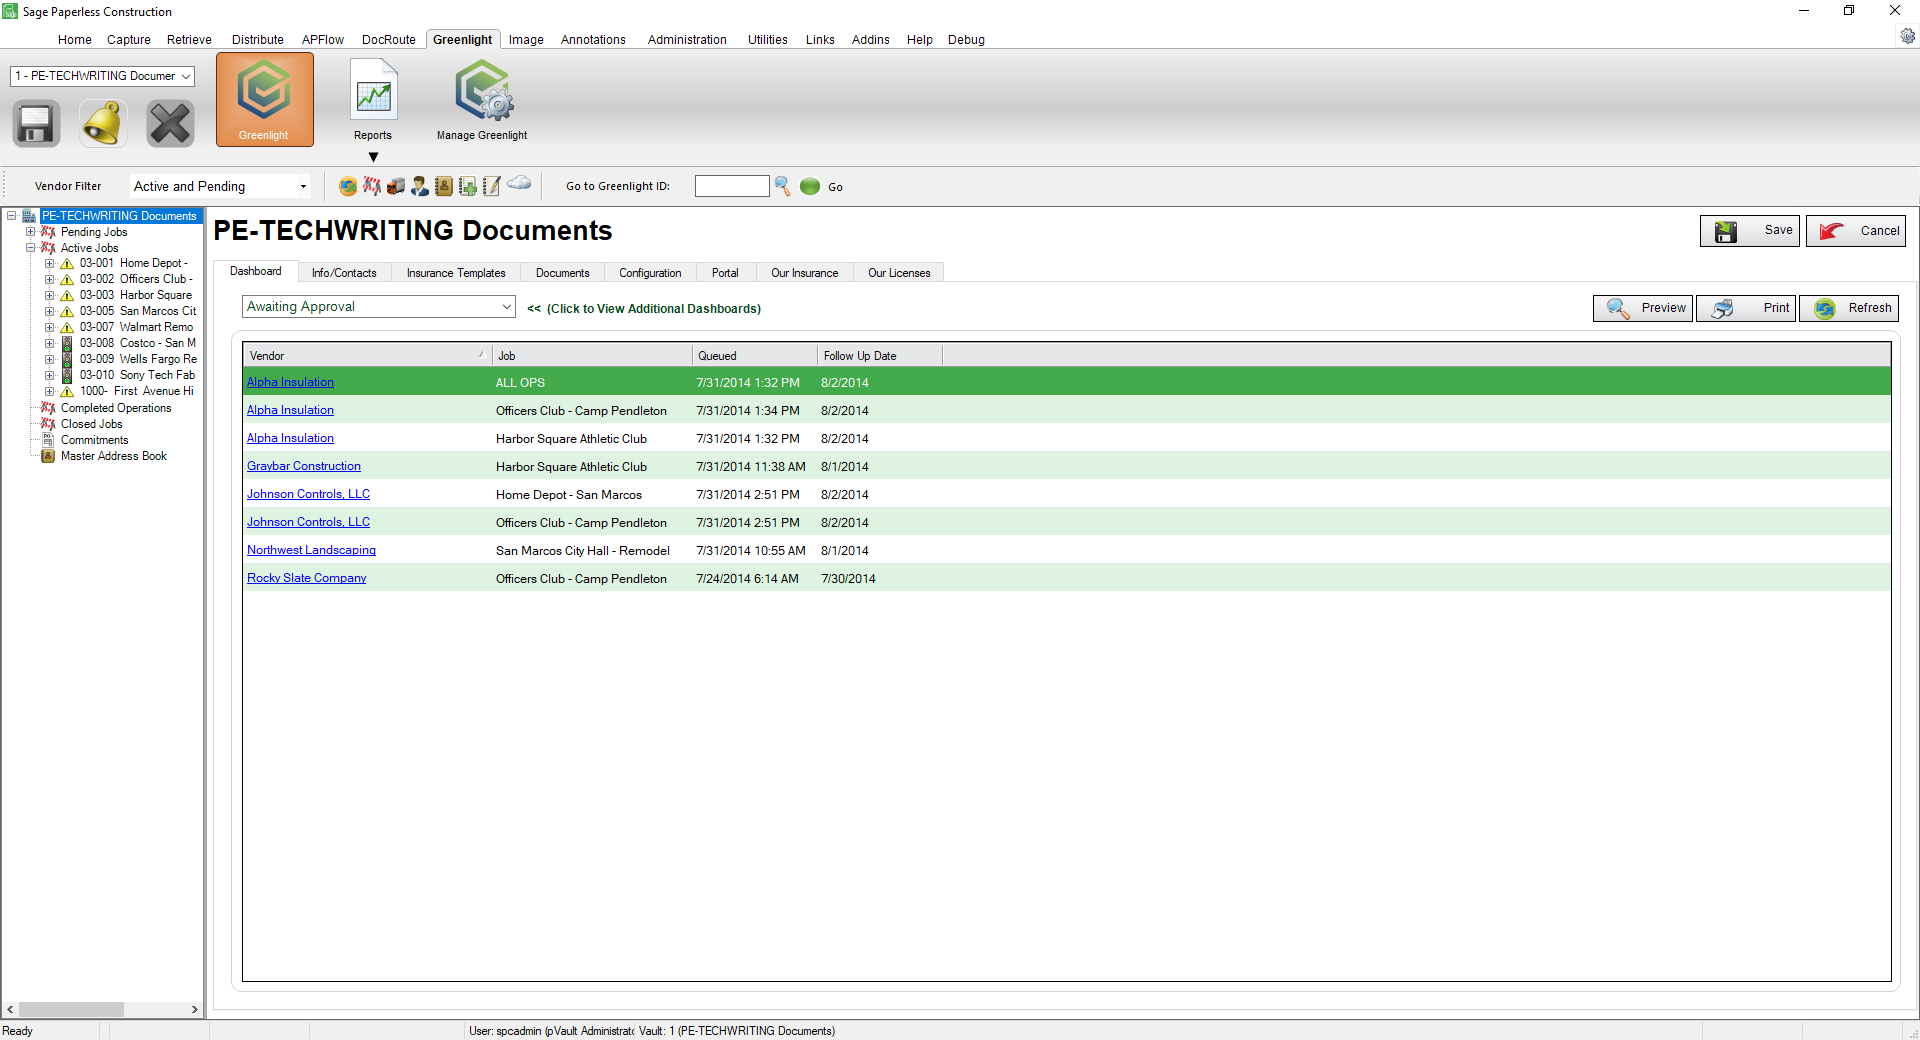
At the top right of the Greenlight screen, above the toolbar:
|
Configure Toolbar |
This functionality is available throughout Sage Paperless Construction. Refer to Toolbar Settings for details. |

At the top left of the Invoice Entry screen, within the toolbar:
|
unlabeled |
This is the change processor field. |
|
Save |
Click to save the current invoice. |
|
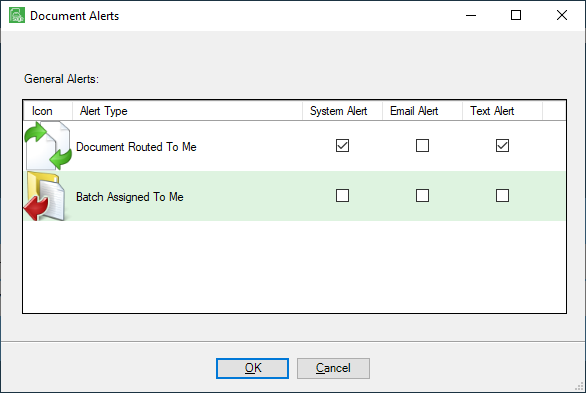
Alerts |
Click this icon to access the Document Alerts dialog box.
Click the manner in which you will be notified of an alert. This can be a system-wide alert, through email or through text. |
|
Close |
Click to exit Greenlight CM™. |


Remaining ribbon toolbar icons:
|
Greenlight CM™ |
Click this icon to access the Greenlight CM™ module and open the Greenlight main screen. |
|
Reports |
Click Reports and then the Administration dropdown. Select from either Manage Reports or Report Categories. (Click a link for details.) |
|
Manage Greenlight CM™ |
Click this icon to access the Manage Greenlight screen where you can create, edit and view roles (company, job, vendor) as well as perform administrative functions including email template configuration and lookup table creation and revision. |

These icons are located in the middle grid:
|
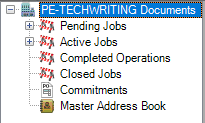
Left navigation bar |
Click on the left navigation bar entries to navigate through the Greenlight CM™ module. |
|
Refresh |
Click this icon to refresh the screen. |
|
Job |
Click this icon to access the Master Job window where existing jobs display and new jobs can be added. Click here for details. |
|
Vendor |
Click this icon to access the Vendor Create New window where you can add new vendors. Entries here are also visible in the Master Address Book. Click here for details. |
|
Contacts |
Click this icon to access the Contacts Master list where existing contacts are listed and new contacts can be added. Click here for details. |
|
Master Address Book |
Click this icon to access the Master Address Book. Click here for details. |
|
Add Waivers |
Click this icon to access the Generate Waivers screen. Click here for details. |
|
Record Waivers Received |
Click this icon to access the Record Waivers screen. Click here for details. |
|
Portal Download Queue |
Click this icon to access the Portal Insurance Download Work Queue screen. Click here for details. |
|
Go to Greenlight ID |
Manually enter a Greenlight ID number in this text box or search for the appropriate vendor and systematically populate the associated Greenlight ID number in this text box. |
|
Data Lookup |
Click this icon to access the Data Lookup Form. Greenlight IDs with their associated Vendor and Job information display here. Check out the Data Lookup subtopic below this table for details. |
|
Go |
With a Greenlight ID number displaying in the text box (either systematically or manually entered), click this green circle to generate the associated Vendor record. |


Data Lookup
1.On the Greenlight main screen, if you need to locate a Greenlight ID, click the magnifying glass icon,  .
.
A Data Lookup Form window similar to the following displays:
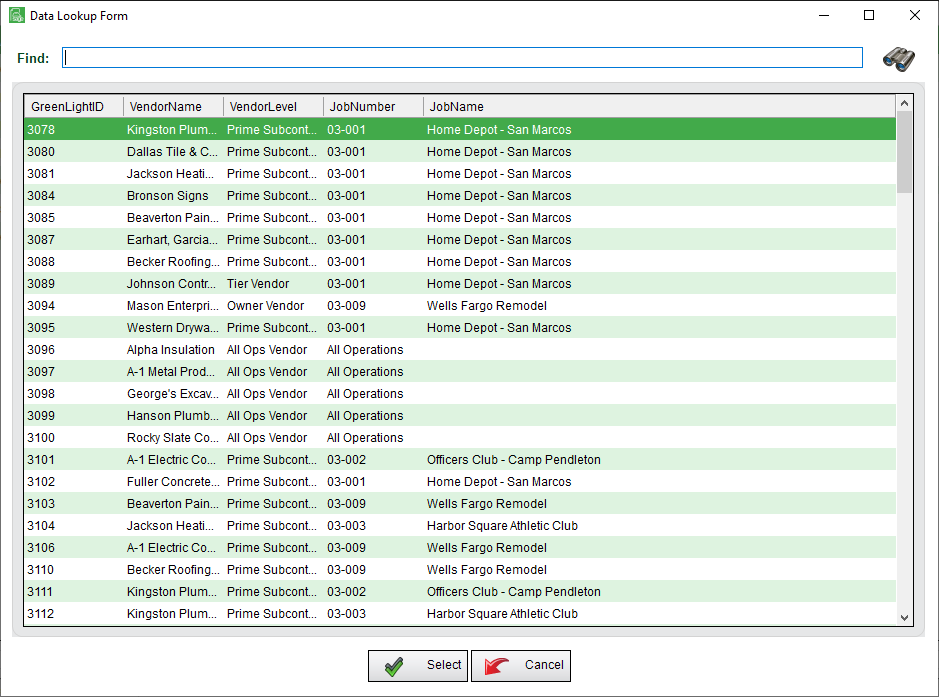
Note: Sort the table by clicking in the column header. The table will display in numeric order by Greenlight ID number or Job Number, or in alphabetical order by Vendor Name, Vendor Level or Job Name.
2.In the Find field, begin typing a Greenlight ID.
The entry you are searching for will display.
3.Click to highlight the entry if not already highlighted.
4.Click Select,  .
.
The lookup window closes and you will return to the Greenlight main screen. The Greenlight ID of the entry you selected displays in the text box.

Note: If you know the Greenlight ID number, there is no need to perform a search. Just type the number in the text box and then click the Go icon,  .
.
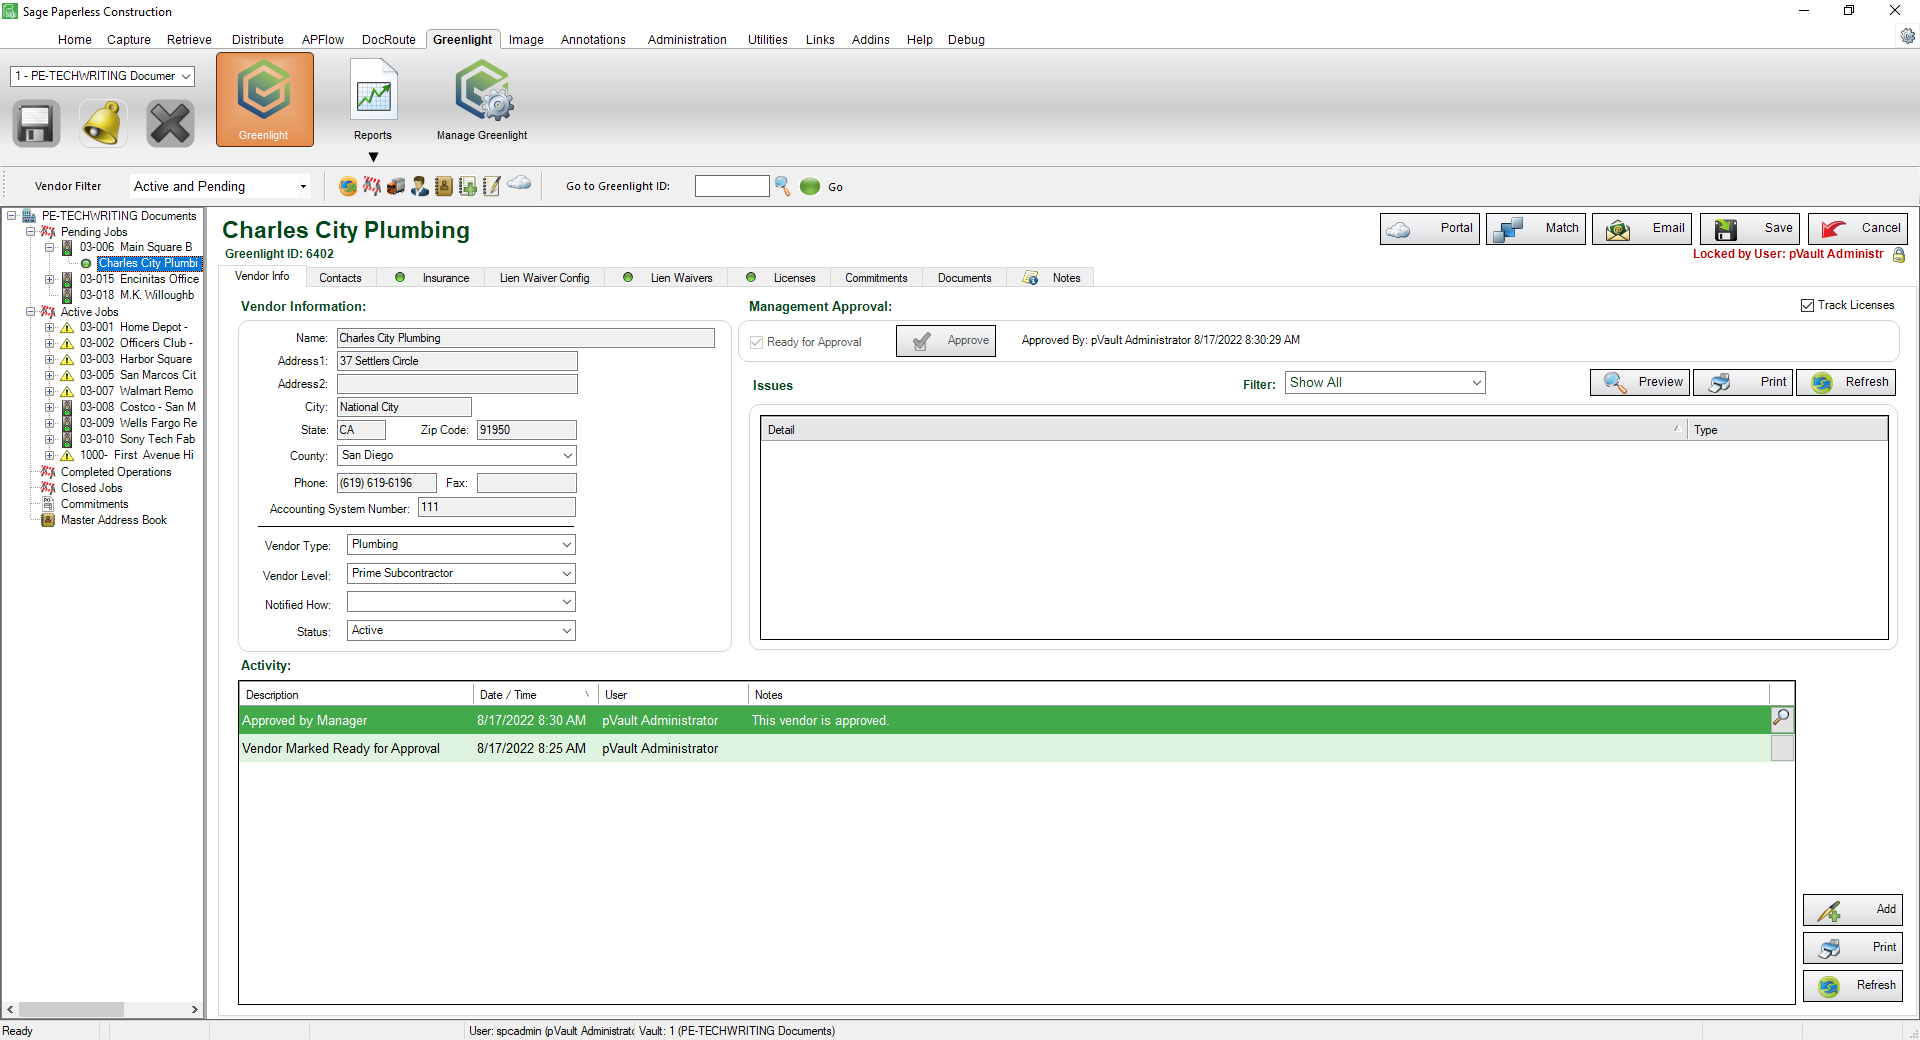
The vendor you selected similar to the following displays, with the Vendor Info tab active: