Why use Credit Card Importer?
The use of company purchases paid with a credit card adds a level of complexity to the Accounts Payable process.
Sage Intacct Paperless has the ability, with the Credit Card Importer, to create invoices from an electronic credit card statement and match individual transactions to previously indexed credit card receipts.
Credit Card Importer does not stop there! You can create and manage secondary vendors.
Once your statement is imported into Credit Card Importer, the module keeps up with where you are. This means that if you need to stop without finishing, you can. The module remembers where you were in the file so you can continue without issue.
Invoices originally created in Credit Card Importer can be pushed to APFlow™ for further coding--or if all the coding is complete--export that invoice straight from Credit Card Importer.
•For steps on Processor Permissions, click here.
•For steps on troubleshooting potential credit card statement errors, click here.
•For steps on importing credit card transactions, click here.
•For steps on transferring transactions to one or more invoices, click here.
•For steps on matching credit card receipts, click here.
•For steps on importing invoices into Sage Intacct Paperless, click here.
•For steps on creating a Secondary Vendor Drilldown Report, click here.
1.From My Paperless, click APFlow™.
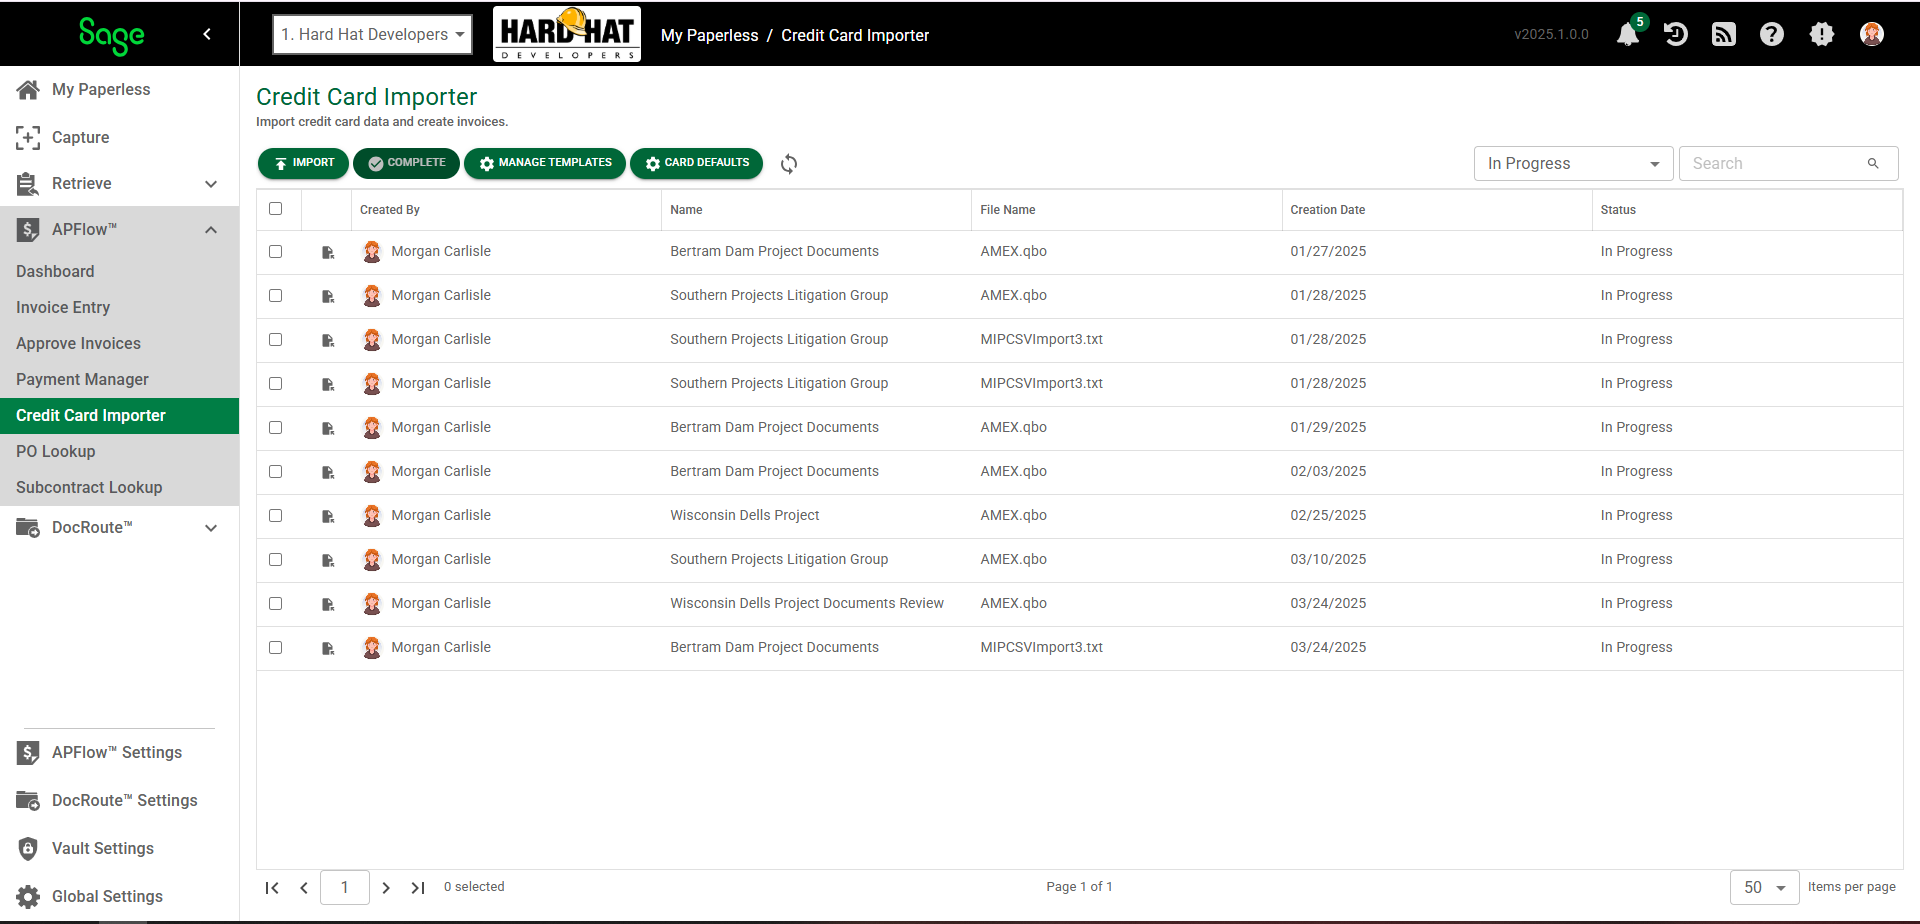
2.From the APFlow™ navigation bar dropdown, click Credit Card Importer.
The Credit Card Importer page similar to the following displays:
Import, 
•If a new import is needed, click .
•If an existing import needs to be edited, click the Open icon, . that displays adjacent to the entry.
Click here for details.
Complete, 
Click here to move an entry off the Credit Card Importer main page.
This could be because an entry is actually complete with no additional steps needing to be taken, or an entry just needs to be removed from the Credit Card Importer main page.
When you click , a dialog box similar to the following displays with a confirmation prompt:

If you clicked in error, click  . Otherwise, click .
To view removed items, click the field dropdown in the field displaying In Progress (this is the default) to display the following:
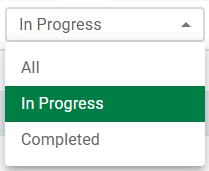
Completed (to view only those entries with a Complete status) or All to view all entries. This information is available for archive purposes.
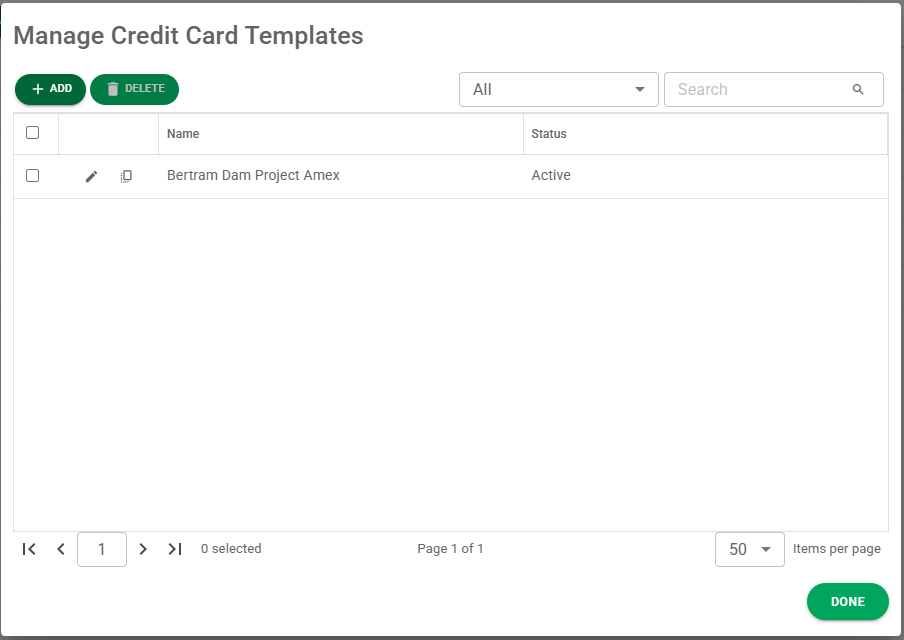
Manage Templates, 
Click here to access the Manage Credit Card Templates page similar to the following:
For details, click here.
Card Defaults, 
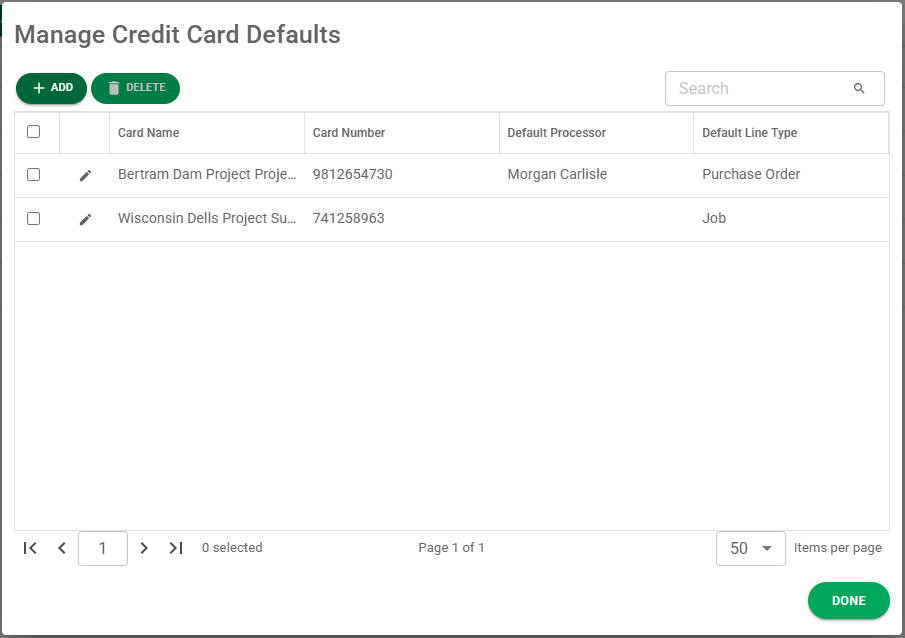
1.Click here to access the Manage Credit Card Defaults page similar to the following:
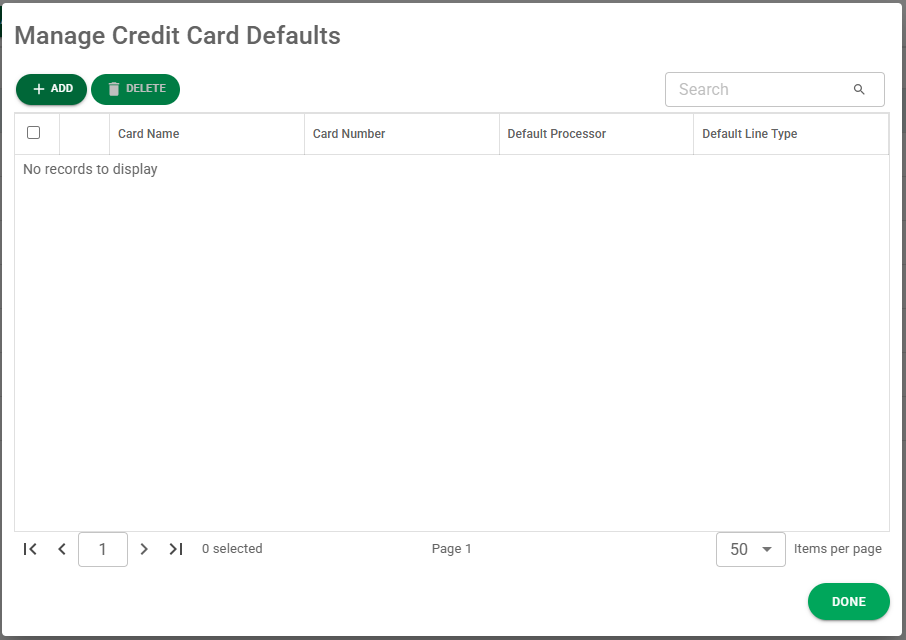
2.Click  .
.
The New Credit Card Default dialog box displays:

3.In the Card Description text box, enter an identifier for the card default.
Note: This field is not tied to functionality.
4.In the Card Number text box, enter a credit card number. This is the value to look for in the Credit Card Number field on the line.
5.In the Default Processor text box, use the field dropdown to select a processor. If a credit card number matches the value in the Card Number text box, the associated processor will default when this line is selected.
Note: You can pick a default processor or a default line type--or both; however, at least one of these fields must be populated with an entry other than None.
6.In the Default Line Type text box, use the field dropdown to associate a line type to a particular credit card number.
Note: You can pick a default line type or a default processor--or both; however, at least one of these fields must be populated with an entry other than None.
A populated Manage Credit Card Defaults dialog box resembles the following: