1.Click the My Account ![]()
 icon in the header.
2.Select Profile. This brings up the User Settings page.

Note: Once you have your profile photo in place, the My Account icon image is replaced by the profile photo such as this: ![]()
Basic Information
In the Basic Information grid, the following fields are systematically populated based on information entered by the Administrator when you were initially set up. See General Tab for details.

Note: Any change made on this page is systematically made to the page on the General (Global Settings > Users) table.
First Name |
First name of the user. |
Last Name |
Last name of the user. |
Email of the user that is used as that user's login ID. This email is also used for various system alerts. |
|
Phone Number |
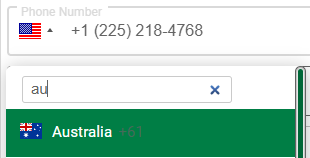
Phone number of the user. The country code is identified by the flag and the +# that displays in the Phone Number field. To change the country code, click on the dropdown arrow next to the flag. Begin typing the country name to narrow your search.
When you click Enter, the updates display.
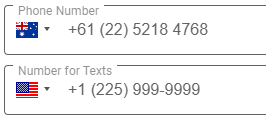
In this example, the revised country code is Australia, +61. Note that the phone number format is revised to meet the identified country's requirements. |
Number for Texts |
This is the phone number that is used for system alerts, document alerts and/or invoice alerts. |
Time Zone |
This identifies the time zone for which output, such as reports, uses and display where appropriate. Access a list of time zone options through the field dropdown. |
Date Format |
This determines how the date is formatted throughout Sage Intacct Paperless. Use the field dropdown to change the format. |
Profile Picture
Complete the following steps to add a profile picture
Note: Sage Intacct Paperless systematically resizes your image, if necessary, to meet general Internet limitations.
1.Click the Add Image button.
2.From the Open folder that displays, select your profile picture.
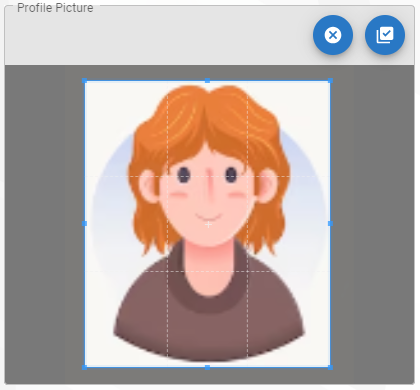
The image displays in the Profile Picture field:
![]()
3.Once the image displays, you can manipulate it by clicking any of the buttons.
|
Edit Image |
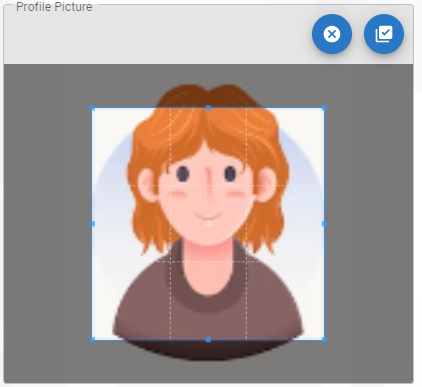
Click this button to access the crop or rotation buttons.
• • • •Manipulate the frame until you have successfully cropped the profile image. In this example, here is the profile image after cropping, but before accepting the crop:
• • |
|
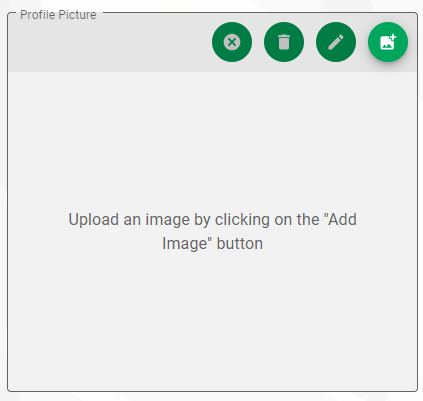
Remove Image |
Click to remove the image. The blank image space displays:
Click the Add New Image button to repeat the process of adding a profile picture. |
|
Revert to Original Image |
Click to revert the current changes back to the original image. This would be the image that was in place before you began making modifications. |
|
SAVE |
Click to save any changes you make to the Profile Picture. |


Change Password
There may be occasions when a login password needs to be changed, such as after first logging in to pVault® Cloud (if you were assigned a temporary password) or periodically for security reasons.
1.Click CHANGE PASSWORD.
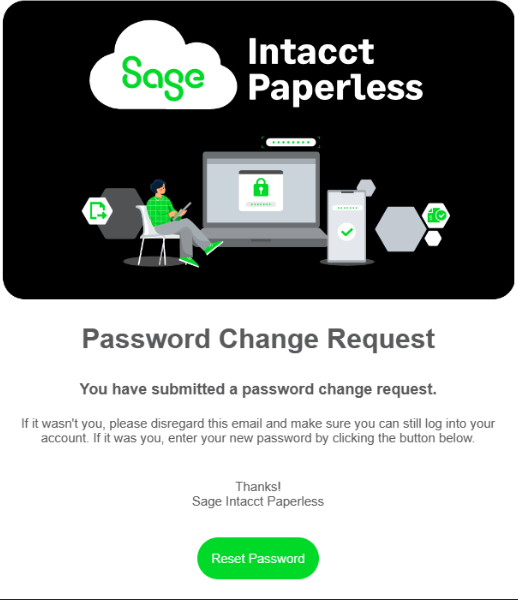
A Password Change Request email is sent to your inbox:
2.Click Change Password.
3.Type your new password in the text fields as indicated.
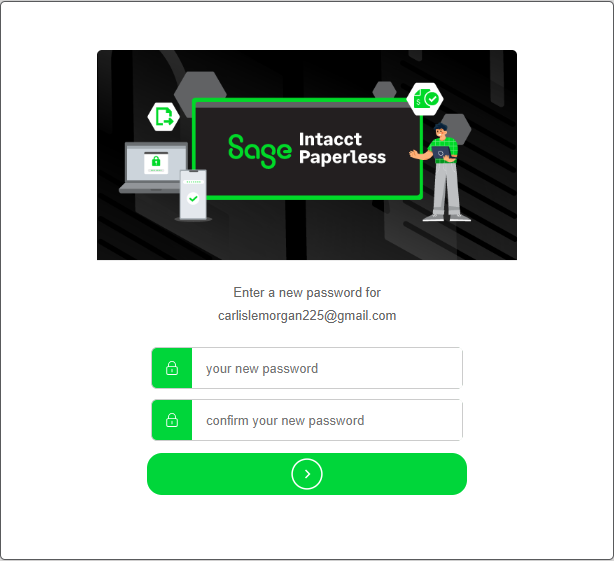
4.Click Submit.
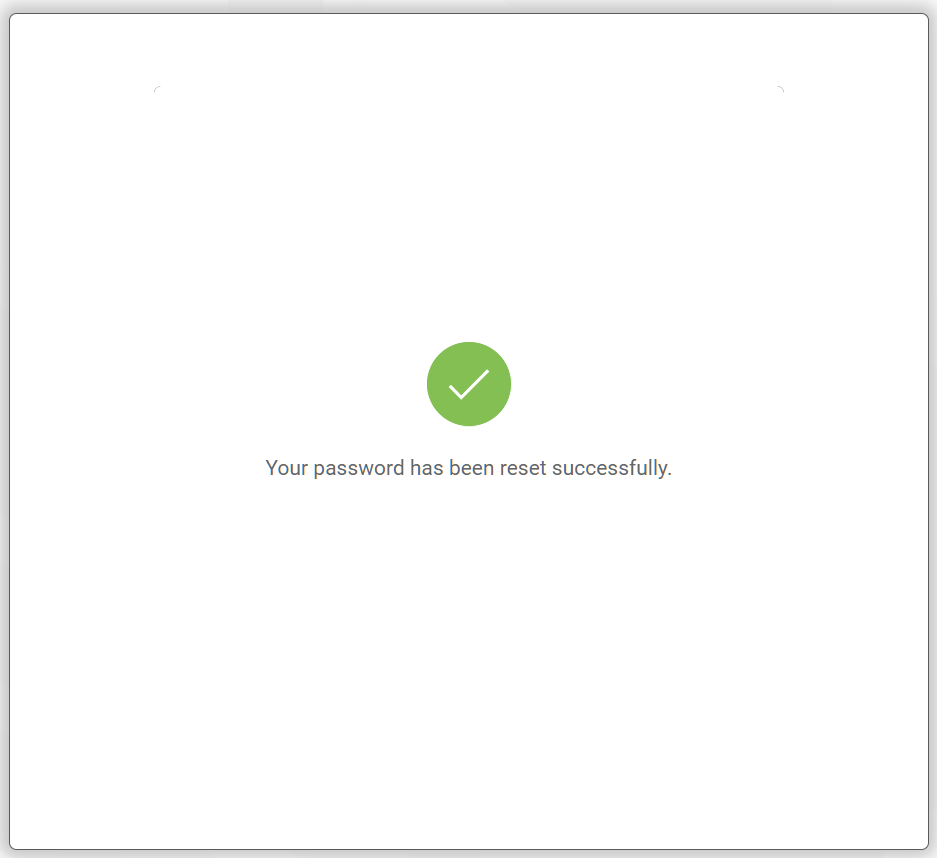
The following dialog displays:
A few seconds later, the following Sage Intacct Paperless login page displays:
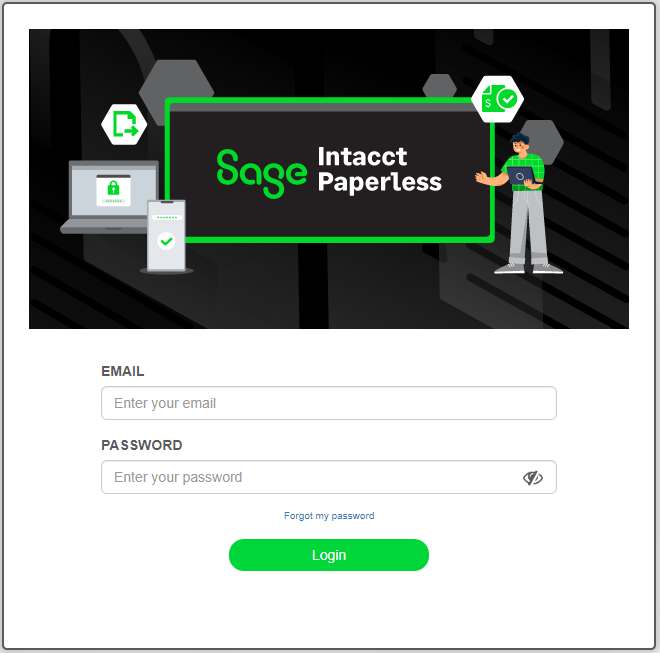
5.Enter your email in the EMAIL field.
6.Enter your new password in the PASSWORD field.
7.Click Login.
Upon successful login, the Sage Intacct Paperless My Paperless Page displays.
Reset MFA
If you need to reset your multifactor authentication (MFA) method, click RESET MFA.
In the Reset Multifactor Authentication dialog, do one of the following:
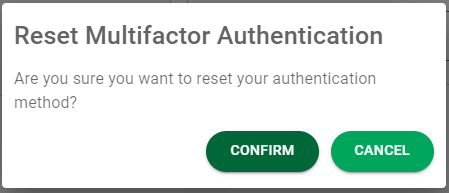
•If you wanted to change your MFA method, click CONFIRM.
•If you clicked RESET MFA by mistake, click CANCEL.
•For details on MFA, click here.