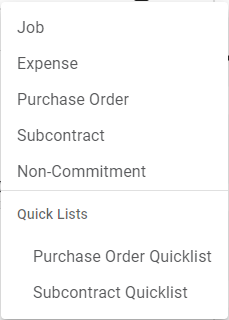
1.For the middle (lines) pane, use the dropdown to select a line type.
A new line based on the line type you selected displays in the middle (lines) pane:
The selections that display will vary based on what is supported by the bridged accounting system as well as any additional bridge settings configured where applicable. For more information on bridge settings, click here.
|
New line |
Add a new line of the same line type. |
|
Copy line |
Click to add an exact duplicate of the line type where the Copy line icon is being clicked. The replication includes all the fields in the Detail pane. Click here for more information. |
|
Split Line |
Click to split a line into two or more lines. Click here for more information. |
|
Change line type |
Click to display the Lookup Utility, Line Type list. Click here for more information. |
|
Remove line |
Click to remove the selected line. Only one line can be deleted at a time. Click here for more information. |


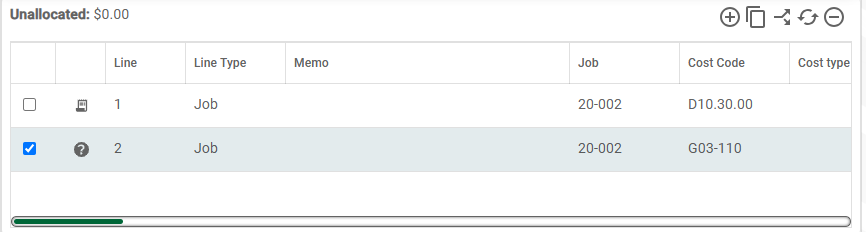
2.After adding a line, the bottom (detail) pane containing fields in which to code the invoice displays.
Based on the selected line type, different fields will display.
3.Continue adding and coding lines as needed.
•Click here for details on Match Receipts.